Getting the Equipment Together
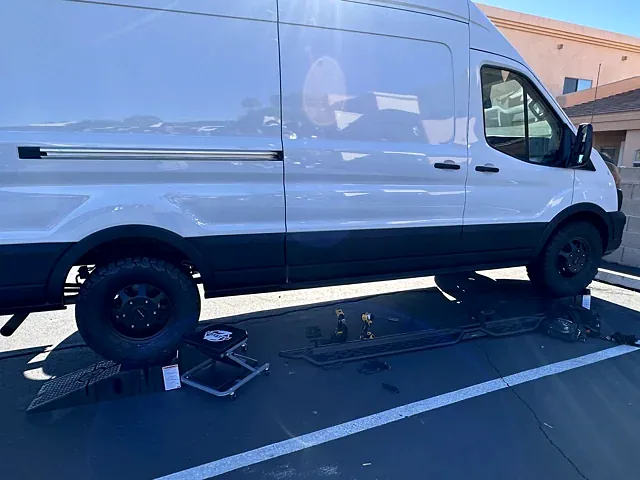
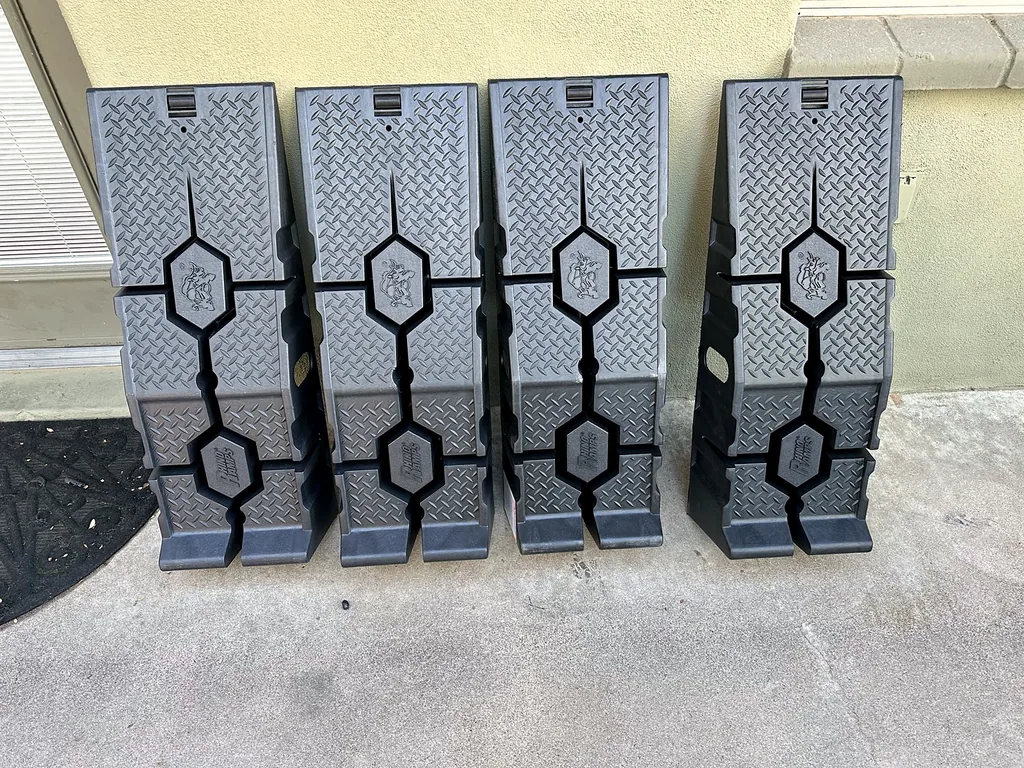
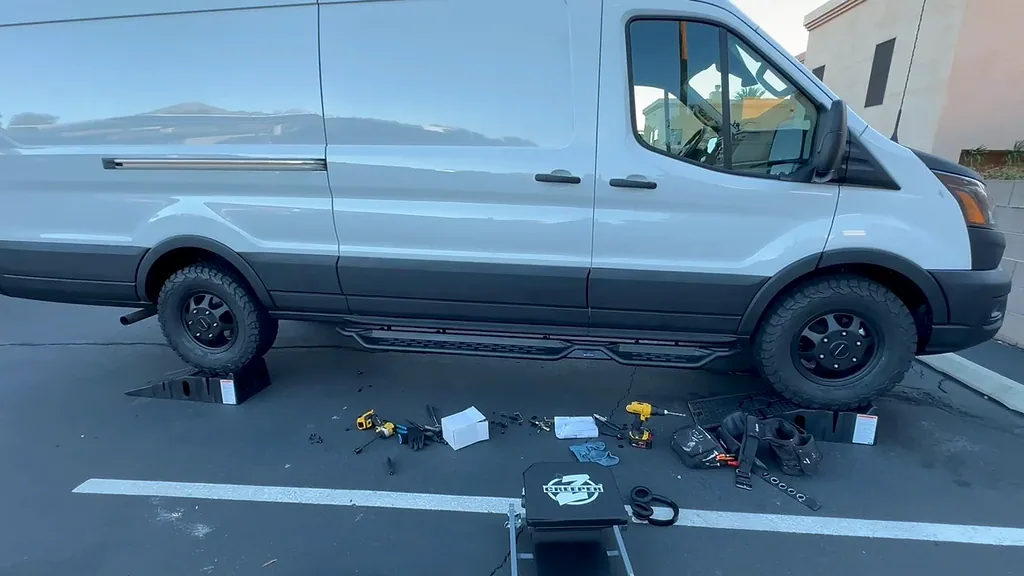
I started by introducing the four molded ramps I had ready for work on the Transit. The photographs show the ramps before use and then the van positioned on them. Later in the session I photographed the long black running board, its mounting pieces, cordless tools and the assembled creeper seat laid out beside the passenger side.
The blue packaging separately identifies my Pro-Lift C-2036D creeper seat. The related creeper notes and RhinoRamps experience page keep the equipment records and my separate review observations together.
Working Behind the Lower Trim
Under the passenger side, I recorded loosening the plastic retainers to gain access behind the trim. I was pleased that I could loosen the trim rather than remove the whole coated piece. It was a tight space to work in, and I said I would need both hands to continue.
In the next underbody update I showed the prepared mounting points. I pointed out the existing hole and studs, the inserted fastener and retainer, and the additional holes with clips. I talked through the drilling I had done while showing the resulting holes.
The Bracket Attached
The following clip shows the bracket in place. I pointed to the nuts and washers at the upper studs and the clipped fastening points behind the trim. The lower part of the bracket connects to the running board.
Having these views in sequence makes the session easier to follow: first the access behind the trim, then the prepared points, then the attached bracket. The HD Ridez N-Series Running Boards Project puts the short stage clips beside their explanations.
The Finished Passenger Side
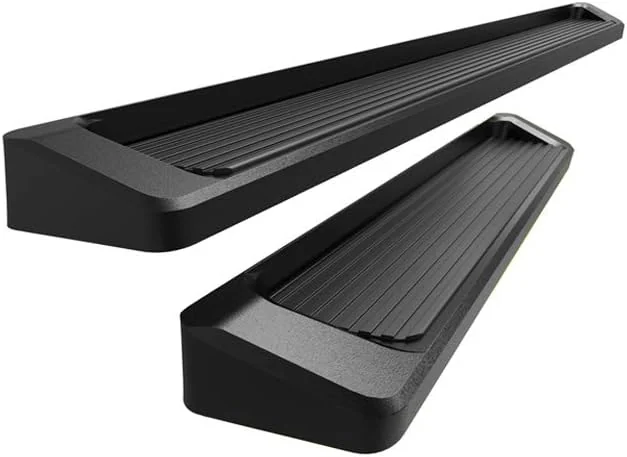
I finished with a walkaround of the passenger-side board. I liked how its black textured surface looked beside the freshly coated lower trim. I also pointed out that it did not run all the way back to the rear tire on my extended van, but that it lined up well with the doors.
I was very happy with the appearance of this side. The final sentence of the recording leaves the next job clear: I still needed to do the driver side.
HD Ridez N-Series Running Boards: My Ford Transit Passenger-Side Installation — Landscape
Where I Finished
The passenger-side board was installed and I liked how it matched the lower trim and door positions. The driver side was still to do when I finished recording.
HD Ridez N-Series Running Boards Project for the wider sequence and related product notes.
Another View of the Passenger-Side Result
This portrait result clip returns to the passenger side after the closer mounting work. It keeps my closing point in context: I was happy with this side, and the driver side still remained to do.
Watch The Additional Portrait Edit
HD Ridez N-Series Running Boards — Result — Portrait
Read This Video’s Spoken Transcript
So here's the finished product on the passenger side with the running board. I'm very happy with the way it looks. And the finish on it actually matches the bed liner perfectly. Looks like they put on some bed liner themselves. And so looks really nice. So one thing about this is it doesn't run all the way to the back tires because I have the extended version. But it still looks fine and it matches up with the the the doors really well where you would do it. So overall really happy with it. Still needs to do the driver side though.