White Bedliner on My Camper Van: Masking, Spraying and Touch-Ups
My white-bedliner project took 15 hours, and about eight of those hours went into tape and plastic sheeting. The result still needed touch-ups: I recorded pooling, drips and uneven texture with the Rust-Oleum coating, along with a plan to change how I approached the remaining corrections.
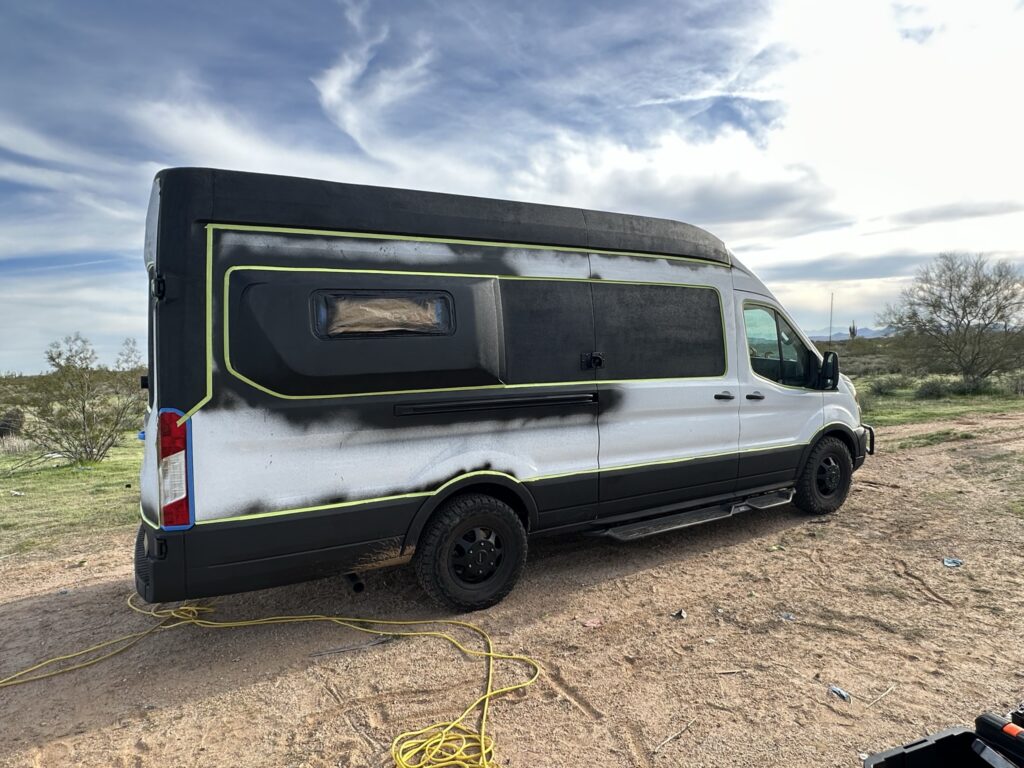
I wanted to coat the van's exterior areas in white while keeping the borders and surrounding surfaces defined. My Day 55 build diary records the job from masking through spraying and removing the covering. It also records what I disliked about the finish. Those observations are the useful part of this guide: the preparation was substantial, and getting color onto the van was only one part of the work.
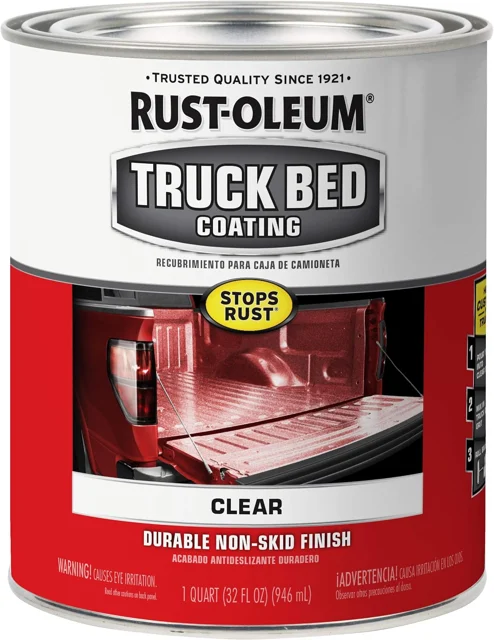
Rust-Oleum Clear Truck Bed Coating
This clear Rust-Oleum coating protects suitably prepared truck-bed surfaces. It offers a clear-finish option for compatible van exterior projects.
View On AmazonThe Coating Behind My White Finish
The coating in my purchase record and Day 55 materials list is Rust-Oleum 340452 Clear Truck Bed Coating. My recorded process was to mix clear bedliner with white tint and spray the van. The white finish came from that mixing step.
Rust-Oleum's ROC-150 technical sheet identifies 340452 as the clear quart product and describes brush, roller and spray application formats. My Rust-Oleum item page connects the product to the same exterior-work photographs and finish notes.
For my project record, the product identity and the result belong together. I can identify the can I selected, describe the white-tint step in my diary and explain the problems I encountered. That is more useful for my next coating decision than treating every bedliner purchase as the same material.
Masking Was A Major Part Of The Job
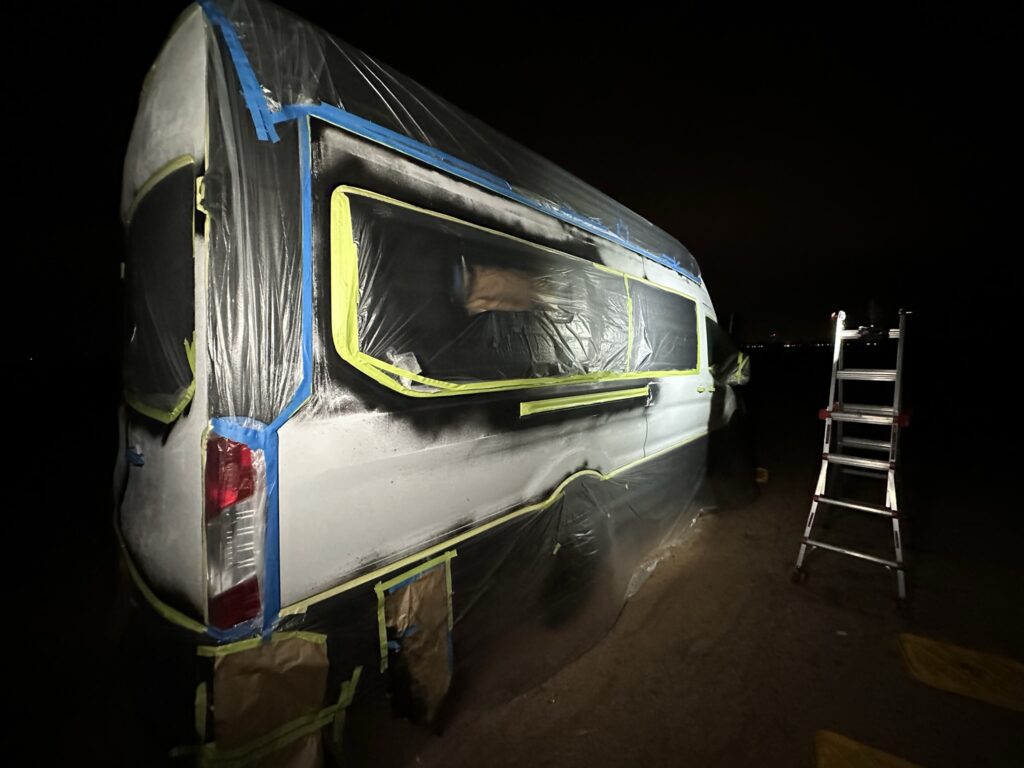
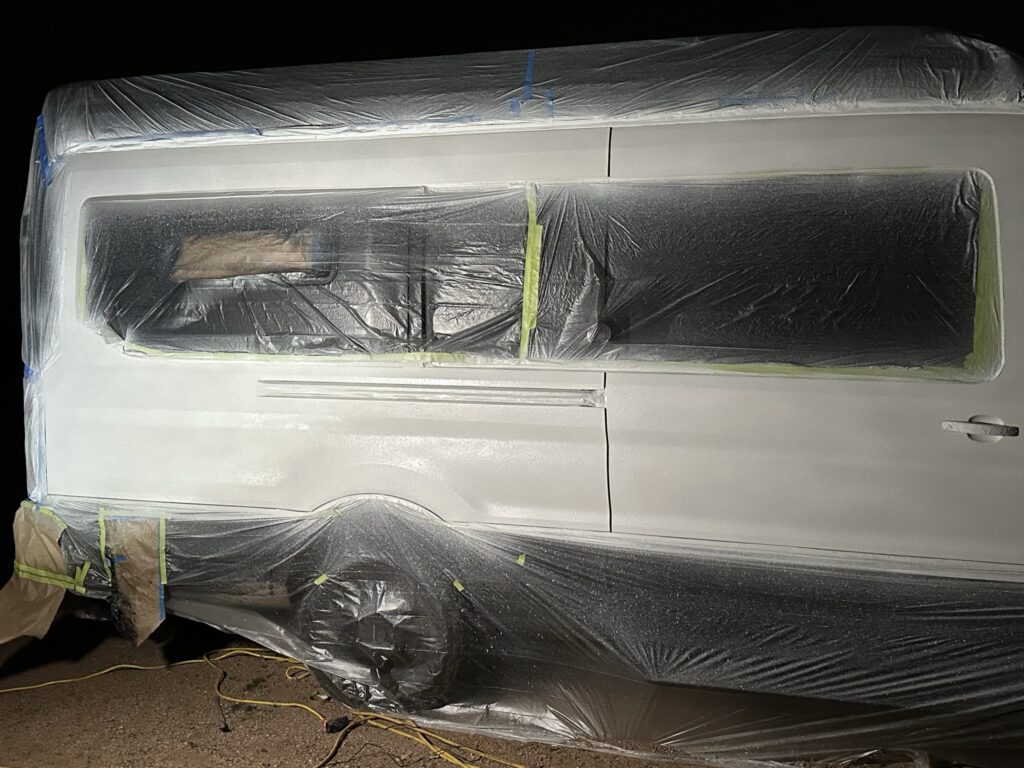
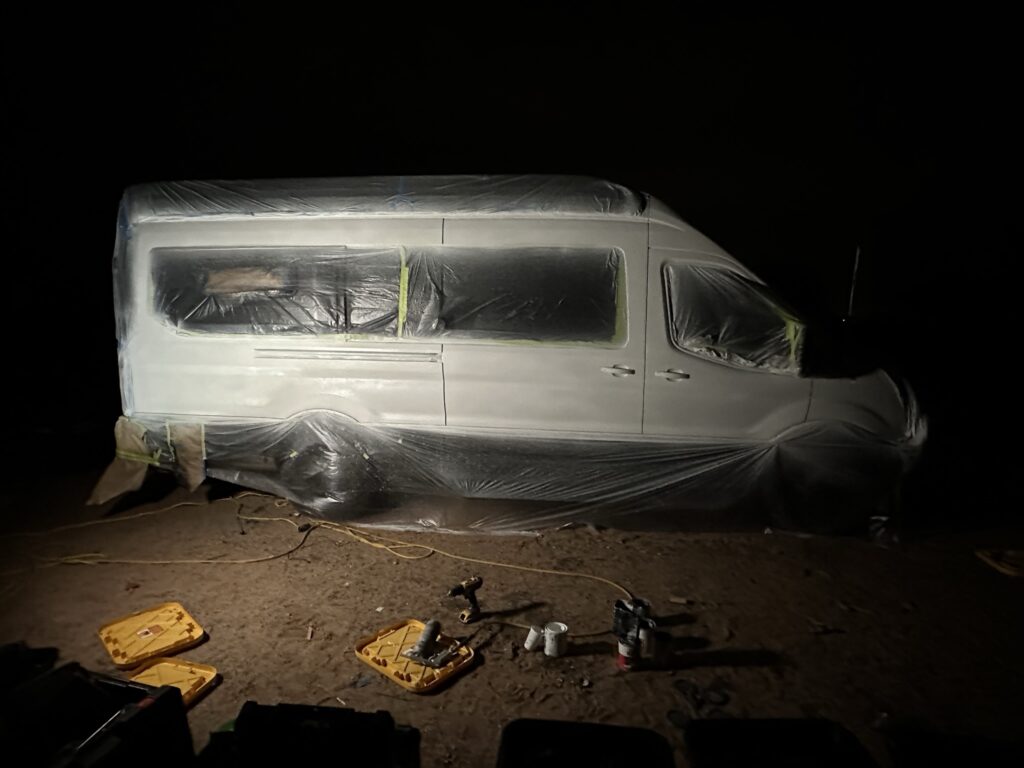
I started by taping the borders of the areas that would stay unpainted and covering those areas with plastic sheets. I wrote that making the tape exact along all the lines was time-consuming, especially on a large van. The tape and sheeting work took around eight hours.
The photographs make that effort visible. The windows and adjacent areas are covered, and the tape follows several different boundaries around the body. A long straight line is one task; carrying that line around a window, a door edge or a corner adds more separate pieces of work.
| Part Of The Work | Recorded Time | What It Included |
|---|---|---|
| Tape and plastic sheeting | About 8 hours | Defining the edges and covering areas that would stay unpainted |
| Whole project session | 10 a.m. to 1 a.m. — 15 hours | Masking, surface preparation, mixing, spraying, drying and removing the covering |
Masking occupied about eight of the 15 hours recorded for the session. Giving it a separate place in the project plan makes that effort visible, along with the boundaries revealed when the plastic comes off. The masking film in my materials list was part of that preparation equipment.
The Preparation And Application Sequence I Recorded
After masking, I sanded the exposed areas with an orbital sander and 60-grit abrasive. I used the compressor and an air attachment to remove sanding dust, then degreased and cleaned the sanded surfaces. Those were separate entries in my work sequence.
I then mixed the clear bedliner with white tint and sprayed the van. My final recorded application steps were waiting for the coating to dry and removing the tape and plastic. Keeping that order in the diary helped connect the preparation work to what I saw when I uncovered the edges.
The materials record spans more than the coating itself: tape, masking film, abrasive discs, cleaning supplies, a sander, compressed air and application equipment all appear around the job. Looking back at the project as a sequence helps me see where the time went and which part I would approach differently.
What I Disliked About The Rust-Oleum Result
I was not happy with the finish I obtained. My notes describe the Rust-Oleum pooling in some places and then dripping. I also described areas with a quilted-looking texture. The result left me with visible corrections to make instead of a finish I could simply call complete.
One attempted correction made the situation worse. I tried to work a pooled or clumped area with a paintbrush, and I recorded that the brush disturbed the finish and pulled coating away from the glossy OEM paint beneath it. That experience became a specific reason to reconsider the touch-up method.
The masking edges also needed attention. After removing the tape, I wrote that the lines had not come out perfectly. The eight hours spent covering and defining the surfaces were therefore part of the result review as well as part of the preparation story.
| Observation | My Recorded Response |
|---|---|
| Pooling, clumps and drips | Touch-ups remained on the job list |
| Uneven, quilted-looking texture | My notes favored RAPTOR's more consistent sprayed finish |
| Brush correction disturbed the coating | Plan a foam-roller approach for the remaining touch-ups |
| Edges needed correction after removing tape | Carry the border work onto the touch-up list |
The Foam-Roller Plan And My Next Coating Choice
My plan was to use a foam roller for the remaining touch-ups because I thought it would come closer to the sprayed texture. The Day 55 status was “nearly completed,” with touch-up still needed. That is the stage this project record reached.
I also compared the Rust-Oleum result with my RAPTOR experience. My notes favored RAPTOR's thicker, more consistent sprayed finish and described less pooling. I ended the entry saying I would choose Herculiner or RAPTOR for future bedliner work.
My notes compare how the material behaved while I sprayed it and how consistent the finish looked. The attempted brush repair also left a concrete problem to address in the planned touch-up work.
Keep The Edges And Touch-Ups In The Project Record
Download The Exterior Coating Project Record
The blank CSV separates the body area, masking boundary, preparation note, application observation and next action. Add a photograph reference to each row so that an edge or drip can be found again when you return to the work.
For this kind of project, I would keep wide views and detail views together. A wide photograph records where the area sits on the van; a closer photograph can show the exact border or texture being reviewed. Mark a correction as planned, attempted or completed, then record its visible result.
My Day 55 entry brought the whole sequence together: a clear coating mixed for a white finish, a substantial masking stage, a long work session and a touch-up list shaped by the actual result. The next day's plan was to install the roof rack. The Day 56 roof-rack diary continues that part of the build.
Other Coating Formats In My Catalog
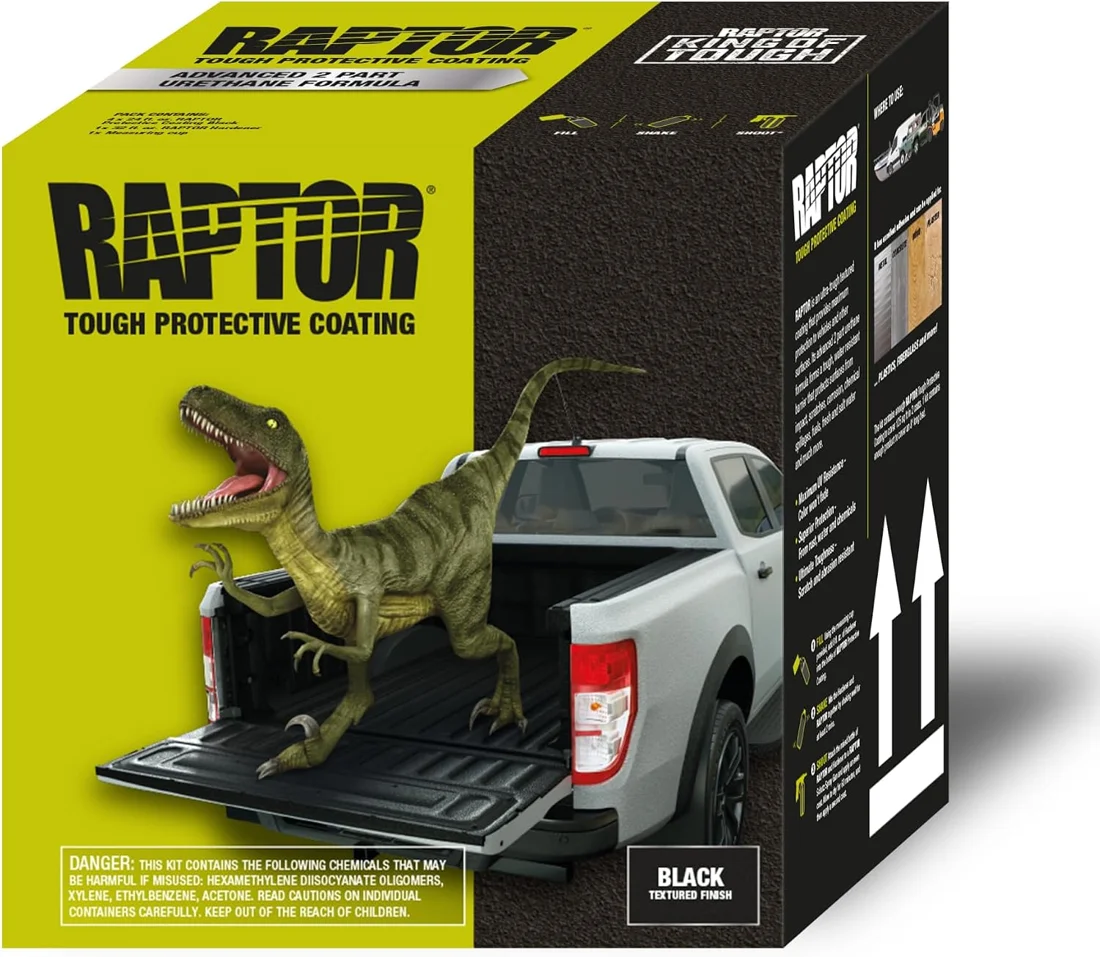
The RAPTOR and Herculiner entries below are black formulations: a mixing kit and an aerosol. Their container sizes and application formats are different from each other and from the clear Rust-Oleum I tinted for this project.
U-POL's US kit table lists black, tintable and white models separately. The linked RAPTOR catalog entry here is the black kit. My RAPTOR item page and Herculiner aerosol item page keep those product identities with the broader coating purchases.
U-POL RAPTOR Black Bedliner Kit
This urethane coating kit includes a spray gun for applying a textured finish. It offers a larger coating-system format than a small aerosol can.
View On Amazon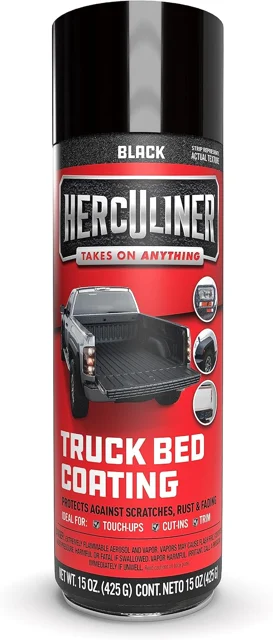
Herculiner Black Aerosol Bedliner
This Herculiner aerosol applies a textured protective coating to smaller areas. It can be useful for compatible exterior van trim or coating touch-ups.
View On Amazon