A camper van remodel begins with an interior that already exists. That changes the planning problem. I would first identify what works, what needs to change and what sits behind the parts affected. A new layout sketch can show the destination, but the route from the present arrangement deserves its own plan.
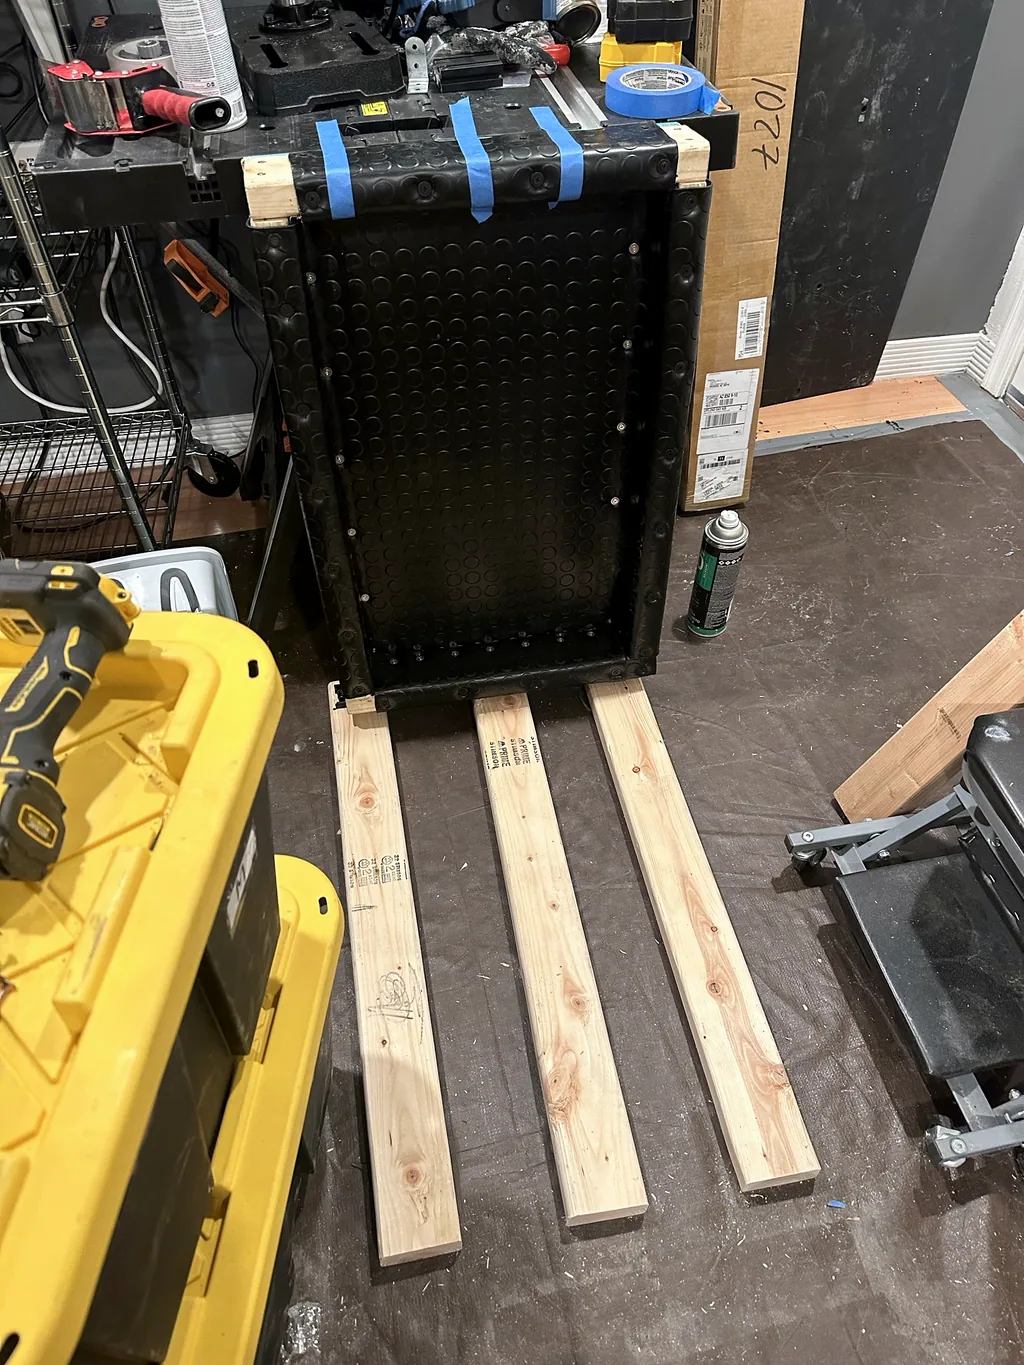
My Transit conversion has developed through separate projects and changing decisions. The documented build includes extrusion framing, carpeted interior surfaces and butcher-block countertops, alongside the equipment and furniture being fitted around them. That experience gives me a practical reason to keep the existing state visible whenever another change is proposed.
This guide focuses on remodeling an existing arrangement: recording it, choosing a bounded improvement and sequencing removal and rebuilding. Use the decision log for individual choices and the general project plan for tasks. Here, the output is a keep, remove, reuse and rebuild plan that connects both.
Download The Blank Plan An Interior Remodel Worksheet
Name The Problem Before Drawing The Replacement
Describe the specific task the current interior makes difficult. Perhaps a storage opening is awkward, a work surface conflicts with another use or a cabinet prevents access to equipment. Record the observation in ordinary language. “Move the kitchen” jumps to a solution before explaining which part of the present routine needs improvement.
Keep observed problems separate from new preferences. A finish you no longer like and an inaccessible drawer are different reasons to remodel. Both can matter, but they create different priorities. Put them in separate rows so a broad visual refresh does not hide an unresolved access problem or turn a small adjustment into a complete interior replacement.
Choose a result you can check. “Reach this container without moving the bedding” gives the remodel a clear test. “Make the van better” does not. Identify the furniture state and carried items involved in the observation. The replacement should be compared using the same conditions so you can tell whether it addresses the actual problem.
Define what should remain unchanged. A bed arrangement, service route or storage function that works well belongs in the remodel brief as a requirement to preserve. Keeping those successes visible makes the project more focused. You are improving an existing system, rather than assuming every neighboring part needs to be redesigned because one area is changing.
Record The Current Interior As It Is Built
Create a current-state drawing and photograph the affected area before taking it apart. Use actual finished dimensions and identify any difference from the older model. A construction change made during the original build may not appear in the drawing you saved. The remodel needs the physical starting point, with the earlier design preserved as history.
Photograph wide views for location and close views for connections, labels and panel edges. Give the images meaningful names or identifiers and connect them to the drawing. A close-up of a fixing is useful only when you can find the part again. Keep the record focused on the work area and the neighboring pieces it interacts with.
List the visible components and the documents already available. Match equipment identities to labels and installation records before designing around them. Keep unresolved identities private in the working notes until established. A similar current product can help future shopping, but it should not replace the identity of what is already fitted.
Record the present access routes. Which panels open, which fasteners are reachable and which components can be removed? The maintenance-access guide separates those tasks. This baseline lets you check that a visual improvement does not accidentally remove a useful service opening or make a routine task harder.
Sort The Area Into Keep, Remove, Reuse And Rebuild
Give each affected part a status. Keep means it remains in place and retains its function. Remove means it must leave the work area. Reuse means you intend to incorporate it into the selected new arrangement. Rebuild means the project requires a new or substantially changed part. Add a verify status where the choice depends on missing information.
Keep removal and reuse separate. A part can be removed without being suitable for its proposed new position. Record its actual dimensions, condition and connection details before counting it in the replacement materials list. If a panel needs trimming or a frame needs reconfiguration, make that work explicit instead of treating reuse as an automatic saving.
Include small associated parts in the record. Panels, trim, hardware and access covers can become difficult to identify after disassembly. Group them by the unit they belong to and preserve their orientation where relevant. The aim is to make the return or reuse process understandable, rather than creating a pile of pieces whose original relationship is lost.
Review the status list against the problem statement. If the proposed removals extend far beyond the area that needs improvement, ask what dependency requires them. Sometimes a wider change is justified; sometimes the scope has expanded through enthusiasm. Keep the reason beside the work so you can distinguish necessary preparation from an optional redesign.
Map The Hidden Dependencies Before Removal
Identify what may pass through, attach to or sit behind the affected furniture. Use the actual installation records and accessible views. Keep wiring, water connections, controls and structural details as their own documented subjects. A cabinet outline is not enough information to decide how everything connected to it should be altered.
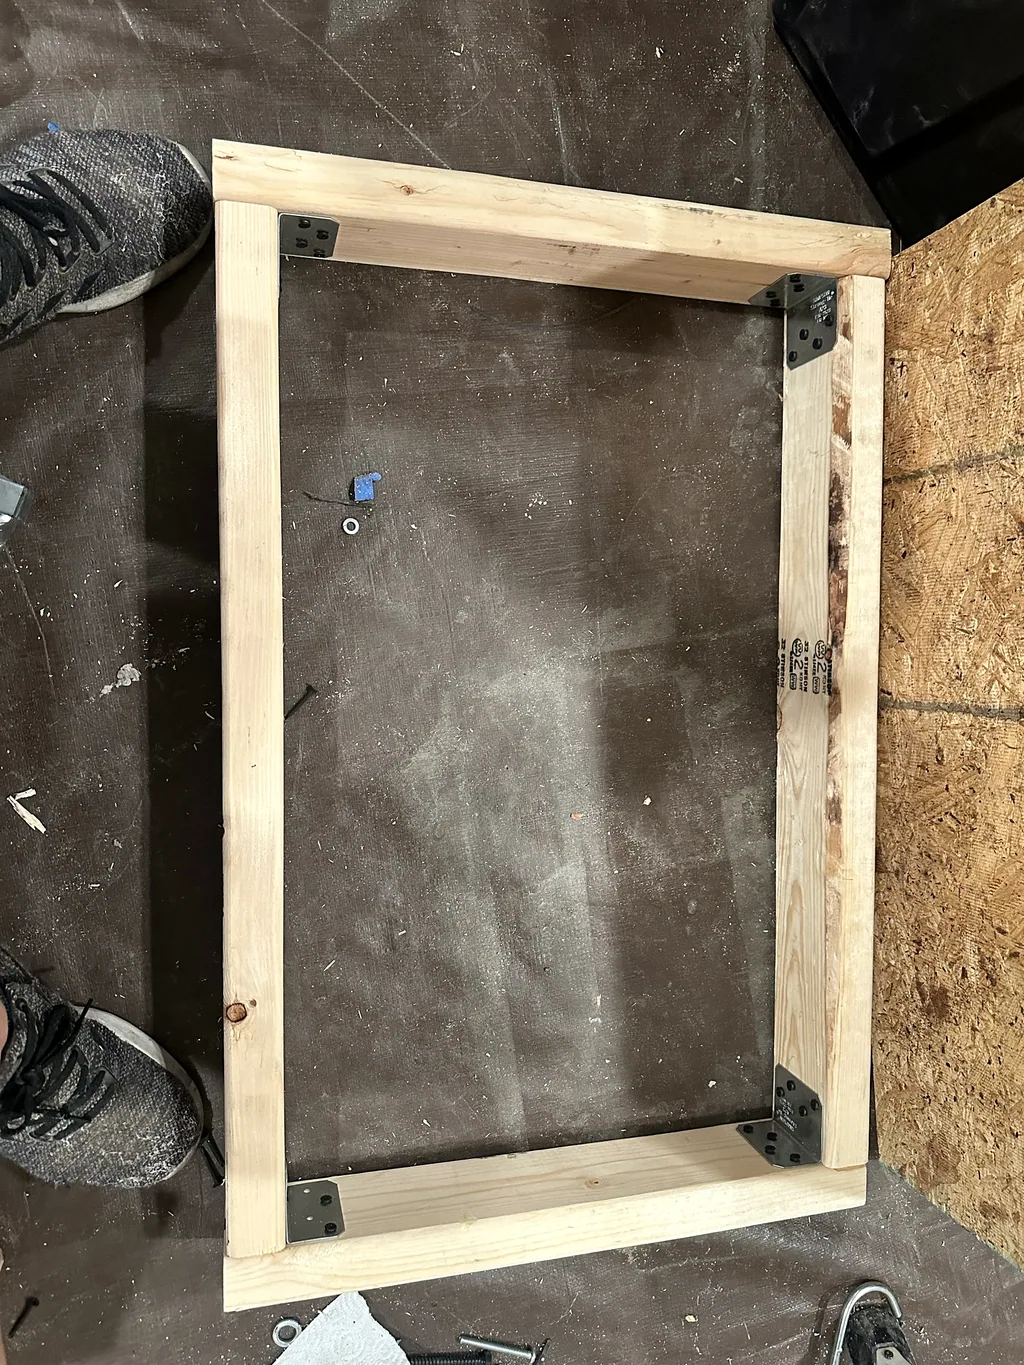
Draw the relationship between the changed unit and its neighbors. A side panel might form part of another compartment, or a countertop may bridge several frames. Identify shared pieces before planning removal. This helps explain why a seemingly independent unit cannot always be lifted out without affecting the surrounding interior.
Record the work that must be resolved before another part is moved or closed. Give each dependency a source and next action. If the information is unavailable, keep the affected step open while continuing unrelated planning. A remodel can make progress without guessing at a concealed connection simply to keep the task list moving.
Use the project-planning method to turn these relationships into a sequence. Each task should name its prerequisite and completion check. The result is a route from the current interior to the selected replacement, with the work between the two drawings made visible.
Compare A Small Change With A Larger Rebuild
Develop at least two responses to the original problem when practical. One might adjust an opening or storage position; another might replace a complete unit. Compare both against the same requirement and the functions you want to preserve. This prevents a larger rebuild from becoming the default simply because it is easier to imagine in a fresh model.
For each option, list the parts affected and the work needed around them. Include restoration of exposed finishes and access to neighboring equipment. A small furniture move can still involve several related tasks. Conversely, a replacement unit may simplify a recurring problem enough to justify a larger initial scope.
Keep appearance and function as separate observations. A preferred finish can be part of the goal, but it should not substitute for checking the route, opening or work position that triggered the remodel. Compare the complete routine in both options, including the items displaced by any new furniture envelope.
Record the selected option and the reason. If you keep the smaller change, save the larger concept as an optional future idea. If you choose the rebuild, identify the benefit that makes the additional work worthwhile to you. The decision becomes easier to revisit when its practical reason is recorded rather than reduced to a general preference.
Measure For The Replacement In Finished Space
Use the actual finished interior as the starting reference. Identify which surfaces will remain and which will change. Keep the new finish buildup separate from the existing dimensions so you can see why the available space differs. This is especially useful when the remodel retains part of a wall or floor while replacing the furniture beside it.
Draw complete outside envelopes, including handles, open doors and removable panels. Check the space needed by the user, not simply the object. A new drawer can fit in the closed position while obstructing the route you were trying to improve. The usable-space guide helps organize these different clearances.
Keep component access tied to the exact equipment. If the replacement surrounds a device already owned, use its actual identity and documentation. A change to the surrounding furniture can alter the working or removal space even when the device itself does not move. Preserve the relevant requirement in the drawing rather than assuming the earlier check remains valid.
Build a full-size mockup of the important change before making every replacement part. Rehearse the original problem and the adjacent successful routines. Record whether the proposal improves the task while retaining what already worked. That comparison gives the new arrangement a clear reason to proceed.
Plan Storage For The Displaced Contents
Emptying a cabinet creates a temporary storage project. List what comes out, which items remain needed during the work and where each group will go. Keep small parts and personal possessions separate. A remodel is easier to manage when the van's contents do not have to be moved repeatedly from one unfinished area to another.
If the van must serve another purpose between work sessions, draw that temporary state. Identify the area available, the items carried and the work that remains open. Keep the temporary arrangement distinct from the completed remodel. This helps you plan practical stopping points without pretending a partly dismantled interior is the final selected result.
Make a return map for the contents. A new unit may hold a different set of containers or provide a different opening. Check the actual items against the proposed storage before assuming the original load will fit. The storage-bin drawer guide shows why the container, frame and movement deserve separate attention.
Keep items removed from the trip load on their own list. The new arrangement may feel more spacious because the load changed, not solely because the furniture improved. Recording both changes makes the result easier to understand and prevents a later reappearance of the original possessions from recreating the same access problem.
Price Reuse And Replacement On The Same Basis
List the selected materials and the work needed to make reused parts suitable for their new role. Include replacement hardware, finishing and any additional pieces identified by the design. Reuse can reduce a purchase while still requiring time and materials. Keep those effects separate rather than describing every retained item as a complete saving.
Compare the cost of the complete selected result. A replacement cabinet quote and a list of reused frame pieces include different work. Carry both through panels, doors, finish, attachment details and the tasks remaining for you. The conversion-cost guide provides a way to make those lines comparable.
Keep planned amounts and actual purchases in separate fields. When the current interior is opened, a newly visible detail may change the design. Record that reason and update the affected package. Preserve the earlier estimate so you can distinguish a scope change from an omitted part or a different quoted amount.
Separate the selected remodel from optional work revealed along the way. A useful additional improvement can remain on the future list without silently expanding the active budget. Give it its own requirement and decision. This keeps the original project finishable while preserving ideas worth considering later.
Sequence Removal, Fitting And Finishing
Create a sequence that begins with the current state and ends with a checked result. Identify the parts that must be documented, disconnected through the appropriate documented process, removed, stored, altered and returned. Keep exact equipment work with its own instructions and verified design. The remodel plan coordinates the tasks without inventing a universal disassembly procedure.
Choose useful checkpoints before access is closed. A frame fit, an opening, a furniture movement and a service route can be observed at different stages. Record the check that belongs to each. Waiting until every panel is finished can make a simple correction harder because the relevant connection or edge is no longer accessible.
Include finishing transitions with the surrounding interior. A reused panel, fresh carpet edge and existing countertop may need a defined join. Draw the intended result and reserve the work in the task list. Otherwise, the main unit may be complete while small unfinished boundaries prevent the area from reaching the endpoint you described.
Keep the current drawing revision with the work. If the physical fit changes a dimension, update the dependent part list before continuing. The decision log links the old choice, new observation and selected revision. That keeps the rebuild coherent rather than allowing each newly made piece to follow a different version of the plan.
Work Through A Storage-Access Example
Suppose an existing drawer cannot be opened conveniently when the bed is ready. Record the exact routine, the obstructing item and the current drawing. The problem is access in a particular state. That gives you a better starting point than deciding immediately to replace all the storage beneath the bed.
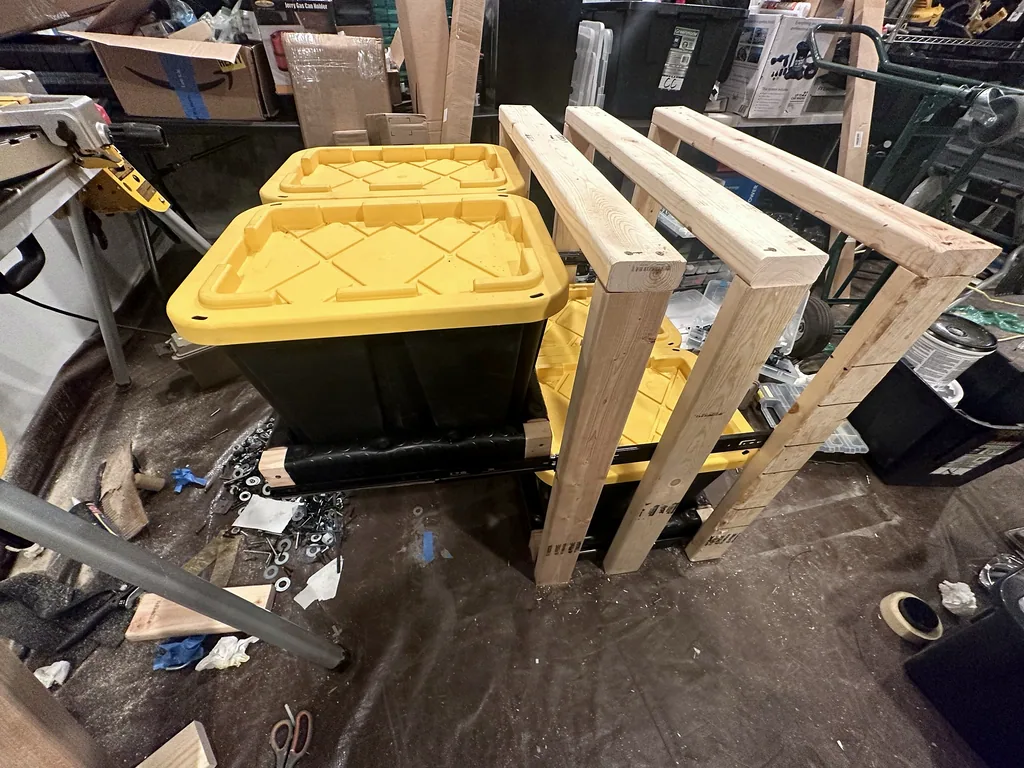
Option A might change the contents and retrieval direction within the current unit. Option B might move or rebuild the unit. Draw both using the same sleeping arrangement and carried items. Check whether the proposed opening solves the original problem and what it changes for the neighboring passage or service panel.
For the selected option, list the pieces kept, removed, reused and rebuilt. Identify the hidden connections and the temporary home for the contents. Price the complete work and rehearse the important movement at full size. These steps connect the observed problem to a defined project rather than turning it into an open-ended redesign.
After the work, repeat the original routine and record the result. Keep the observation specific: the selected container can be retrieved in the intended bed state, or a further conflict remains. Preserve the actual result even if it differs from the expectation. The example's purpose is a repeatable remodel method, with evidence before and after the physical change.
Close The Remodel With A New Current-State Record
Update the drawing to match the actual finished arrangement. Keep the earlier version and the decision history. Photograph relevant hidden details before access is closed, then save wide views of the completed area. Future work should begin from this new current state rather than an attractive proposal that no longer matches the van.
Update equipment and access records only where the project changed them. Preserve historical identities and the original purchase record. If a component was removed, keep that status distinct from a completed return or disposal. The aim is a useful account of what is now fitted and what happened to the previous arrangement.
Review the original requirement and the functions you intended to preserve. Record which checks were completed and any specific task still open. A remodel can make the space look finished while leaving an access question unresolved. Keep the actual state readable so a later improvement starts from evidence rather than an assumed success.
My build diary records the van through separate projects. A remodel benefits from the same approach: one identified problem, a selected change, the actual work and the observed result. That record makes the next project easier to plan and gives the interior a history you can understand as it evolves.
Set Practical Work-Session Boundaries
Before starting a removal session, describe the state in which you intend to leave the work area. Identify the parts that will be stored, the access that remains open and the tasks that must be resolved before the next stage. This is especially useful when the remodel shares space with ordinary equipment or another project. A clear stopping point keeps an unfinished area understandable between sessions.
Make a small session inventory. Record the pieces removed, where they were placed and which associated parts belong with them. Keep loose hardware identified by its original unit instead of combining everything into a general container. If you discover that the physical arrangement differs from the current-state drawing, photograph the difference and update the affected dependency before planning the next removal.
Separate a newly visible observation from a conclusion about its cause. An unexpected opening, join or component position gives you another fact to record. Identify which design question it affects and the source needed to resolve it. This lets the remodel respond to the actual interior without inventing an explanation simply because an earlier drawing did not show the detail.
At the end of the session, update three short lists: work physically completed, decisions still open and the next task ready to begin. Keep purchases and design acceptance out of the completed-work list unless they are the task being recorded. A replacement panel ordered today is progress, while fitting and checking it remain later actions.
Use the next session to continue from that checkpoint. Begin by checking the drawing revision and the state of the stored parts. If a new decision changes the selected replacement, revisit the affected pieces before making more cuts or orders. A bounded remodel stays manageable when each session leaves an accurate starting point for the next one, with the work area, materials and decisions connected.
Keep The Replacement Reversible During Fit Checks
Where the selected construction process provides an intermediate fit stage, use it to compare openings, movement and neighboring access before completing the finish. Record the actual check and the parts involved. If an adjustment is needed, update the relevant dimensions together. This gives the finishing stage a settled arrangement to follow and keeps a last-minute visual improvement from obscuring an unresolved functional conflict.
Frequently Asked Questions
Where Should A Camper Van Remodel Begin?
Start with a specific observed problem and a record of the current interior. Identify the functions that should remain unchanged. Then compare a bounded adjustment with a larger rebuild before deciding which parts must be removed.
How Do I Decide What Can Be Reused?
Record the actual part, dimensions, condition and connections, then compare them with the new role. Include any alteration and finishing work. Keep an intention to reuse separate from confirmation that the part fits the selected replacement design.
Should I Update The Old Layout Drawing?
Save a new revision that matches the current physical interior, retaining the earlier drawing as history. Use the remodel decisions to connect the versions. Update the related part lists and access notes when a selected change affects them.
How Can I Avoid Expanding The Remodel Indefinitely?
Define the endpoint and separate required dependencies from optional improvements. Give additional ideas their own decision and budget. Finish the selected work package and record the result before treating a neighboring redesign as part of the same task.
What Should I Verify When The Work Is Finished?
Repeat the original problem routine and the adjacent functions you intended to preserve. Check the changed openings, movements and service routes against the actual design. Save the observed result with the final drawing and relevant photographs.