Planning a Storage-Bin Drawer: My Patio Mockup and Frame
A camper van storage plan becomes easier to work through when you separate three things: the containers, the drawer carrying them and the cabinet around the drawer. In my Roof Storage System project, I worked on that arrangement with timber on the patio, a rubber-lined drawer and the bins placed in the assembly.
I wanted storage for tools, hardware and other items I would use while working on the van on the road. I started the layout in SketchUp, then cut timber to represent the roof dimensions on the patio. That gave me a physical space in which to develop the drawer and cabinet frame together.
The useful part of this stage was seeing the separate pieces become one arrangement: the box frame, base panel, lining, slide connections and containers. My Roof Storage System build diary records the sequence and dimensions. This guide brings those notes and photographs together as a fit-planning workflow.
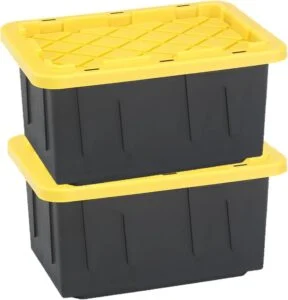
HOMZ Durabilt Storage Bins
These lidded plastic bins organize tools, supplies and loose equipment. Their stackable shape helps consolidate items between build sessions.
View On AmazonWatch My Storage-Bin Drawer Build Film
My narrated film follows the patio mockup and construction stage, from the separate bin, drawer and cabinet dimensions to the frame, rubber lining and slide connections. It shows this documented stage of the roof-storage project.
Press Play To Start The Video.
Read The Video Transcript
Hi, I'm Steve Smith with Camper Van Freedom. This is the storage-bin drawer I developed during my roof-storage project. I started with a SketchUp layout, laid out timber on the patio to represent the roof dimensions, and worked through the drawer and cabinet frame with the bins in place. The useful lesson was to keep the bin, the drawer and the cabinet as three separate parts of the plan.
The bin is the container I need to reach. The drawer carries the containers. The cabinet surrounds the drawer and provides room for it to move. Their dimensions are related, but they are not interchangeable. A container's lid and handles can take up more space than its base. The drawer's frame, base and lining then take up space of their own.
My patio mockup gave the layout a physical reference. After designing the storage system in SketchUp, I cut timber to simulate the roof dimensions. I could arrange the frame and containers within that space and see how the pieces related to one another. The photographs show the construction and fit stage I reached, rather than a finished installation on the van.
My diary records the drawer's total dimensions as twenty-nine and three-quarter inches wide, nineteen and three-sixteenths inches deep, and three and seven-eighths inches high. The separate cabinet frame was thirty-four inches wide, twenty inches deep and thirty-six inches high, intended for two rows of drawers. Those are the recorded overall dimensions. Clear inside space needs its own measurements.
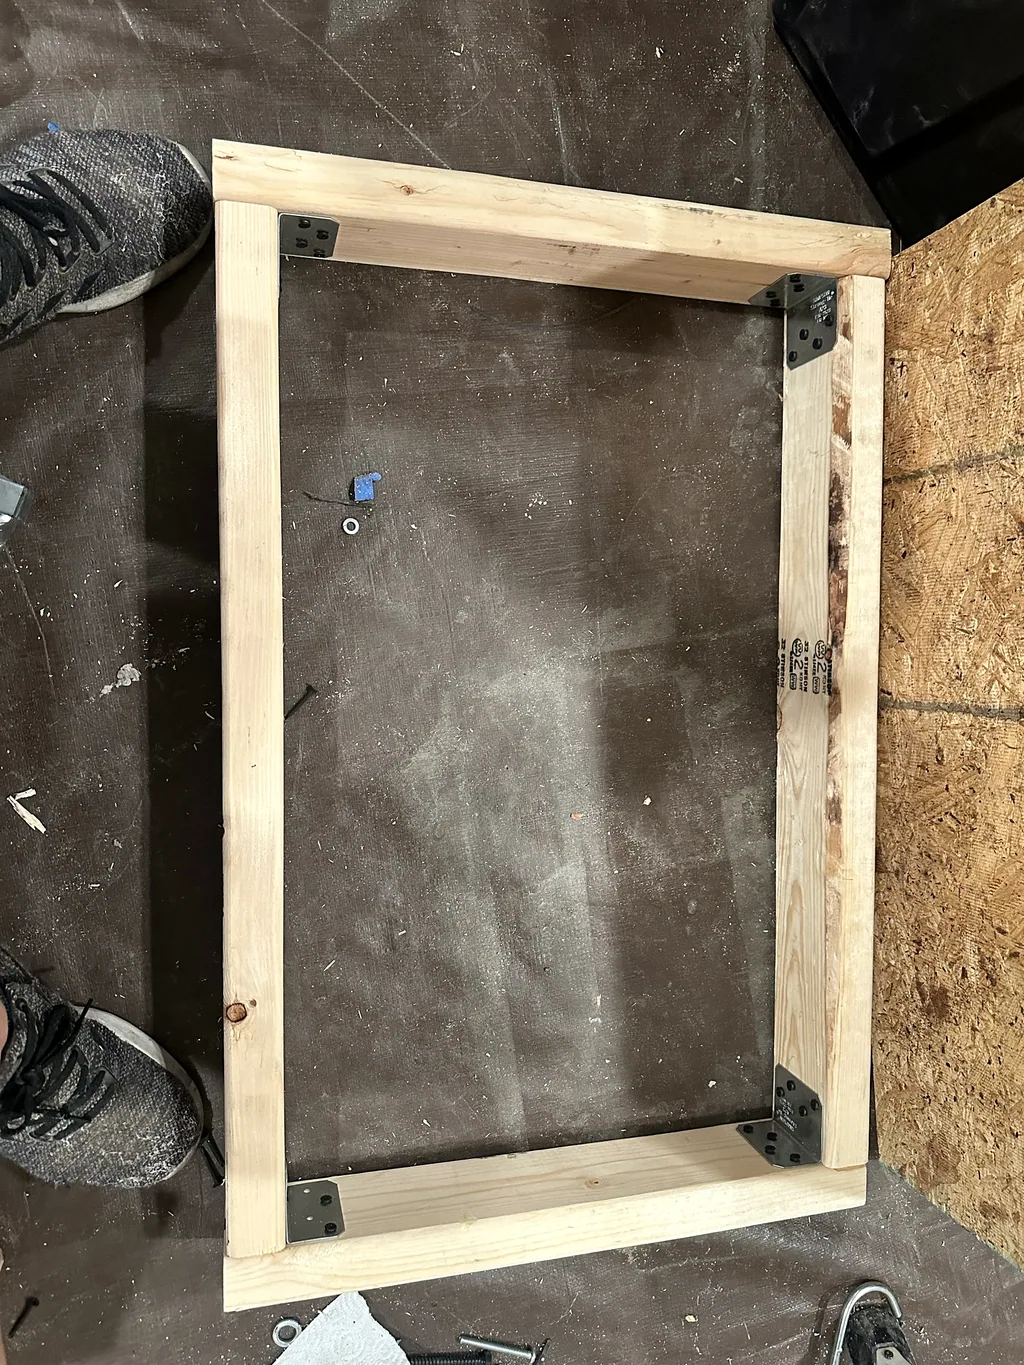
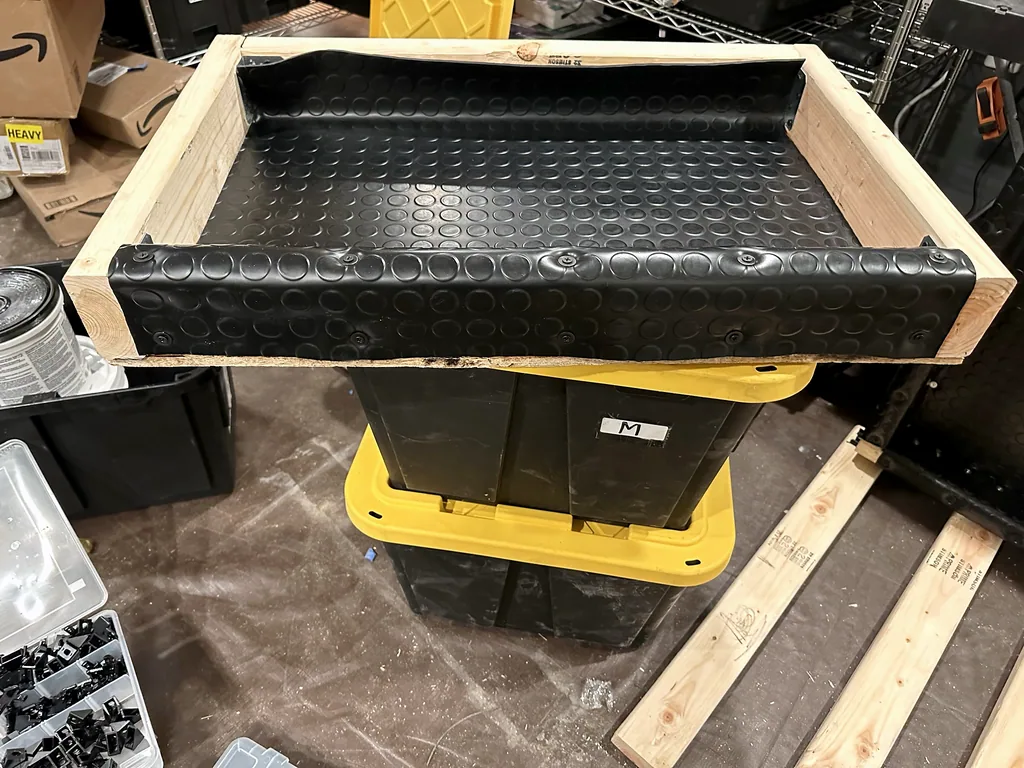
I cut the drawer timber, drilled the pieces and screwed them into a rectangular frame. Galvanized right-angle brackets went inside the corners. I then marked the base panel for the screws, drilled it and fastened it to the frame. Keeping the stages separate made the connections visible before the lining covered the inside.
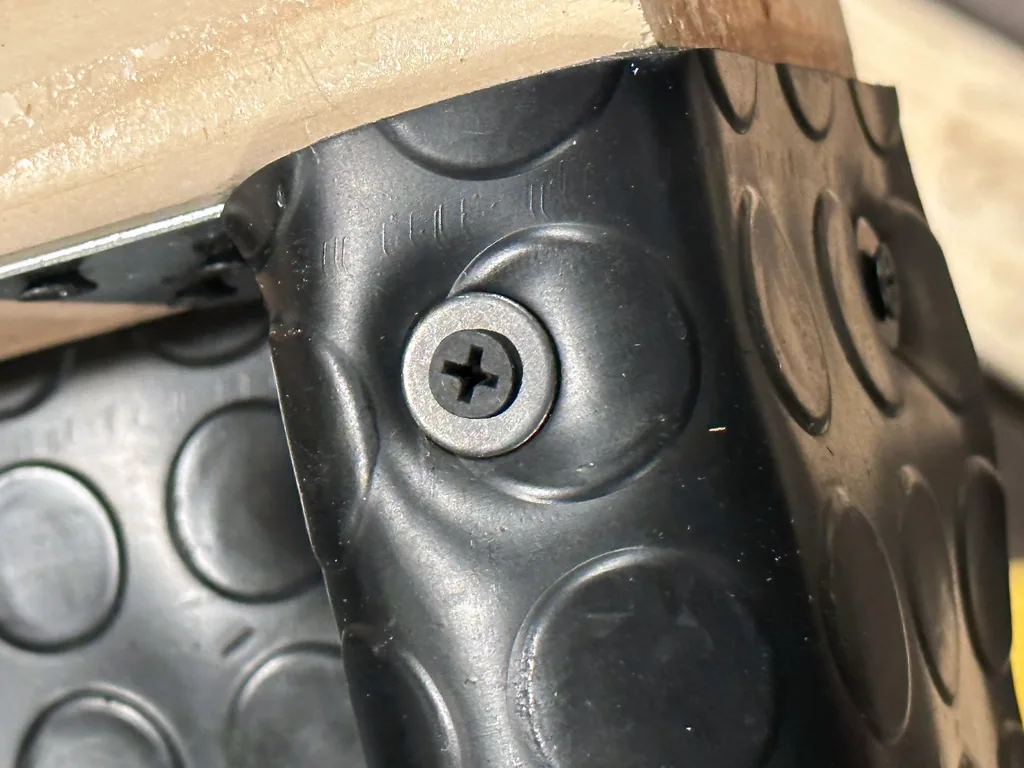
For the lining, I cut the rubber mat with scissors. I cleaned the wood, applied spray adhesive in sections and pressed the material into place with a roller. The base and sides used separate pieces. Screws and flat washers also held the mat to the timber and base. My aim was to put rubber between the containers and drawer to reduce noise and vibration. The finished inside space changes when that lining goes in.
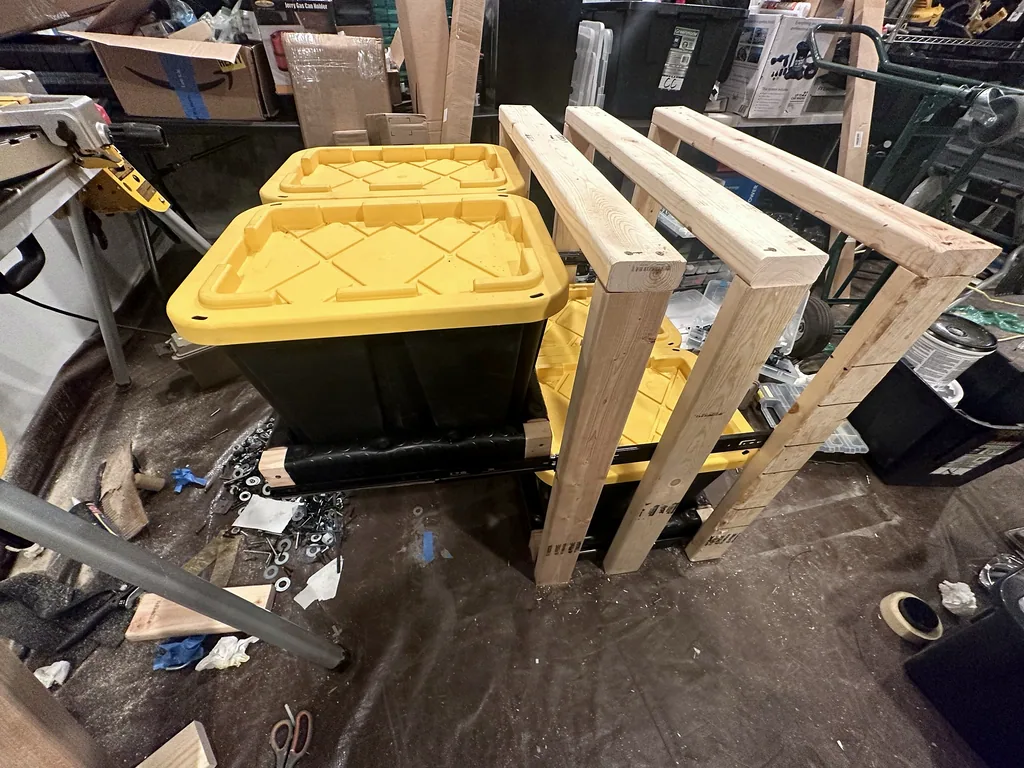
The next stage connected the drawer and taller cabinet frame with drawer slides. The extended-drawer photograph shows the bins brought out from the frame. Fit means more than placing a bin in a tray. I also need room to reach the handles, remove a lid and lift the container. The space above the bin matters alongside the drawer's forward travel.
The HOMZ bins appear in my materials list for this project. The guide also shows Rubbermaid and Sterilite container alternatives for comparison; those are not additional bins I am claiming to have used. Whatever container is being planned around, its actual footprint, lid, handles and removal movement belong in the same fit record.
This diary entry records twelve hours of work and ends with a plan to continue the roof-storage project. The mockup, frame and lined drawer preserve that stage of the build. Thanks for watching. I'm Steve Smith with Camper Van Freedom. My full guide includes the original photographs, recorded dimensions and a downloadable bin, drawer and cabinet fit worksheet. They are linked below. Until next time.
Watch This Review On YouTube · English Captions (VTT) · Download The Transcript
Plan the Bin, Drawer and Cabinet Separately
The bin is the container I need to reach. The drawer is the assembly that carries it. The cabinet is the surrounding frame that provides the space for the drawer and its movement. Each has its own dimensions, and each asks a different question.
Start by putting the actual containers into the intended arrangement. Check their widest points, including the lids and handles. Then work out the inside space the drawer needs to hold them. The drawer's outer dimensions also include its frame and base; the cabinet has to accommodate that assembly and the chosen slide arrangement.
| Part | What To Record | What To Try In The Mockup |
|---|---|---|
| Bin | Widest outside footprint, height with lid, handle positions | Reach the handles, remove the lid and lift the container |
| Drawer | Outside frame size, inside space after lining, base and sides | Place all the intended bins together and reach around them |
| Cabinet | Outside frame size, clear opening and slide positions | Move the drawer through its travel and check the surrounding space |
Keeping these measurements on separate rows makes a change easier to follow. A thicker lining changes the drawer's usable inside space. A different container can change the space needed for its lid or handles. Update the affected rows before carrying the change into the frame.
Why I Started with a Patio Mockup
My first two recorded steps were designing the storage system in SketchUp and cutting 2×4s to simulate the roof dimensions on the patio. I could then work on the storage-bin drawer within that physical layout. The timber on the ground provided a reference for the space I was planning around.
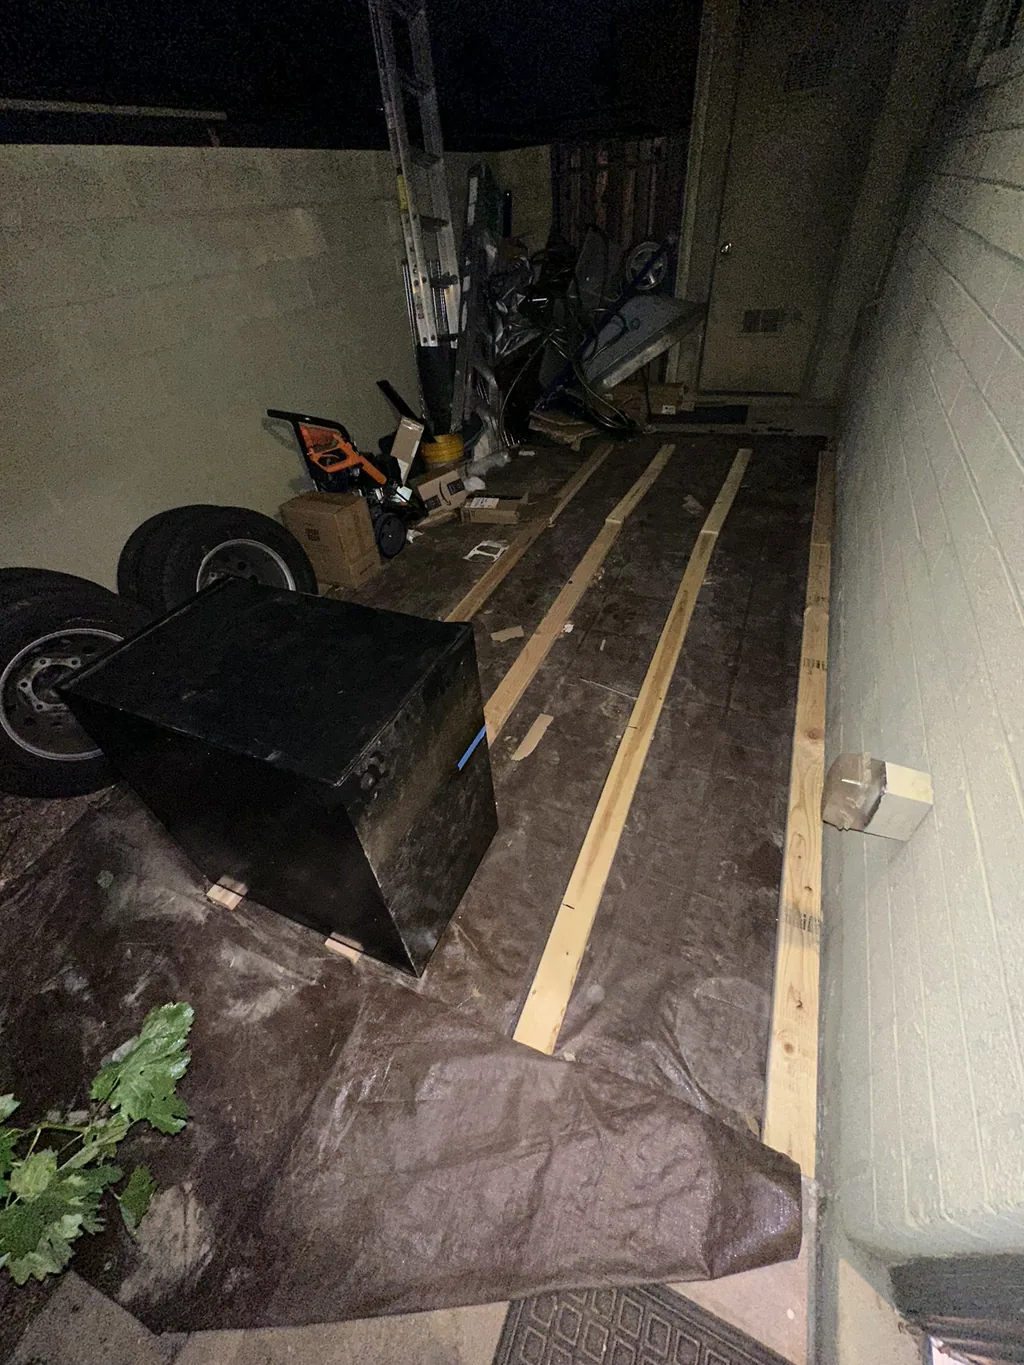
A mockup is useful when it gives you something specific to try. Put the containers where they would sit, stand where you would retrieve them and allow room for the drawer to move. Keep a note of which measurement belongs to the roof reference, which belongs to the drawer and which belongs to the cabinet.
I use the same relationship between a model and a physical check in my SketchUp layout workflow. The model keeps the arrangement organized; the physical pieces make it easier to examine handles, edges and access.
My Recorded Drawer and Cabinet Dimensions
My diary gives a total size for the drawer assembly and a separate total size for the cabinet frame. The cabinet was intended to hold two rows of storage-bin drawers. Keeping those two records side by side makes the hierarchy of the project easier to understand.
| Assembly | Width | Depth | Height |
|---|---|---|---|
| Storage-bin drawer — total dimensions | 29¾ inches | 19 3/16 inches | 3⅞ inches |
| Cabinet frame — total dimensions | 34 inches | 20 inches | 36 inches |
For your own fit record, give the clear inside measurements their own fields alongside the total dimensions. Measure the opening where the container actually sits and the route through which it will be removed. That keeps the space occupied by timber, lining and hardware visible in the plan.
The photographs help connect the numbers to the assembly: the rectangular drawer frame becomes the lined tray, and that tray connects to the taller cabinet frame. Compare each photograph with the corresponding row of measurements as you work through the sequence.
How I Built up the Frame and Base
I measured and cut the timber for the drawer, drilled the pieces and screwed them together into a box frame. Next, I attached galvanized right-angle brackets inside the corners. The base followed: I marked the sheet for screw locations, drilled it and fastened it to the frame.
That order left the frame and corner connections visible before the lining went in. It also gave me distinct stages to photograph. A wider frame picture shows the arrangement of the members, while a close view of a connection records where the bracket and fasteners sit.
The next cabinet stage used a taller timber frame to hold the drawer rows. My notes then record attaching drawer sliders to both the cabinet frame and the storage-bin drawer. For the broader fastening terminology and product choices, my wood-screw guide is the related reference.
Fitting the Rubber Lining to the Drawer
I cut the rubber mat with scissors to cover the drawer. After cleaning the wood, I applied spray adhesive in sections and used a roller to press the material into place. The base and the sides were separate pieces, with shorter cuts used around the sides.
I also used screws and flat washers to attach the mat to the timber and base panel. The close-up photograph shows that fastening detail clearly. My reason for adding the lining was to put rubber between the containers and the drawer, with the aim of reducing noise and vibration.
The MYOYAY mat item page follows this material through my drawer project. When recording a similar fit, measure the inside space again after the lining is in place. Keep the finished inside dimensions with the container measurements so that the record describes the arrangement you are actually using.
Check Drawer Travel and Container Access Together
The extended-drawer photograph is the useful checkpoint for this part of my project. It shows the bins carried out from the timber cabinet frame. The diary's material list includes AOLISHENG full-extension drawer slides.
Work through the access sequence as a set of ordinary movements: pull the drawer out, reach the handles, take off a lid and lift a bin. Look at the space above the container as well as the space in front of the drawer. A bin can sit neatly in a tray and still need extra room for the way you intend to handle it.
Record the slide's closed length, actual travel and specified mounting space separately. Then photograph the drawer closed and extended from a similar viewpoint. Those paired views help explain where the moving assembly sits relative to the surrounding frame.
This roof-storage mockup was a different project from the aluminum enclosures and removable baskets I used inside the van. That page follows the interior storage setup and my experience with the baskets over time.
Use the Bin, Drawer and Cabinet Fit Worksheet
Download The Storage Fit Worksheet
The blank CSV provides separate rows for the containers, drawer frame, lined interior, cabinet opening, slides and access movements. Choose one measurement unit for your record and keep a source or photograph beside each dimension.
- Measure the containers. Include their lids, handles and the space needed to lift them.
- Record the drawer. Keep total frame dimensions and clear lined space in separate rows.
- Record the cabinet. Note the opening and the frame members around the moving drawer.
- Check the movement. Record the slide arrangement and try the complete retrieval sequence.
- Carry the next action forward. Write a specific measurement or fit check, then add its result to the same record.
My takeaway from this stage is that the containers, drawer and cabinet were developed together. The Roof Storage System entry records 12 hours of work and ends with a plan to continue the roof-storage project. The photographs preserve the fit and construction stages reached that day.
Two Alternative Storage-Bin Designs to Compare
The HOMZ bins appear in my Roof Storage System materials list. Rubbermaid Roughneck and Sterilite Industrial totes are two other container designs to compare when developing a drawer layout. Put the chosen container's measured footprint, lid and handle positions into the same fit worksheet.
My HOMZ storage-bin item page connects the container record to the drawer photographs. The alternatives below are comparison options.
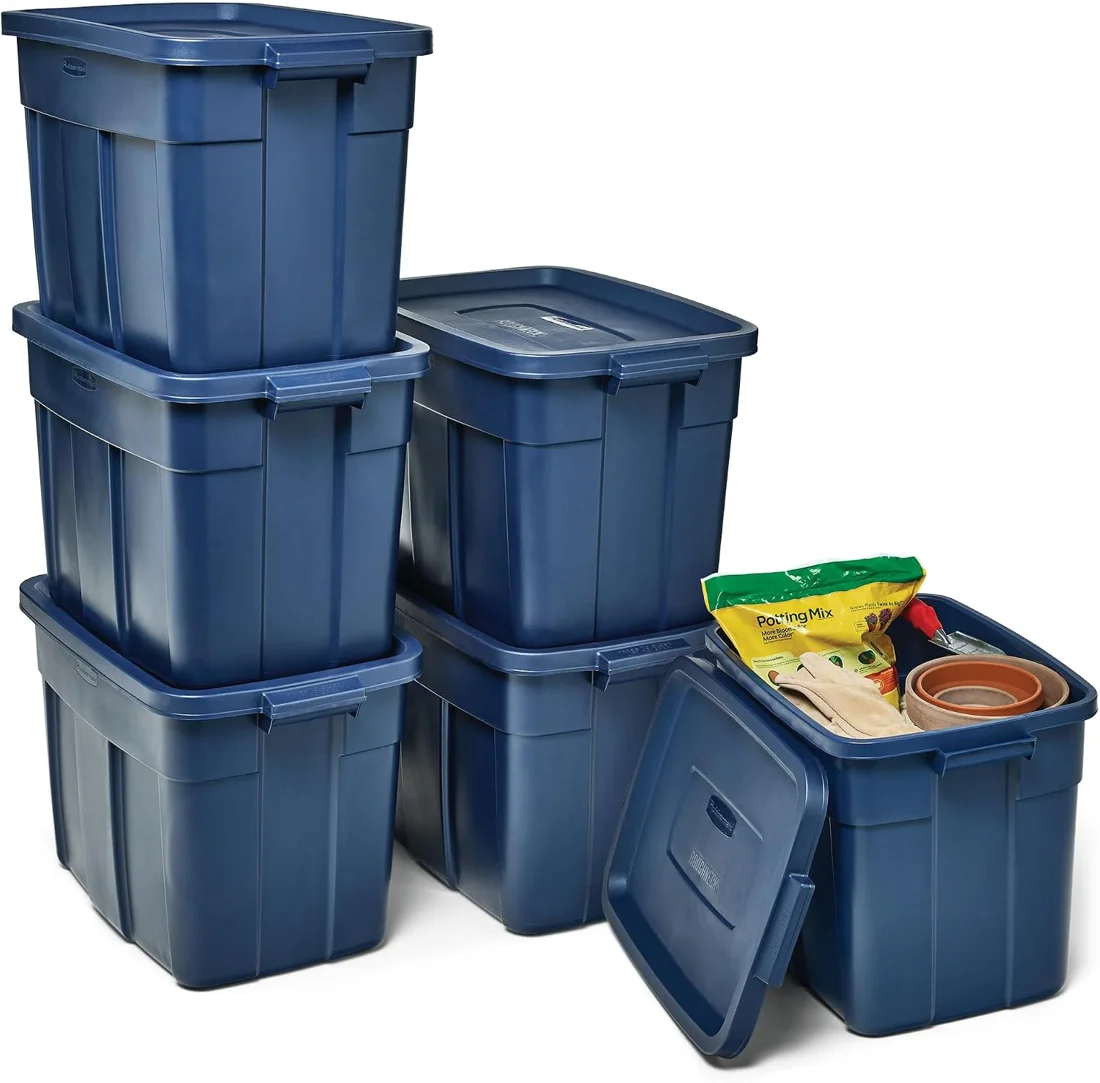
Rubbermaid Roughneck Storage Totes
These lidded plastic totes provide enclosed storage for tools, supplies and household equipment. Their molded handles and stackable form offer another bin arrangement for organizing loose items.
View On Amazon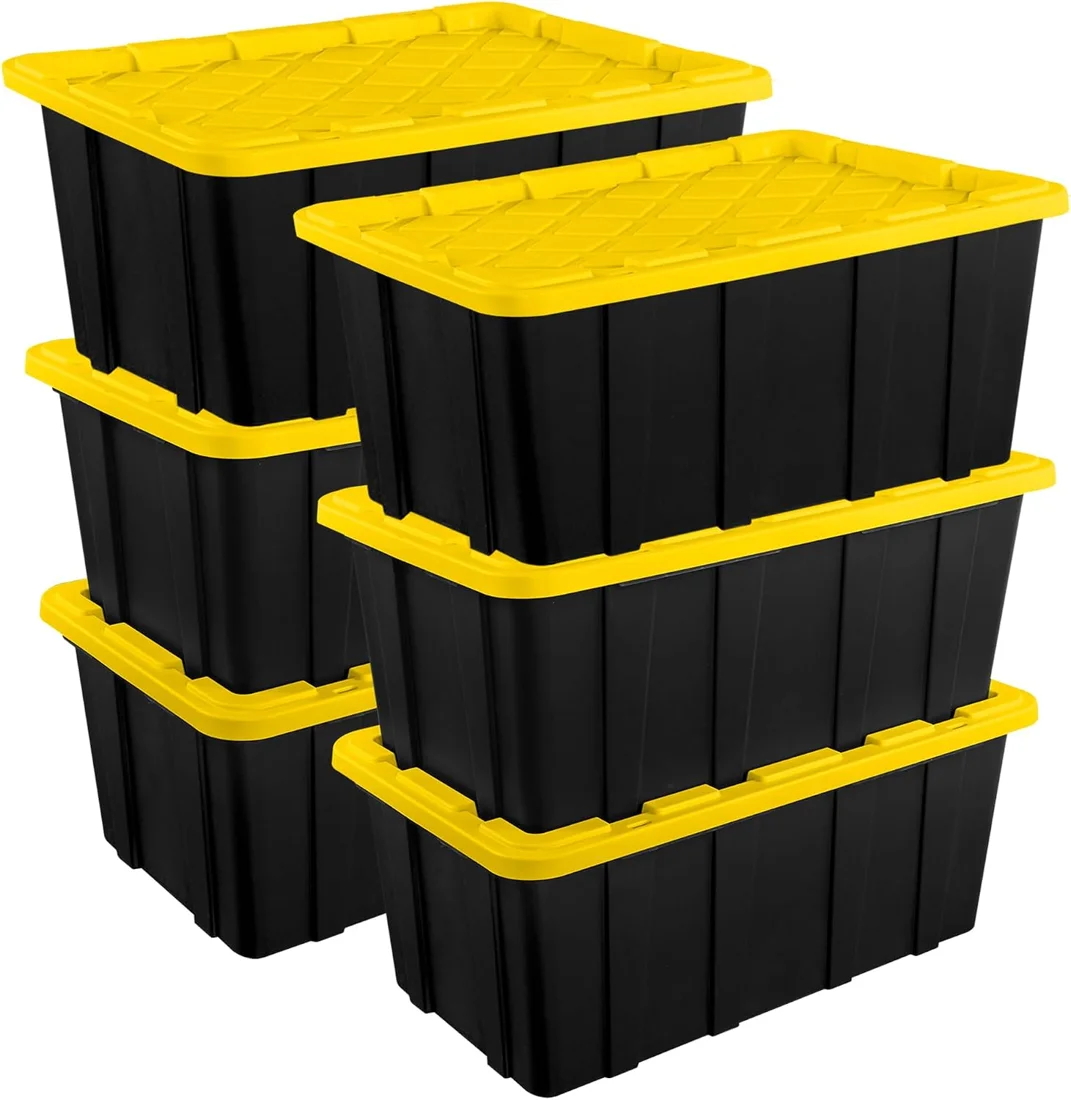
Sterilite Industrial Storage Totes
These plastic utility totes combine a storage bin with a removable lid. Their stackable shape provides another container option for organizing equipment and supplies.
View On Amazon