A camper van conversion cost becomes useful when you know what the number includes. A price for furniture materials, an installed interior and a finished vehicle describe different purchases. Before comparing totals, I would put the same requirements beside each option: the van, the living arrangement, the systems, the work still needed and the money available to complete it.
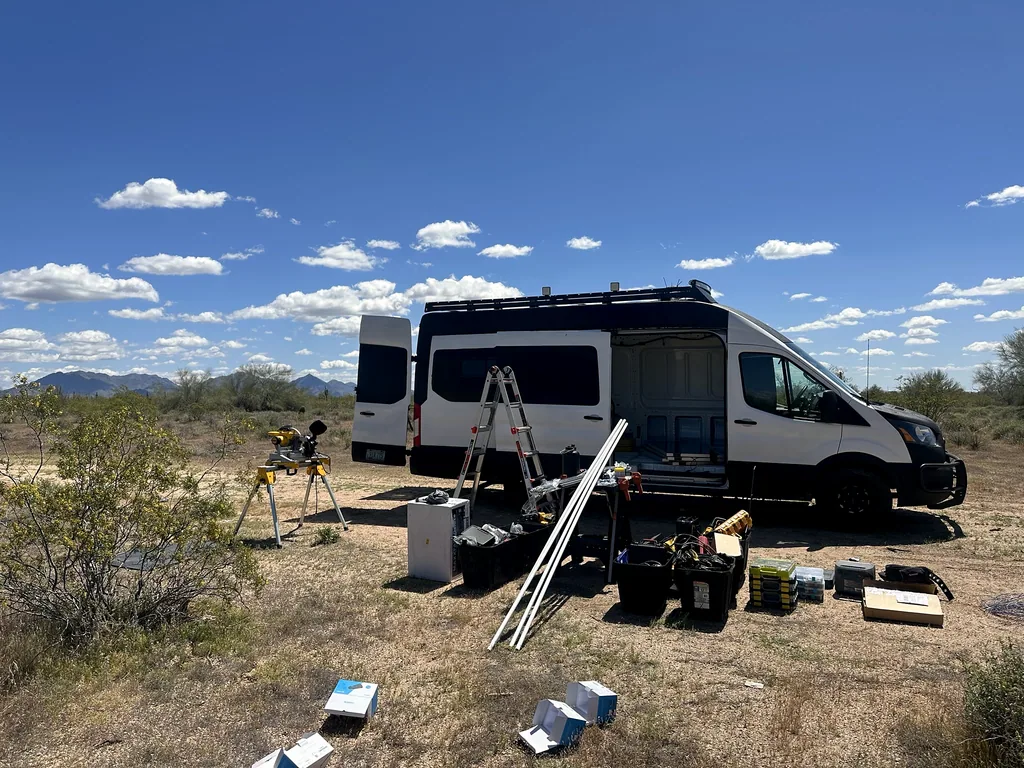
My own reference is my 2023 Ford Transit 250 high-roof extended build. I have bought components, made parts and changed decisions as the project developed. That experience makes a detailed cost record more useful to me than a single headline figure. I want to know which decision an amount supports, what remains outside it and whether a later change affects something already bought.
This guide walks through that budgeting process. You can use the blank CVF build-cost worksheet to hold the actual figures. Here, the job is deciding what belongs in the budget and how to compare it. By the end, you should have a defined scope, a purchase sequence and a clear explanation of what would make your estimate change.
Download The Blank Conversion Costs Worksheet
Define The Conversion You Are Pricing
Start with a short description of the result. “Build a camper van” leaves too much open. “Create sleeping space, a cooking surface and storage for weekend trips while keeping room for work equipment” identifies decisions that can be priced. A different brief with an enclosed washroom and permanent workspace will produce a different list, even in the same vehicle.
Write down the people who will use it, the activities that need dedicated space and the items that will travel inside. Include the things you already own. A mattress, cooking equipment or storage container may reduce a purchase, but it still occupies space and may create other work. Record the outside dimensions before assuming existing possessions will fit a new cabinet.
Keep vehicle acquisition separate from conversion work. That lets you compare the interior estimate without losing the overall commitment. A vehicle quote may have its own taxes, transport, inspection or initial service costs. Put those in a vehicle section using actual records. Do not blend them into furniture materials and then compare your total with somebody else's interior-only number.
Also define the endpoint. Is the budget for an initial usable arrangement, a complete planned interior or a later round of upgrades? Each is a valid project, but the labels matter. If the estimate stops after the first stage, show the deferred work beside it. A low first-stage figure does not explain the eventual cost unless the remaining scope is visible.
Divide The Budget By Work Package
I find a project-sized grouping easier to use than one long stream of purchases. A work package might be interior lining, bed furniture, kitchen storage, roof equipment or one electrical area. Each package needs a description of the result, a parts list, the associated tasks and an indication of what depends on it.
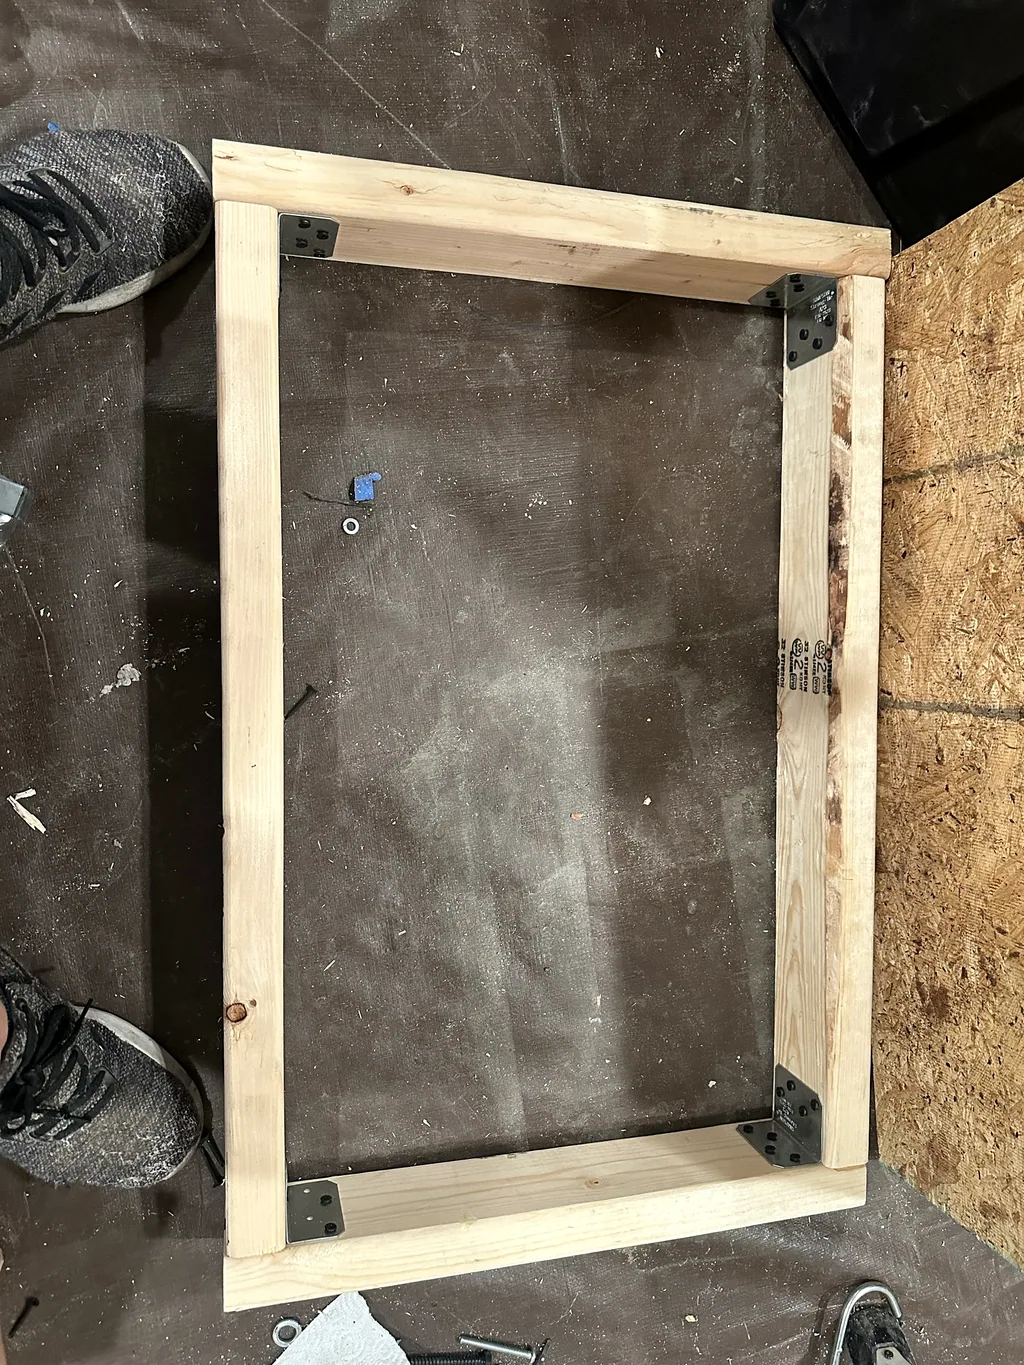
The categories should match your build. A small removable interior may need only a few. A more involved conversion may need separate groups for furniture frames, panels, finishes and access doors. Avoid a category so broad that it hides the decision. “Interior” tells you very little when the open question is whether a cabinet includes its hinges, panels and finish.
Give shared purchases their own place. A tool used on several projects should not be counted at its full price in every package. Put it in a shared-tools category and note the projects it supports. Do the same with a delivery charge covering several items. The category system is there to prevent double counting, not to make every receipt fit an artificial rule.
For each package, distinguish required work from options. The bed you intend to use belongs in the selected configuration. A second bed arrangement you are comparing belongs in an alternatives list. Keeping both in the same committed total makes the project look more expensive than the selected design; leaving both out makes it look ready when the decision is still open.
Make Every Amount Traceable
A useful budget line answers more than “how much?” Record the item or task, quantity, unit, amount, currency, source and status. Add a short scope note if the price could be misunderstood. A cabinet quote, for example, might cover the shell but leave out installation, door hardware or finishing. Those exclusions belong beside the amount, where you will see them during comparison.
Keep planned and actual amounts in separate fields. When a purchase occurs, add the receipt amount without erasing the estimate. The difference can reveal an omitted accessory, a changed quantity or a different product choice. If you overwrite every estimate with the latest receipt, you lose the explanation for why the budget moved.
A blank amount means unresolved. It does not mean free. Give the line a next action: request a quote, measure the opening, confirm the quantity or decide whether the item remains in scope. That turns an incomplete budget into a working list. A row that merely says “water system” with no amount or action can sit unresolved while the surrounding total creates a false sense of progress.
Use consistent currencies and units before adding figures. Keep a pack distinct from an individual item and a sheet distinct from a finished panel. If you convert a quote into your working currency, preserve the original amount and the conversion basis in the notes. The purpose is to make a future comparison understandable without reconstructing the entire purchase history.
Compare Complete Ways Of Doing One Job
The most useful cost comparison is often between ways of completing a specific task. You might make a cabinet, assemble a kit or buy a ready-made unit. Define the required outside dimensions, storage function and access first. Then list the work and parts needed for each route to reach that same result.
A DIY materials list needs more than the visible structure. Include joining hardware, panels, doors, finishing materials and the consumables used during construction. Add the equipment you need to buy specifically for that route. If you already own a suitable tool, record that fact instead of adding a new purchase automatically. Borrowing or hiring may be a separate comparison with its own actual terms.
A kit price needs an inclusion check. Read the current contents and instructions, then identify the remaining work. Delivery, assembly, vehicle preparation, attachment parts and finishing may be separate. Do not fill those gaps from a promotional photograph. The conversion-kit planning guide provides a detailed way to record those interfaces before ordering.
Paid help needs a written scope too. Compare the quoted task, supplied materials, exclusions, handover documents and the point at which your own work resumes. The DIY-or-buy guide covers the broader choice. For budgeting, carry each option through to the same defined endpoint before deciding which total is lower or which approach gives you more useful value.
Include The Small Parts And The Work Around Them
Small purchases become hard to follow when they are scattered across receipts. Group them with the task they support while preserving the individual source records. Fasteners, finishing supplies, connectors, mounting pieces and packaging quantities can all affect the amount needed to complete a job. Work from the actual design and component instructions instead of assigning an unexplained percentage to every category.
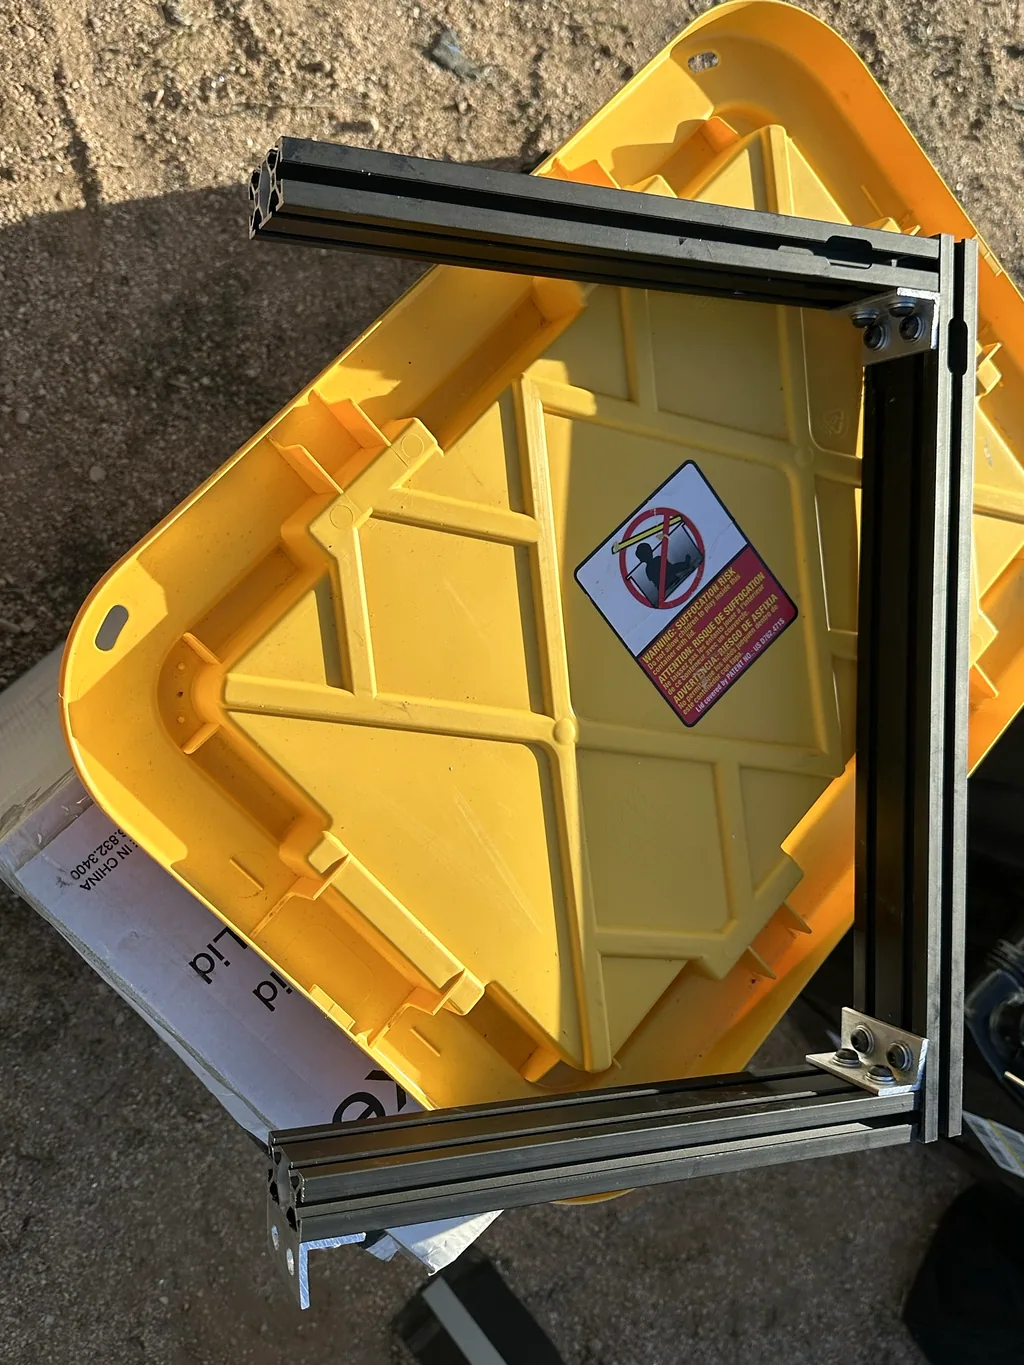
Delivery deserves attention before the last ordering screen. A long material, a bulky panel and a small parcel may have different shipping terms. Record what the actual offer includes, including collection if you plan to collect it. If combining orders changes delivery costs, compare the combined scenario without silently removing the charge from every individual estimate.
Workspace is another practical line. A job may require a place to leave parts assembled, permission to do the work or storage between sessions. Those arrangements can affect both cost and sequence. My guide to working without a garage helps define the workspace question before a large delivery arrives.
Time should remain visible even when you are not paying yourself. Record an expected number of work sessions or a rough time allowance separately from cash purchases. That helps compare a ready-made component with a part you want to fabricate. Keep your own chosen value for time distinct from a supplier's quoted labor so the two are not mistaken for the same kind of expense.
Work Through A Clearly Defined Example
Consider a hypothetical storage cabinet, rather than a claim about what my van cost. Suppose your initial materials estimate is 240 budget units. You then identify 45 for joining hardware, 70 for panels, 35 for door hardware and 30 for finishing supplies. The cabinet materials now total 420. That is already a more complete figure than the original frame-only estimate.
Next, suppose the actual delivery quote is 40 and a task-specific tool would cost 60. If both are purchases needed for this job, the cash plan becomes 520. If you already own the suitable tool, the new cash requirement is 460 instead. Preserve that distinction in the record; do not describe the owned tool as newly purchased or pretend its availability applies to every builder.
Now compare a hypothetical kit quoted at 480 plus 50 delivery. If the kit also requires 25 of separately supplied attachment parts, its comparable purchase total is 555. At this point, the useful comparison is 460 or 520 against 555, depending on your tool situation. Assembly time, finishing and any remaining installation work must still be compared using the actual inclusions.
These figures are arithmetic examples, not market prices or a recommended spending level. Their purpose is to show how an apparently cheaper starting figure changes when you define the complete job. Replace every number with your own dated sources. Keep the frame-only estimate as a note so you can see which omitted items explained the difference.
Build A Purchase Sequence Around Dependencies
Once the scope is priced, decide what is ready to buy. A component whose dimensions determine a furniture opening may need to be selected before the surrounding panels. A finish that changes the usable dimensions may need to be included before cutting a close-fitting part. The sequence comes from your design, not from the order in which discounts appear.
Separate selected, ready to order, ordered, received and checked. These describe different states. A selected item may still depend on a measurement. An ordered item may not yet be available for a fit check. A received box may still need its contents compared with the order. This simple separation makes the budget useful for scheduling as well as accounting.
Keep the next purchase batch small enough that its dependencies are understood. Buying every possible fitting early can tie up money in parts that later change. Waiting until the last minute for a known prerequisite can stop progress. A practical batch covers the next defined work package and any verified long-lead requirement, with the unresolved decisions kept outside the committed order.
Use the project-planning guide to connect each purchase with a task and completion check. The cost plan tells you what you expect to spend; the project plan tells you what that spending makes possible. Together, they expose a common problem: a room full of purchased materials with no next task that is actually ready to start.
Keep Changes From Disappearing Into The Total
When the design changes, identify the affected rows before updating the overall amount. A deeper cabinet could change panel quantities, drawer dimensions, access and the neighboring furniture. Keep the previous layout revision and the reason for the change. The van-build decision log is a useful companion because it connects the choice to drawings, purchases and follow-up checks.
Record returned, unused and replaced items separately. A purchased component remains part of the history even if it is no longer in the selected design. A refund, if received, belongs in the financial record with its own evidence. An intention to return something is not the same as a completed refund, so keep the status precise until the transaction is resolved.
Give optional improvements their own subtotal. This lets you answer two different questions: what is needed to complete the selected arrangement, and what would a later improvement add? If both are mixed together, an optional idea can make essential work look unaffordable. If upgrades disappear entirely, they tend to return later without an explanation of how they affect the plan.
Review the budget after a meaningful decision or work package, rather than changing every line every day. Compare actual purchases with the relevant estimate, identify missing scope and update the next ready batch. Keep a short note explaining the movement. A total that rises by 200 is much more useful when you know it came from an added door, delivery and a changed quantity.
Match Cash Availability To The Stages
The total project estimate and the next cash requirement are different views of the same build. Keep both. The overall estimate helps you understand the commitment, while the next-stage view shows what must be paid before a particular piece of work can finish. Neither should conceal deferred tasks or money already committed to orders.
For a staged build, define a result for each phase. One phase might finish a storage unit; another might complete the interior arrangement around it. Identify the shared work that should be resolved early so you do not pay to undo it later. Access, dimensions and service routes are especially important when a later phase will sit behind or beneath completed furniture.
Keep an explicit allowance for uncertainty that you choose for your project. Show it separately from priced items, and explain what it is intended to cover. Do not call an unknown component priced merely because an allowance exists. As quotes and decisions become known, replace the relevant uncertainty with a real line while preserving the explanation for the original allowance.
Before ordering, ask whether the purchase completes a useful step, whether the required information is available and whether the remaining cash plan still makes sense. That creates a decision you can act on. The aim is not to make a spreadsheet look finished; it is to keep the build moving without losing track of what you have committed to do.
Use My Build As Context, Then Price Your Own Scope
My Transit build includes many separate projects, and the build diary records the work and decisions behind them. That is useful context for the kinds of tasks a conversion can involve. It does not make somebody else's body configuration, material quantities or desired interior identical to mine. Start from the result you want and the vehicle you actually have.
I would keep a short budget summary above the detailed lines: selected scope, unresolved decisions, committed orders, recorded actual purchases and optional work. That summary should point back to the detailed rows. It gives you a readable picture of the project without replacing the evidence that explains the numbers.
The most useful next step is concrete. Choose one work package, define its endpoint and fill every required row with either a dated amount or a named action to obtain it. Compare one complete alternative. Then decide whether the package is ready to order, needs a design change or belongs in a later phase.
As more of the project becomes real, your budget will become more specific. That is progress when the changes are recorded. A good camper van conversion cost plan is a history of decisions and a guide to the next purchase, with enough detail that you can understand it again after the current work session is over.
Create A One-Page Budget Review
Before a substantial purchase, make a short review page that pulls the important decisions out of the detailed worksheet. Put the selected configuration at the top, with the drawing revision and the date of the quotes. Under that, list the packages that are complete, the orders already committed and the next package you intend to buy. This keeps the immediate decision connected to the larger project.
Use a separate line for each unresolved question that could change the amount. Give it an owner, a next action and the affected purchase. In a solo build, the owner may simply be you, but the action should still be specific. “Confirm whether delivery includes the long material” can be completed; “sort out costs” is too broad to tell you when the decision is ready.
Compare the current plan with the last review. Identify the scope added, scope removed and changes to actual quoted amounts. Those are different reasons for movement. A larger total caused by an added function does not tell the same story as a larger total caused by a missed fitting. Keeping the explanations separate helps you choose between reducing scope and researching a different way to complete it.
Finish with the next decision and the amount it would commit. Record whether it is ready, waiting for evidence or deferred. Save that page beside the detailed worksheet rather than replacing the detail with it. When you return after another work session, you can see both the direction of the build and the records behind the numbers without reading every receipt again.
For a used completed van, the conversion viewing checklist helps identify unfinished work and desired changes to include in the complete-scope estimate.
For commissioned work, use the conversion-company brief to keep included work, exclusions and unresolved decisions beside each quoted amount.
Frequently Asked Questions
How Much Does A Camper Van Conversion Cost?
The useful answer depends on the vehicle, selected interior, systems, purchased components and work included. Build a line-by-line estimate for your scope using current quotes. Separate the vehicle purchase, conversion work and optional upgrades before comparing your figure with another project.
Should I Count Tools In The Conversion Budget?
Count tools you need to purchase for the selected work, and keep shared tools from being charged repeatedly to several projects. Record tools you already own separately from new cash requirements. That makes a DIY-versus-kit comparison easier to understand.
Is A Kit Price A Complete Conversion Cost?
Read the exact included-parts list and installation instructions. Add the work, parts, delivery and finishing still needed for your intended result. Compare complete scopes rather than a kit's starting price with a fully installed arrangement.
How Do I Budget For A Build Completed In Stages?
Keep an overall estimate and a separate next-stage cash plan. Give each phase a defined result, show deferred work and resolve shared dimensions or access before surrounding it with finished furniture. Update the affected lines when a decision changes.
Where Can I Record My Own Figures?
Use the CVF build-cost worksheet for quantities, planned amounts, actual amounts, sources and status. Keep receipts and quotes alongside your working copy. Use this guide to define comparable lines and the decision log to explain changes.