
Projects
- Continuation of installation of diesel heater
Project Status
- Heater installation needs to be completed
Time Spent
6 Hours
Steps Taken
- Screw in 3 additional self tapping metal screws to mount heater into van floor (3 on each side of mounting plate)
- Cut provided interior heat tubing down to size to travel from heater to vent in DIY cover panel
- Measure area and cut aluminum composite panel to size for front of DIY cover panel
- Measure area and cut triangles for sides of DIY cover panel
- Attach 2 triangles to front of DIY cover panel with self tapping metal screws and metal brackets
- Run red, black, and LCD panel wires underneath plastic flooring and near A Pillar on passenger side for future routing of wires up A Pillar and then back into van on passenger side and down to garage electronics area
- Leave fuel pump power wire under passenger seat for future routing underneath van to fuel pump
- Use grinder to cut holes into passenger seat platform for insertion of DIY cover panel brackets
- Mount DIY cover panel on to passenger seat platform through brackets with self tapping screws
Tools and Materials Used
- maXpeedingrods 12V 8KW Diesel Heater
- DEWALT DCG412B 20V MAX* Lithium Ion 4-1/2” grinder
- DEWALT 20V MAX Reciprocating Saw
- Dewalt DW4892 12-Piece Reciprocating Saw Blade Set w/ Telescoping Case
- DEWALT – DW8062 – 10,PK DW8062 4-1/2″x.045″x7/8″ Metal Angle Grinder Thin Cutoff Wheel, 10 Pack
- Dewalt DCD794B 20V MAX ATOMIC COMPACT SERIES Brushless Lithium-Ion 1/2 in. Cordless Drill Driver
- DEWALT Titanium Nitride Coated Drill Bit Set, Pilot Point, 21-Piece
- 9.0Ah Replacement for Dewalt 20v/60v Max Battery
- 34 Pcs Woodworking Chamfer Drilling Tools Including 6 Countersink Drill Bit Set, 7 Countersink Drill Bit, 8 Plug Cutters for Woodworking, 3 Step Drill Bit and 8 Drill Stop Bit Collar Set
- DEWALT 20V MAX 7-1/4-Inch Circular Saw with Brake, Tool Only, Cordless (DCS570B), Black
- Falken Design Aluminum Composite Panel Black, 12″x 36″, 1/8″ Thick
- 40Pcs Stainless Steel Angle Bracket, 1.2”x1.2″x1.2″
Notes
I built a DIY cover panel for the heater to make the heater vent be at a 90 degree angle to the van floor. Given the slant of the back of the passenger seat platform, mounting the vent on that platform would direct the flow of heat directly into the van floor with less room for the hot air to circulate around the van.
I had purchased some black aluminum composite panel from Amazon because I considered using it for the main paneling of the interior of the van, so I had this piece already. It was easy to work with and cut, and it looks nice as well. I also already had some of the self tapping screws and the metal brackets I used.
I cut out 2 triangles to mount to the DIY cover plate to cover the open gaps on the sides. Drilling the self tapping screws on the front of the DIY cover plate was challenging due to the slant of the back of the passenger seat platform. I put a hole in the cover that is unsightly and I will need to cover it with a larger washer.
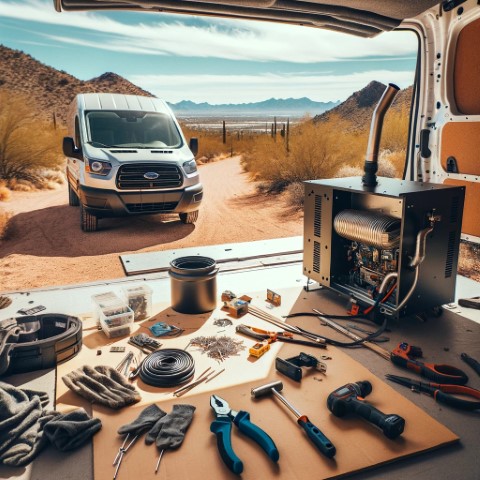
Pictures
Short Video
Plans For Tomorrow
- Install plastic black trim around edges of cover plate to cover sharp corners and for aesthetics
- Complete mounting of DIY cover plate on passenger seat platform with new larger washer
- Remove A Pill trim cover on passenger side
- Splice wire to length for installing LCD Panel on side of upper cabinet on passenger side and running red and black wires back to garage
- Route fuel pump power wire under van, mount wiring with plastic zip ties to fuel line tube, and plug into fuel pump
- Begin work on Undermount Air Conditioning system