This collection brings together rear-door storage reference images, two community discussion links, and an archived carrier installation PDF. Use them for different purposes: photos help you compare layouts, discussions provide questions to investigate, and the manufacturer document identifies one specific rack.
Choose the Reference That Matches Your Question
For visual planning, open the seven original images in the gallery below. Compare the space a proposed carrier would occupy with your own rear-door access, view, and opening clearance. An image is a layout reference.
The linked forum threads are retained as community references about rear-door weight and hinge brackets. Keep those discussions separate from the instructions and specifications for the exact product and vehicle you intend to use.
Identify the Archived Carrier Manual
The six-page Aluminess PDF is titled Tire Rack Installation Instructions and identifies P/N 210541: 2015+ Ford Transit Rear Door Tire Rack, Driver’s Side. That title describes the product covered by this saved document; confirm the appropriate current instructions with the manufacturer for your own rack and vehicle.
The manual includes a hardware list and illustrated installation material. It is not a general approval for homemade storage attached to any rear door. Keep the part number with your planning notes so a tire rack, storage box, and custom bracket do not become interchangeable assumptions.
Original Links, PDF and Image Gallery
Ford Transit forum thread on rear-door weight
Ford Transit forum thread on rear-door hinge brackets
Read Aluminess rear carrier 1 1 (PDF)
Aluminess-rear-carrier-1-1 (PDF) Download Aluminess rear carrier 1 1 (PDF)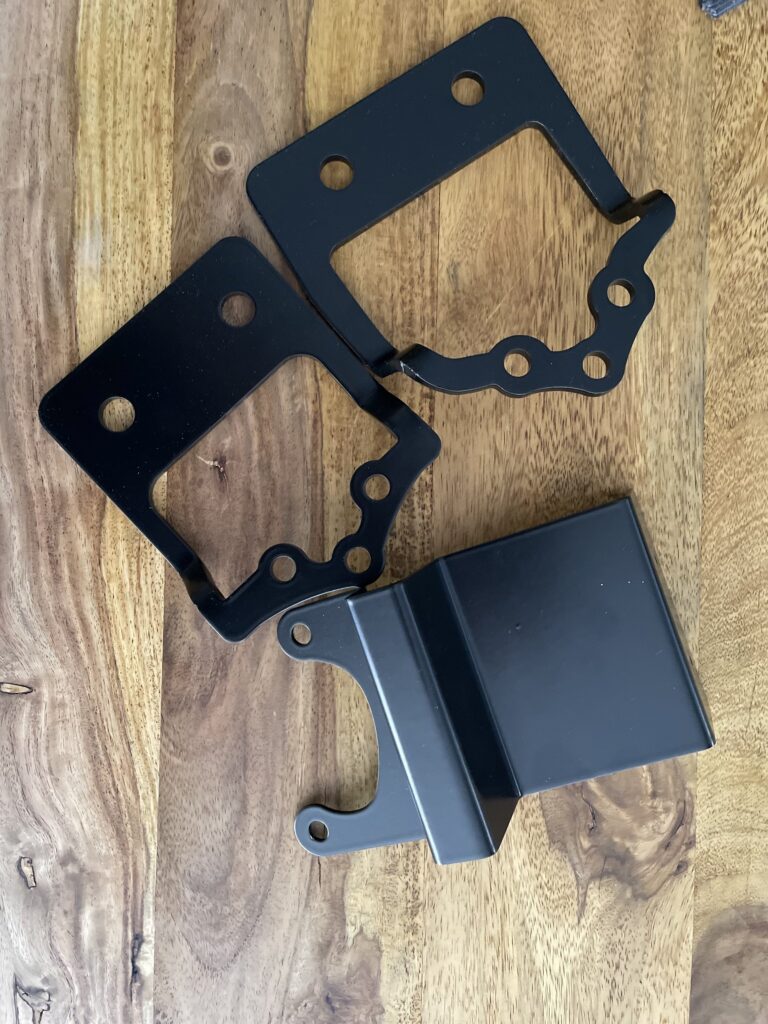 Open reference image 1
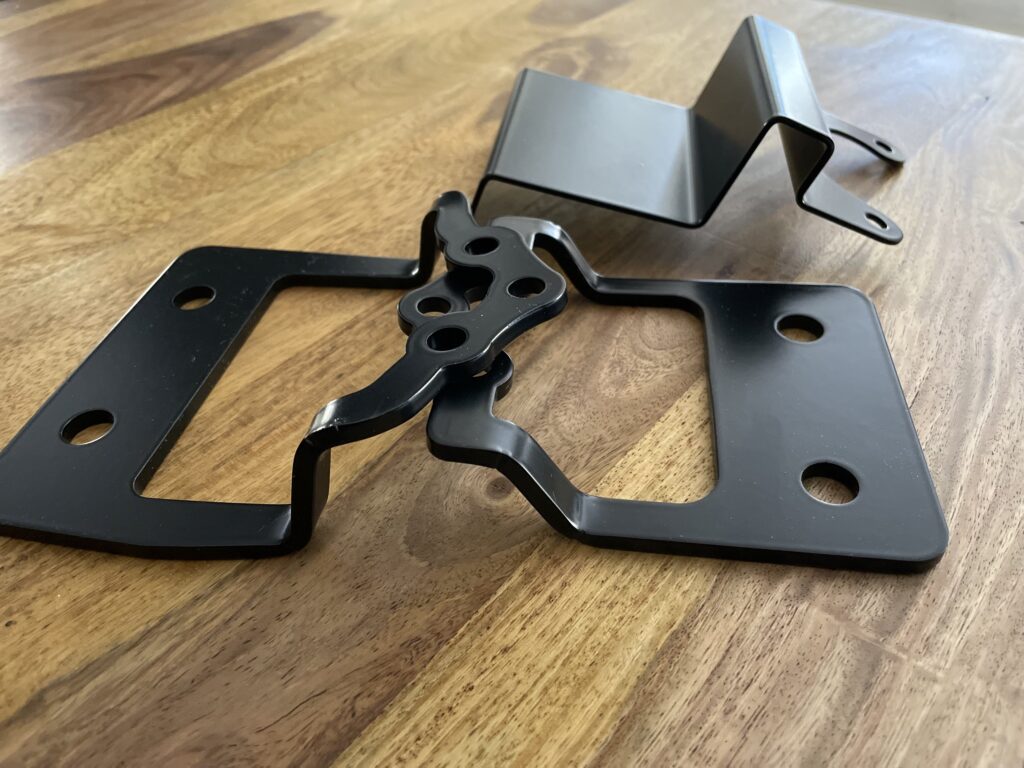 Open reference image 2
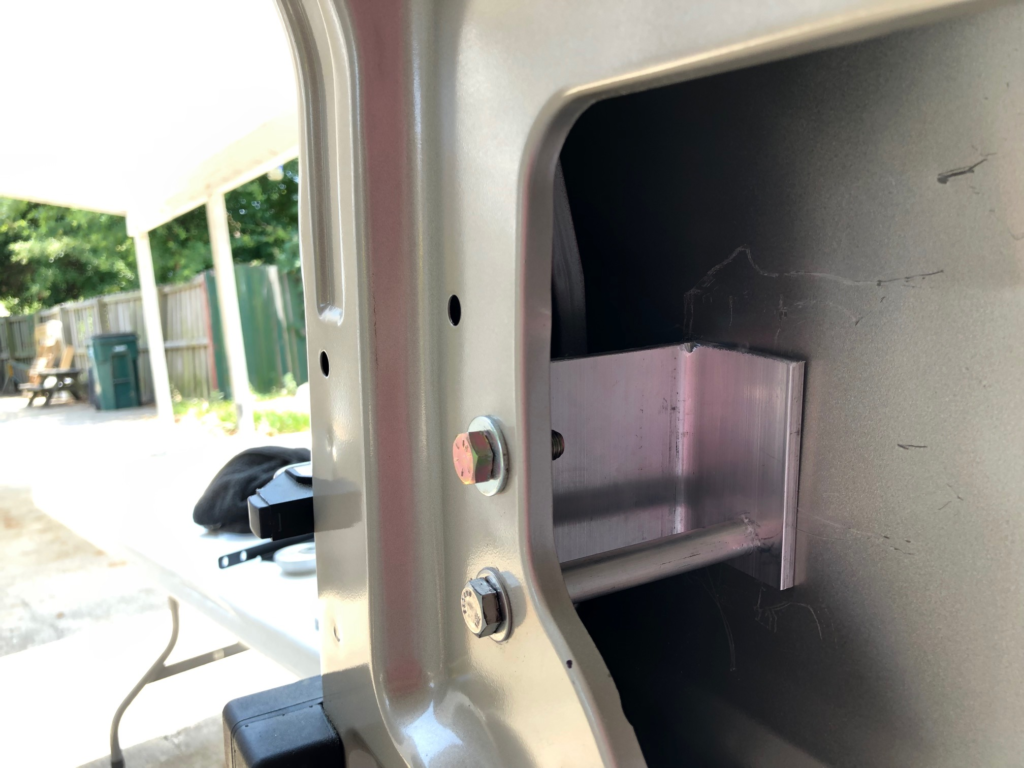 Open reference image 3
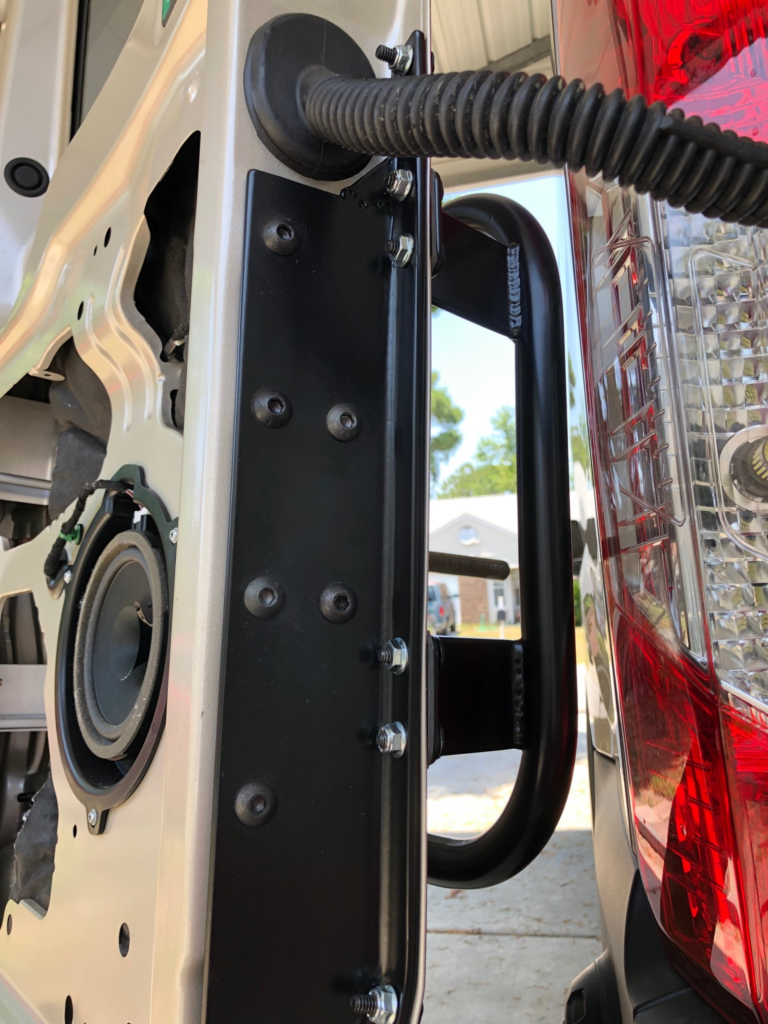 Open reference image 4
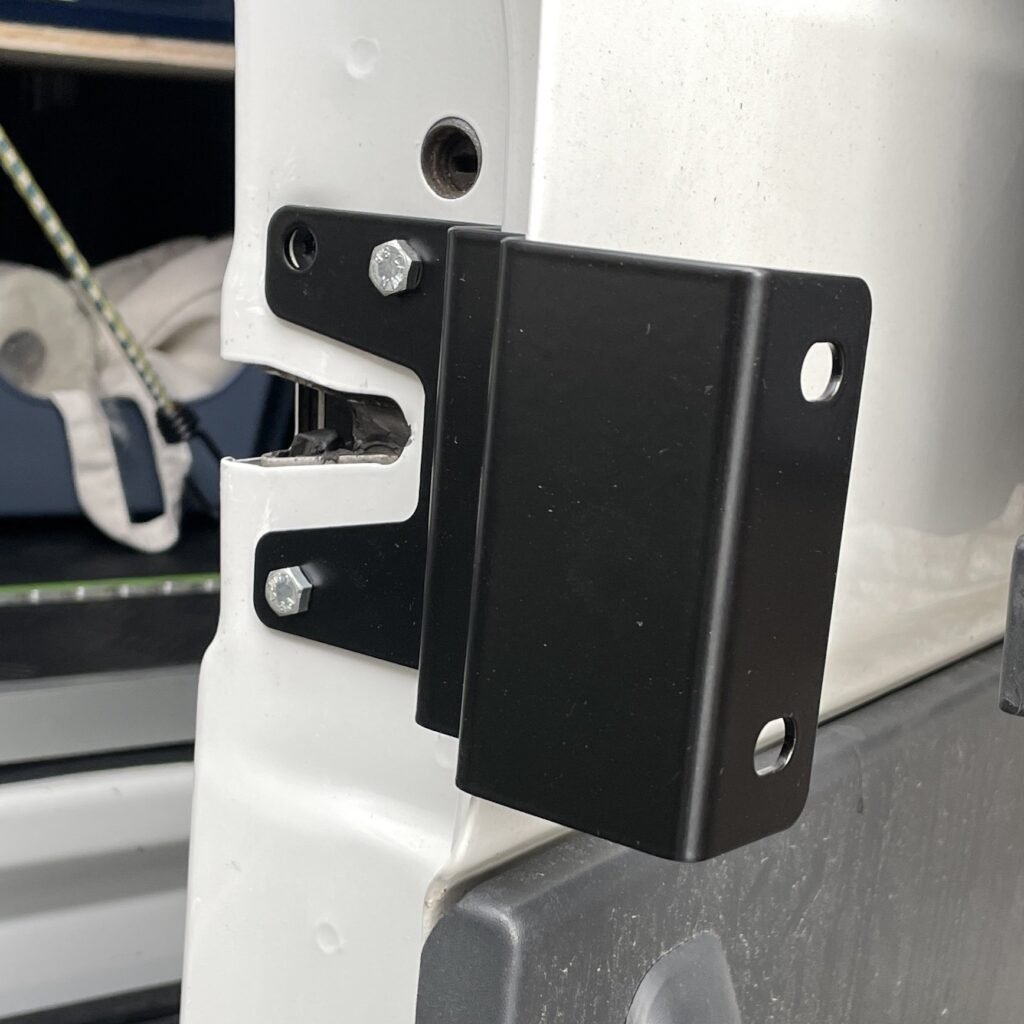 Open reference image 5
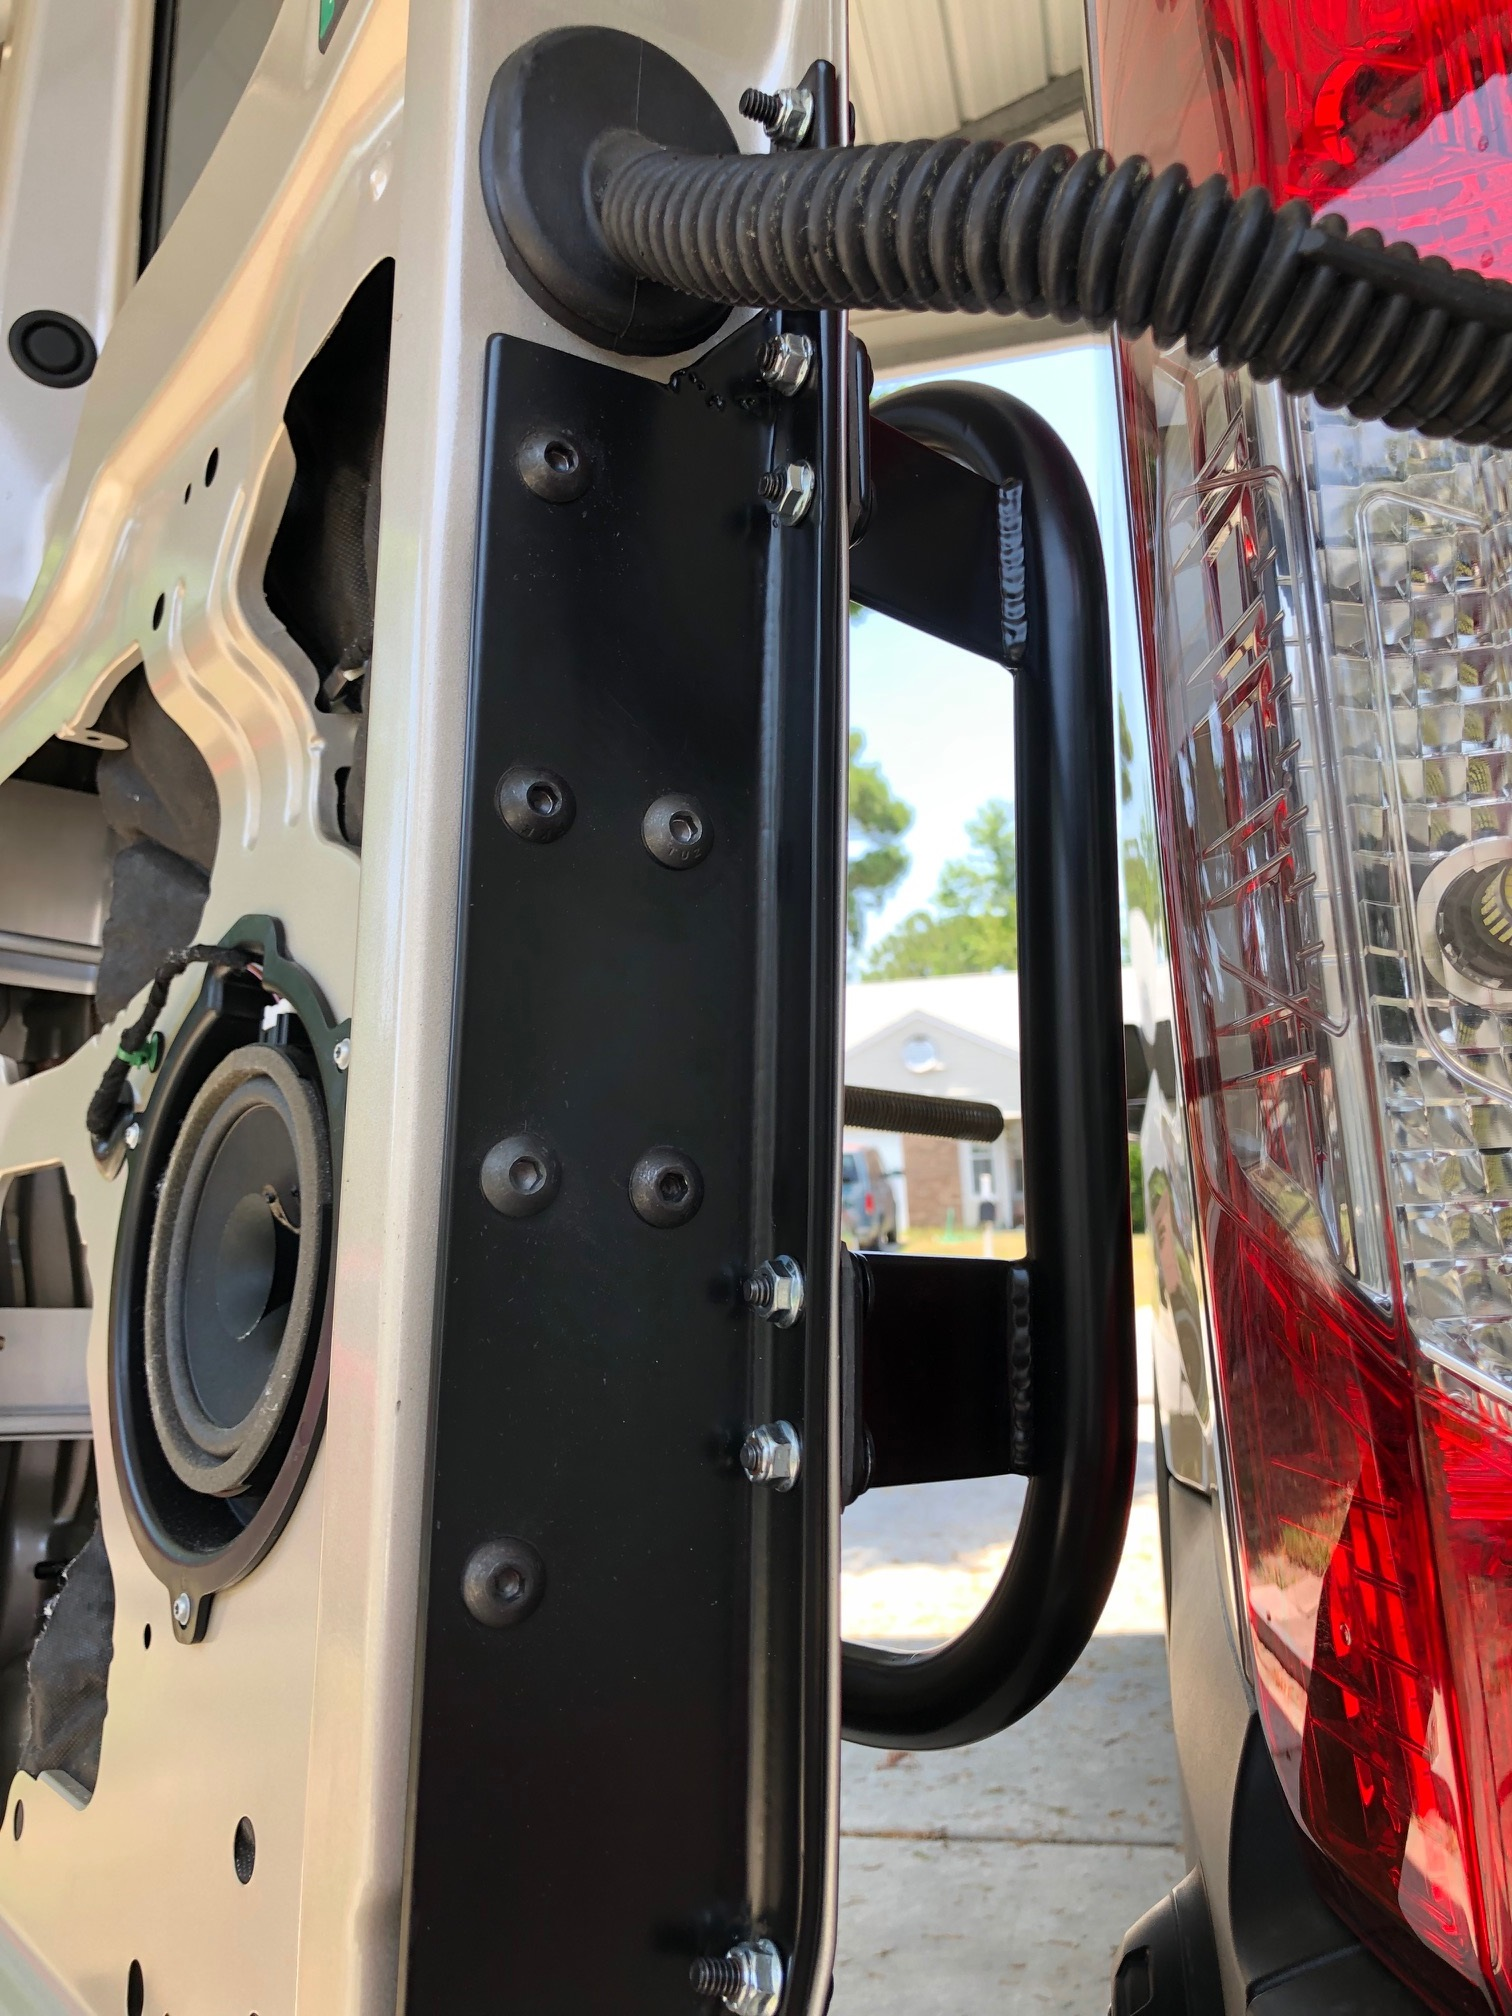 Open reference image 6
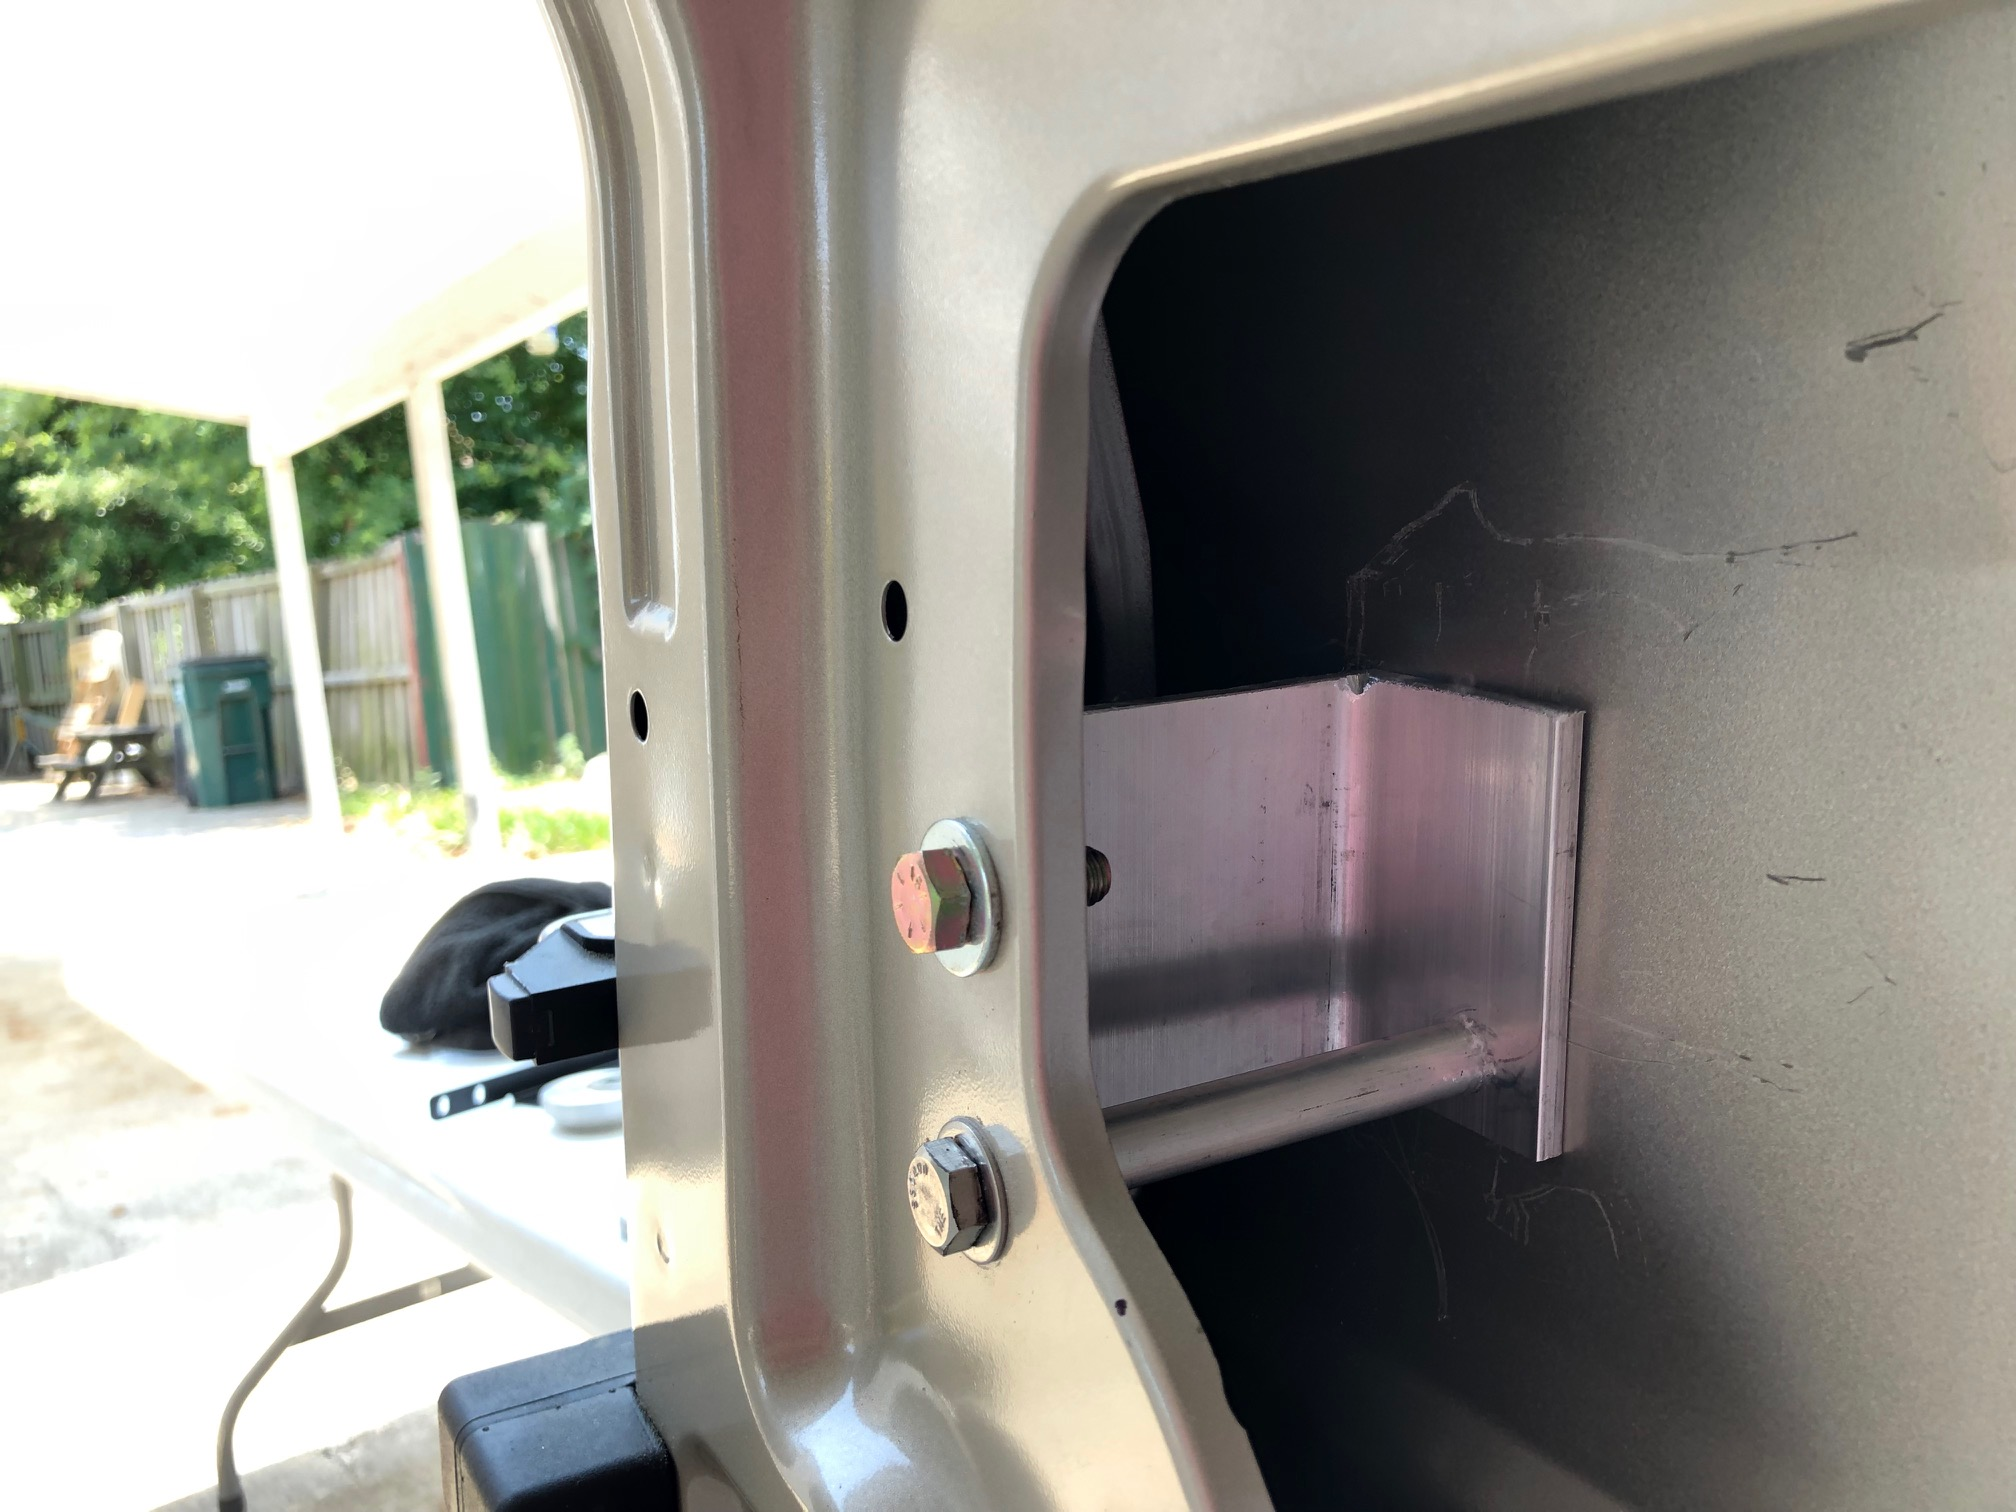 Open reference image 7
Keep the Storage Decision Specific
Before purchasing or fabricating a carrier, list the intended contents, the complete carrier assembly, the vehicle and door configuration, and the documentation still needed. Record where the proposed mount attaches and which clearances need checking. Leave unsupported capacity figures unresolved until you have the applicable vehicle and product information.
Use the van-build decision log to keep those decisions with the exact PDF or product reference. Return to the van-build reference library for other build topics once the rear-door layout is defined.
Reference guide expanded October 20, 2026. Original publication date and archived references retained.
Watch My Rear-Door Storage Planning Film
My narrated film connects the carrier outline, door movement, access and the saved manual with the reference collection below.
Press Play To Start The Video.
Read The Video Transcript
Hey, I'm Steve Smith with Camper Van Freedom. Rear-door storage starts with a question about space: what do I want outside the van, and what still needs to work around it? My reference page collects layout pictures, community discussions and a saved carrier manual. I keep those sources connected to the question each one can actually answer.
First, draw the proposed contents and carrier as one complete outline. A spare tire, a storage box and a custom frame occupy different shapes. Put that outline beside the rear doors, windows and handles. Then show a person reaching for the things used most often. The useful layout includes access, not just a box fitting inside a drawing.
Next, move the doors through their planned opening positions. Animate the door and the carrier together, and mark the nearby bodywork and other equipment. A still photograph shows one position. A sequence makes the movement easier to understand. Keep the clearances being investigated on the drawing rather than treating the picture as a finished fit.
My saved Aluminess document identifies part number 210541, a driver's-side rear-door tire rack for a 2015-and-newer Ford Transit. That identity belongs with that particular manual. I keep the product drawing and hardware list together; I don't turn a tire-rack reference into a description of a different storage box or homemade bracket.
The discussion links on my page help organize questions about door weight and hinge brackets. For my planning record, I separate the contents, the complete carrier assembly, the attachment locations and the documents for the exact vehicle. That creates one place to record the proposed arrangement and the remaining measurements.
Finish with an access check: doors closed, doors open, loading and unloading, and reaching the items behind the carrier. Keep the layout revision with its pictures and exact manual. I'm Steve Smith with Camper Van Freedom. Open my rear-door storage page for the original references, and start your own drawing with the contents and the way you'll reach them. See you next time.