The Build Behind This Item
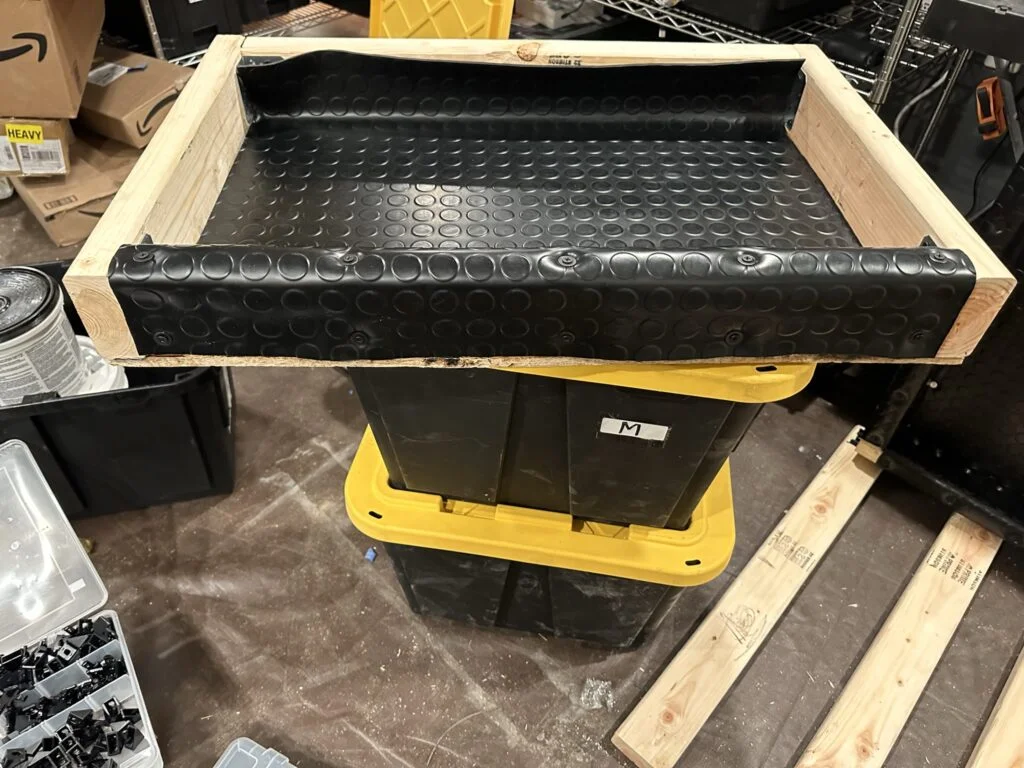
I cut the mat with scissors and cleaned the wood before spraying adhesive. As each section went down, I used the roller to press the rubber into place within the drawer shape.
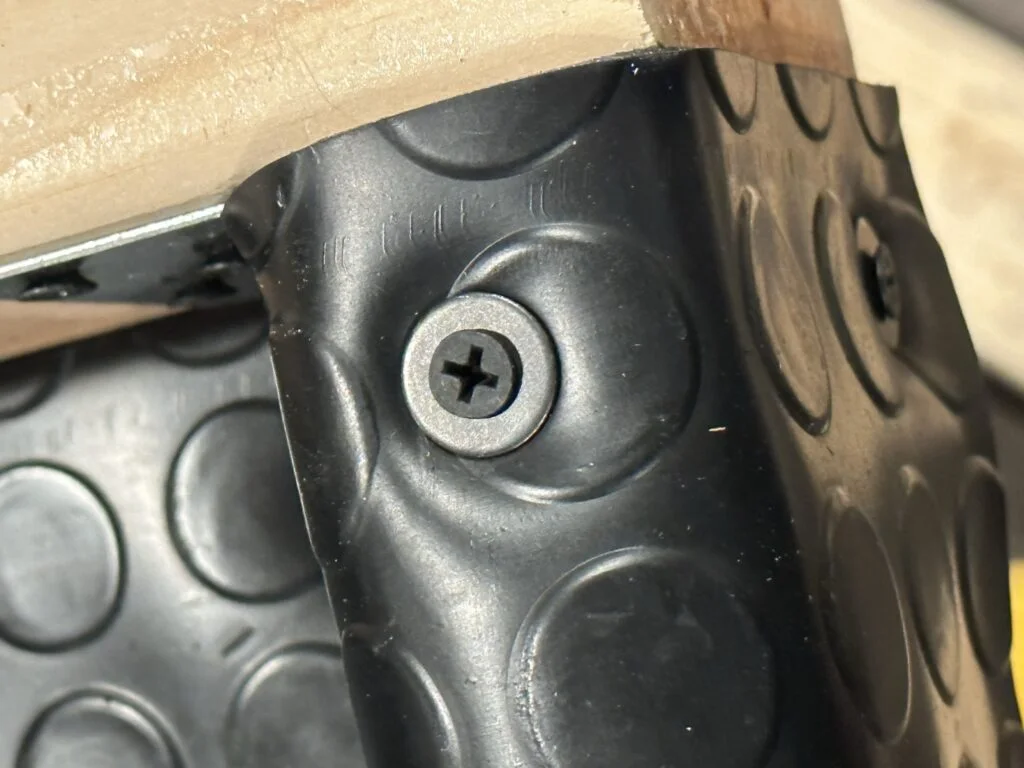
The side pieces and the screw-and-washer attachments followed that fitting work. The lining photograph shows the overall job; the close view shows the separate mechanical attachment at the edge.
Pressing the Drawer Lining into Place in Sections
- I cut the rubber mat and cleaned the wood for the lining.
- I sprayed adhesive in sections and pressed the mat with the hand roller.
- I added screws and flat washers, repeating the process on the sides with shorter pieces.
Camper Van Project Applications
An application roller helps press a covering against its adhesive layer. Broad vinyl or carpet areas and small edges need different access and pressure patterns. Rolling a surface is one stage of the job; the adhesive's preparation and curing requirements remain separate.
For a wider view of the build kit, see my van conversion tool checklist and budget versus professional tool comparisons.
Manufacturer Specifications And Instructions
| Specification | Manufacturer Detail |
|---|---|
| Product Identity | B07W9BTN6G |
| Roller | Polyurethane (PU) |
| Handle | Wood |
| Support | Riveted steel bracket |
| Bearings | Two steel bearings |
| Roller Width × Diameter | 2 × 1.4 inches |
| Overall Length | 6.7 inches |
LUMITECO identifies this roller by the same B07W9BTN6G product code as my purchase. Its PU wheel and two bearings provide the rolling contact, while the wooden handle gives a place to apply pressure. The brand lists sound-deadening mats, heat-abatement mats and wallpaper as applications. My own uses included Kilmat, vinyl flooring and glued coverings; the build photograph on this page also shows my rubber drawer lining. Rolling lets me press a covering against its supporting surface instead of relying on hand pressure alone.
My Experience with This Tool
I used this roller to apply Kilmat, lay vinyl flooring and glue coverings onto surfaces. Any time I needed to flatten a covering and press it into the adhesive underneath, this was the tool I grabbed, and it earned its place across far more than one project.
This small hand roller presses coverings firmly against the surface underneath. It's inexpensive and useful, and I highly recommend it.
Watch My LUMITECO Application Roller Review
My narrated review follows the roller I used for drawer lining, vinyl flooring and sound-deadening mat, with build photographs and a comparison of rolling surfaces.
Press Play To Start The Video.
Read The Video Transcript
Hi, I'm Steve Smith with Camper Van Freedom. This is my LUMITECO application wheel roller. I used it to flatten coverings and press them into the adhesive underneath. It was inexpensive and useful across more than one project, and I highly recommend it. My rubber-lined storage drawer shows one of those jobs.
The matching product picture shows the polyurethane wheel, wooden handle and supporting bracket. The wheel provides the rolling contact. The handle is where I apply pressure. That is a different action from spreading adhesive or cutting the material to shape. The tool helps press the covering against the surface underneath.
My drawer photograph shows the fitted rubber mat inside the timber drawer. I cut the mat with scissors and cleaned the wood before applying adhesive. The lining went down in sections. The workshop footage illustrates general measuring and holding work alongside my actual build photographs.
The application sequence matters to understanding the roller's role. I sprayed adhesive in sections, then pressed the rubber into place with the hand roller. The diagram separates the prepared surface, adhesive layer and covering. Rolling was the pressing stage after those surfaces came together.
My experience went beyond this drawer. I also used the roller when laying vinyl flooring and applying sound-deadening mat. Whenever I needed to flatten a covering and press it into the adhesive underneath, it was the tool I reached for. That repeated usefulness is why I recommend it.
The close photograph shows screws and flat washers at the edge of the rubber lining. Those are separate mechanical attachments, rather than the roller itself doing the fastening. I repeated the fitting work on the sides using shorter pieces of mat. The flat base and the sides required different access.
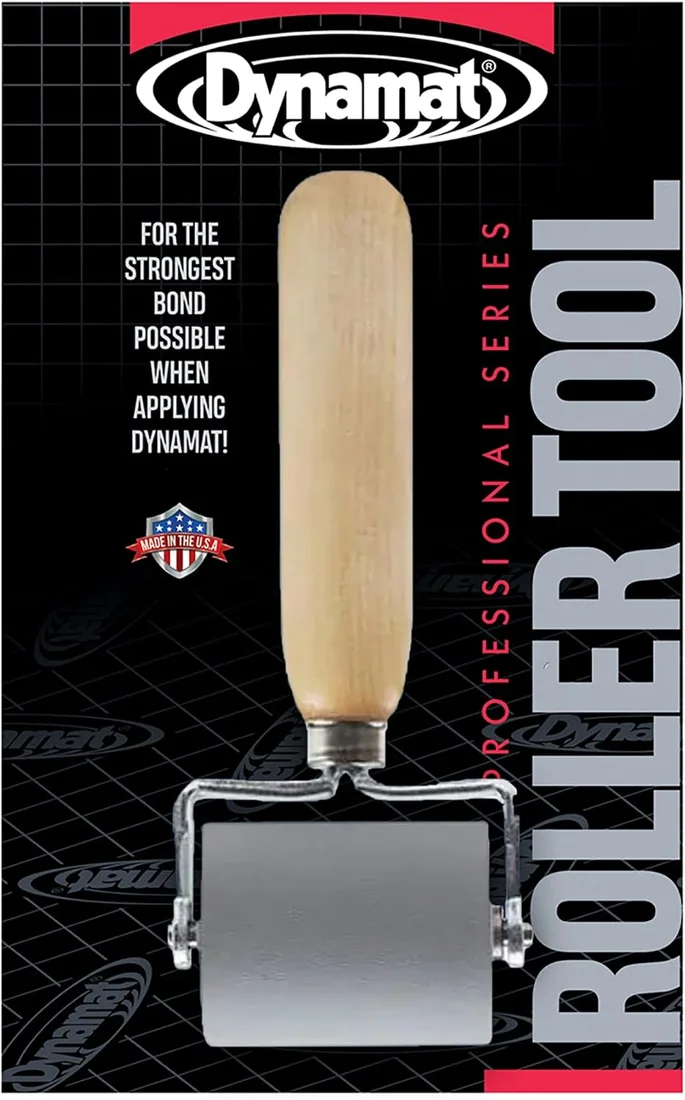
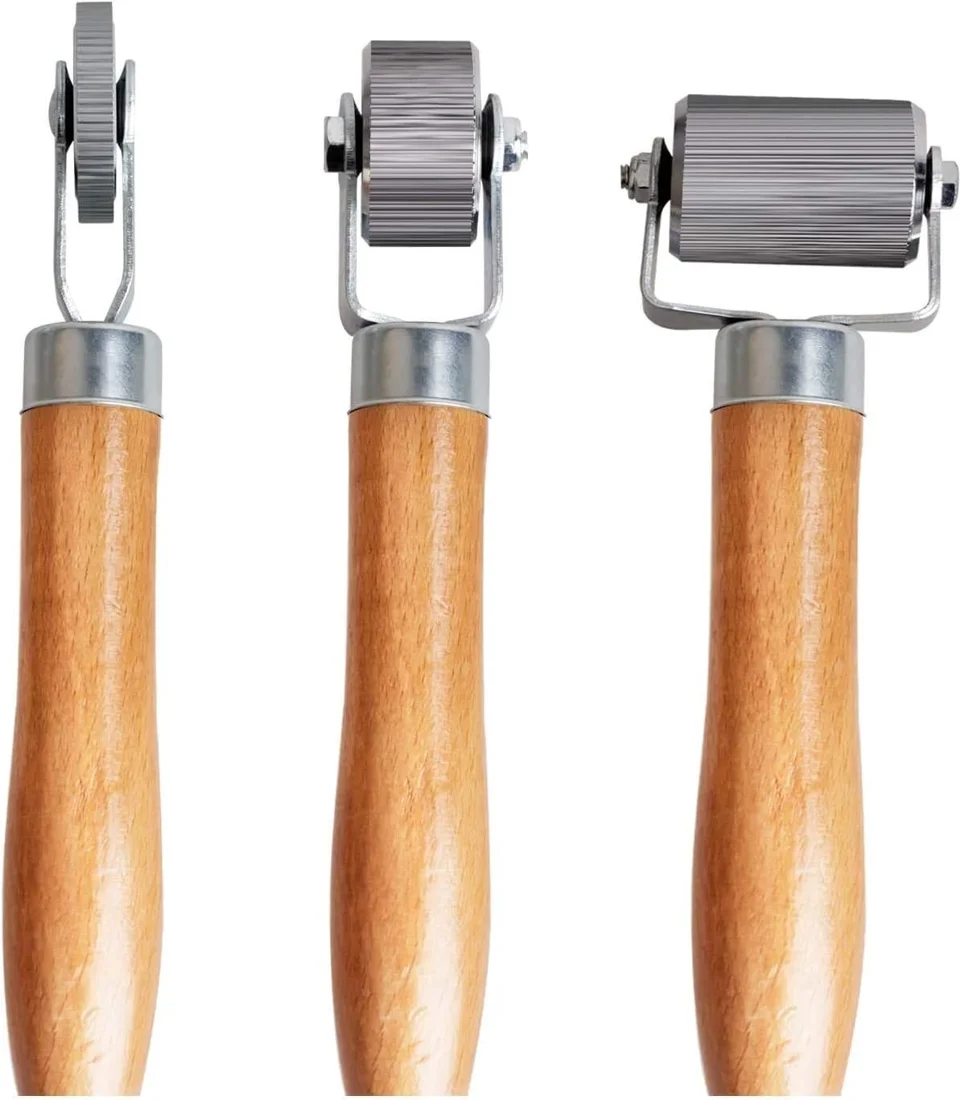
My page compares two researched alternatives. The Dynamat Dynaroller uses a rubber contact surface. The FCHO set provides metal application rollers in different widths. Their matching pictures show those different contact areas. My own experience here is with the polyurethane-wheel LUMITECO roller.
Thanks for watching. I'm Steve Smith with Camper Van Freedom. The LUMITECO roller earned its place in my kit by pressing coverings into their adhesive, including the rubber drawer lining shown here. The full review, build photographs and current buying options are linked below. Until next time.
Watch This Review On YouTube · English Captions (VTT) · Download The Transcript
My Takeaway for Choosing the Kit
I would compare the rolling surface and the width that can reach the area being lined. My LUMITECO purchase uses a polyurethane wheel, Dynamat uses rubber, and the FCHO set offers metal rollers in different widths. The drawer’s flat base, sides and shorter lining pieces provide the useful context for choosing that contact area.