A camper van conversion with a shower and toilet needs more than a rectangle marked “bathroom” on the floor plan. The arrangement has to work while it is being used, while it is drying or being cleaned and while the rest of the van returns to ordinary living. I would compare those states before deciding how much permanent space to give it.
My own conversion is a 2023 Ford Transit 250 high-roof extended build. Planning a compact interior means considering sleeping, cooking, storage and work together. For a bathroom decision, I use that same approach: define the routine, identify what needs space and compare complete arrangements. The useful result is a layout brief you can take into a measured model and a full-size mockup.
This guide covers that layout decision, from a dedicated enclosure to a shared-use area or a portable toilet with a planned storage position. It keeps the bathroom's use and service requirements beside the living-space tradeoffs. Use the water-system references for the related system questions and the usable-space guide for the vehicle measurements.
Download The Blank Shower And Toilet Worksheet
Start With The Routine You Want To Support
Write down when and where you expect to use the bathroom functions. A frequent shower routine creates a different layout requirement from occasional use between other facilities. A toilet that needs to be accessible at night has a different priority from an item that can be retrieved from storage only after furniture is rearranged.
Include the people using the van and the activities happening at the same time. If one person is sleeping while another uses the toilet, consider the access route and privacy arrangement. If the shower occupies the main aisle, identify what becomes unavailable during use. These are specific layout questions that a simple fixture list will not answer.
Keep your preferred routine separate from an assumption about trips. Record the facilities you expect to use and the backup arrangement you want inside the van. You can then decide how much permanent equipment supports a genuine need. Avoid building a large dedicated space merely because a floor plan convention makes a conversion look complete.
Define the result in practical terms. For example, “a toilet accessible without dismantling the bed, with a place for supplies and a clear removal route” is a useful requirement. “Bathroom included” is not. Give showering its own brief so the two functions can be compared separately before you decide whether they belong in the same enclosure.
Compare The Main Layout Approaches
A dedicated enclosure reserves a fixed part of the interior for bathroom functions. A shared-use area changes from another function into a washing space. A portable-toilet arrangement gives the unit a storage and use position without necessarily creating a permanent room. Each approach needs a complete plan, including the items and tasks that surround the main fixture.
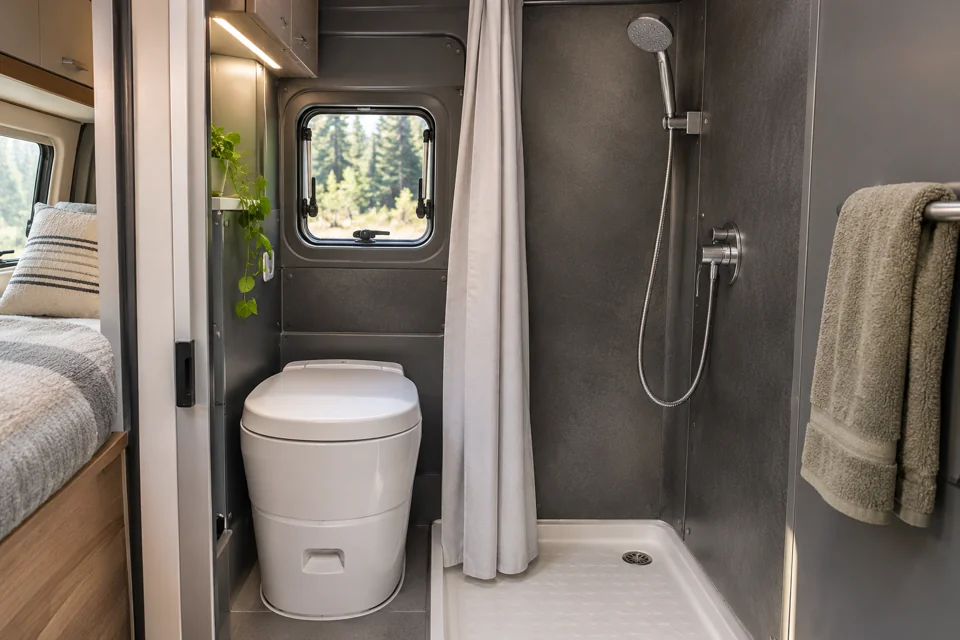
For a dedicated enclosure, compare the outside dimensions with the usable room inside. The walls, door and adjacent furniture all affect the result. Show the entrance and the space occupied by the user, then identify what remains accessible elsewhere in the van. A room that fits on paper may consume a useful route through the interior.
For a shared-use shower area, draw the setup and pack-away sequence. Include the privacy arrangement, water containment, stored equipment and the destination of items moved out of the way. The floor area may serve two purposes, but the parts displaced during use still require space. That temporary storage belongs in the comparison.
For a portable toilet, identify where it is used, where it travels and how it is accessed for servicing. A storage compartment can hide it neatly while making retrieval awkward. Compare the complete movement with a full-size representation. The smallest stored footprint is not automatically the most practical arrangement if the unit is difficult to reach when needed.
Draw The Bathroom In More Than One State
I would make at least three drawings: stored or ready, in use and being serviced. For a shower, add drying and cleaning if those change the available space. Keep the vehicle dimensions and neighboring furniture identical across the drawings so the consequences of each state remain visible.
In the ready state, show the closed door, stored supplies and normal route through the van. In the use state, show open doors or curtains, the user's space and any furniture that must move. In the service state, show the opening and path needed to reach or remove the actual components. These are different envelopes even when they occupy the same location.
Check what happens around the bathroom. Can somebody reach the entrance, bed or kitchen when it is occupied? Does an open door conflict with a drawer? Does a shared-use arrangement require clearing the work surface first? Record those interactions rather than evaluating the bathroom as an isolated box.
Use the full-size mockup checklist to move from drawings to a physical rehearsal. Temporary panels and a representation of the chosen equipment can reveal the access and movement questions. Keep the mockup's observed results with the drawing revision so later changes do not erase the reason for the original position.
Plan Toilet Access Before Choosing A Hiding Place
Start with the actual use position. Check the room needed to approach it, sit or stand as required and use the surrounding area. Then compare the stored position. If the unit moves between them, map that route and identify what else must move first. A tidy cabinet photograph does not show the complete routine.
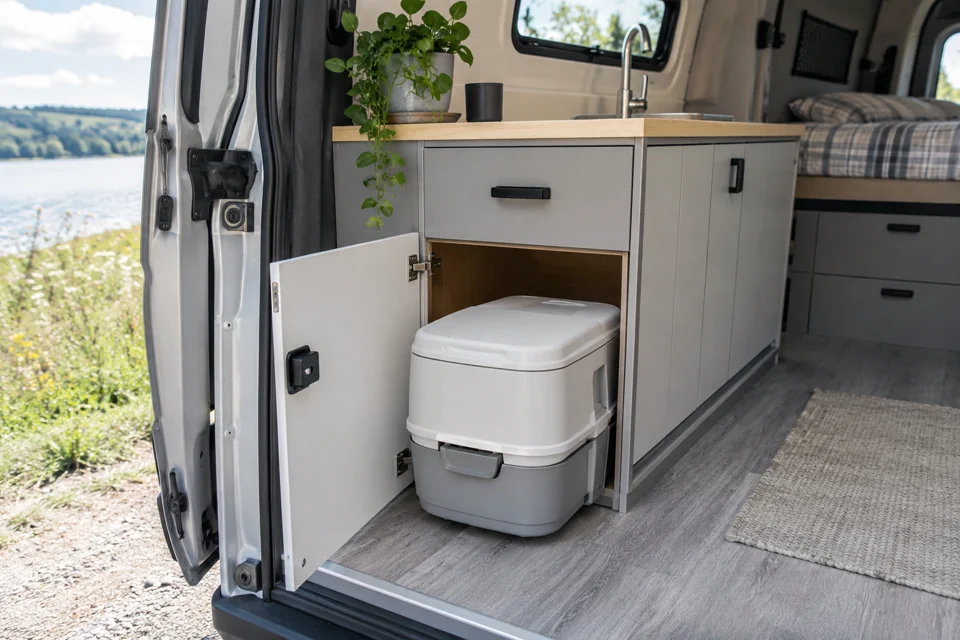
Keep nighttime access in the comparison if it matters to your trips. Draw the bed in its normal sleeping state, including any expanded or converted furniture. A toilet that is accessible only when the bed is folded may not meet a requirement for immediate nighttime use. The bed-layout comparison can help connect those two decisions.
Use the exact chosen unit's dimensions and servicing instructions when you reach product selection. Different toilet arrangements have different component and access needs. At the early layout stage, keep those details unresolved rather than filling the space with a generic small box and treating every later option as interchangeable.
Give the associated supplies a home. Paper, cleaning items and any equipment required by the selected arrangement need accessible storage. If those items are held elsewhere, show the retrieval path. The goal is a complete usable area, with the ordinary things needed for the routine available in the same configuration.
Consider Shower Setup And Pack-Away As One Process
For a shared-use shower, write the sequence from the normal interior to the ready-to-use space. What is cleared, what is deployed and what is connected? Keep the sequence tied to the actual design and equipment. The layout should show the work involved instead of assuming a multipurpose area transforms without moving anything.
Then write the return sequence. Include where wet items remain, what needs to be cleaned and when the shared area becomes available again. If the shower equipment cannot return immediately to its storage position, reserve a temporary drying location. That location is part of the bathroom's footprint even if it is not enclosed by walls.
For a dedicated enclosure, look at the same process with fewer furniture changes. Supplies, towels and cleaning access still matter. Check the opening and reach needed for the surfaces and components you expect to maintain. A dedicated space can simplify one transition while creating its own permanent demand on the interior.
Compare these processes against how often you expect to shower in the van. A setup you are comfortable performing occasionally may feel different as a daily task. Keep the decision grounded in your intended use rather than an abstract preference for either a larger bathroom or a more open cabin.
Reserve Space For Water And Service Access
The bathroom layout and water plan are connected. Record the intended water uses, the equipment selected and the space required for storage, collection and servicing. Keep exact capacities and component details with the actual design. Do not choose a tank size from the empty space left after furniture is finished and expect it to resolve every routine automatically.
List the access tasks for the selected arrangement. You may need to reach a connection, inspect a component, clean an area or remove an item. Give each task its own opening or route requirement. The maintenance-access guide explains why being able to see a part does not necessarily provide enough room to work on it.
Check the bathroom against adjacent storage. A removable service panel can be blocked by a drawer full of equipment or a fixed frame added later. Draw the panel in the open state and show where removed pieces go. Preserve the access route as a layout requirement so it is not quietly consumed during finishing.
Keep the water-system work as a separate, documented project in your plan. The bathroom outline reserves the required space; it does not replace the component instructions or a complete system design. Use the existing water-system ideas page to organize the next questions, then carry the resolved requirements back into the measured layout.
Plan Privacy Without Losing Ordinary Access
Privacy can affect both the occupied area and the rest of the interior. Draw the actual door or partition movement, including where it sits when open. For a curtain, show its deployed boundary and storage position. Avoid representing a privacy arrangement as a line that occupies no space or never conflicts with another activity.
Consider the view from the entrance and the other living areas. Decide what privacy you want when somebody else is inside the van and what changes when exterior doors are open. Those expectations are personal, but they should become specific requirements before the surrounding furniture fixes the arrangement.
Include light, controls and supplies within the usable space. At the planning stage, identify where they must be reached without inventing their installation details. A partition that creates privacy can also separate the user from a needed control or storage compartment. Showing those items together makes that conflict easier to catch.
Keep an easy explanation of the arrangement in your notes: where the user enters, what closes, which functions remain available and how the space returns to its normal state. If the explanation requires several unrelated furniture moves, rehearse it at full size. The goal is a privacy routine you would actually be willing to use.
Give Towels, Clothing And Cleaning Items A Place
The area immediately outside the bathroom can become as important as the space inside it. Record where clean clothing waits, where a towel is reached and where used items go afterward. If those locations are on a bed or work surface, include their temporary occupation in the layout rather than treating them as invisible storage.
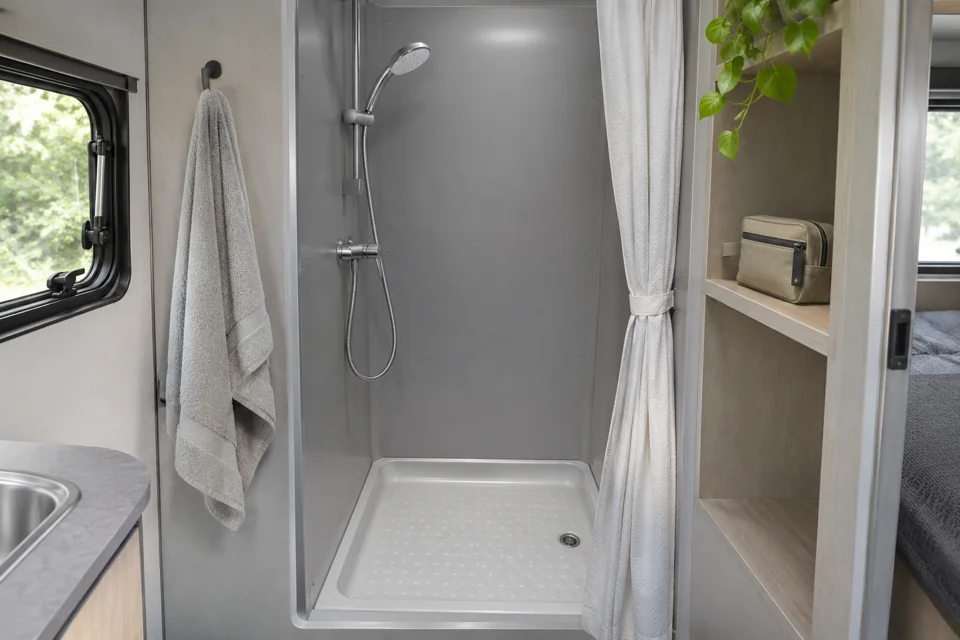
Keep dry storage distinct from the wet-use envelope in your drawing. This is a functional distinction that helps you decide where belongings should go. A compartment can be close to the shower and still be awkward if it can only be opened through the active washing space. Show the opening as well as the compartment itself.
For a portable arrangement, include the carry and cleaning items required by the selected equipment. Store them as an identifiable group so the routine does not begin with searching several cabinets. The storage location should support the service process, while the actual process follows the chosen product's documentation and the arrangements available on your trips.
Finally, check the ordinary cabin after everything is put away. Are wet items occupying the passage? Has the kitchen surface become the permanent drying station? Are supplies still accessible? These observations help compare layouts on everyday use, rather than on how complete the bathroom looks at the moment a photograph is taken.
Compare The Space You Gain And The Space You Give Up
Every dedicated area displaces something else. Compare the bathroom choice with the storage, open floor or furniture that would otherwise use the same volume. Show both arrangements using the same vehicle and the same remaining requirements. That turns “is it worth the space?” into a concrete comparison rather than a general argument about van life.
A permanent enclosure may give the bathroom a clear home while reducing the flexibility of the surrounding interior. A shared-use arrangement may preserve open space while adding repeated setup and pack-away. A portable toilet may use a compact stored position while needing a larger use envelope. Record the specific tradeoff for each candidate rather than declaring one universally best.
Use a simple comparison sheet with rows for use access, privacy, setup, drying, service access, stored supplies and displaced functions. Add your own priorities. A required nighttime route might matter more to you than a preferred finish, while another person may prioritize a dedicated shower. Keep those distinctions visible when choosing.
The full-time-living guide provides a broader daily-routine comparison, while the weekend-conversion guide addresses a shorter-trip brief. Use the one that matches your intended use. The bathroom decision should serve that brief instead of forcing the rest of the van to support a routine you do not actually plan to follow.
Price A Complete Layout Before Committing
Once two arrangements are drawn, list the work and equipment each requires. Include the enclosure or storage furniture, finish, fittings, access panels and the related system tasks identified by the chosen design. Keep a dated source for every actual amount and a named next action for anything still unresolved.
Compare complete scopes. A bare toilet purchase and an enclosed bathroom are different results. A portable shower's starting price may leave out storage, water handling and the shared-area preparation. The cost-planning guide explains how to keep those differences readable without hiding them inside a single headline total.
Also compare the work sequence. A bathroom position can affect flooring, wall lining, furniture and service routes. Put the dependent decisions in the project plan. Resolve the required dimensions and access before closing the surrounding space, so a later equipment choice does not undo a finished section of the interior.
Keep the selected arrangement and the rejected alternative together in your notes. Record why one better supports your routine, which measurements were checked and what remains open. If the requirement changes later, that record gives you a starting point. You can revisit the decision without pretending the earlier comparison applied to a different fixture or travel pattern.
Turn The Bathroom Brief Into A Mockup
Choose the strongest candidate and create a full-size representation of its complete envelope. Include the entrance, the neighboring furniture and the positions of the associated supplies. Use the actual equipment dimensions once the product is selected. Keep unknown dimensions marked as open questions until you can replace them with verified information.
Rehearse the most important routines: nighttime access, shower setup, changing clothes, returning the cabin to normal and the service route. Ask what must move before each task. Record a specific observation such as “the cabinet door blocks the approach” rather than a general feeling that the area is cramped.
Revise the first meaningful conflict and repeat the relevant routine. Small adjustments are easier to judge when the requirements remain the same. If you change the fixture, partition and surrounding furniture all at once, it becomes harder to identify which change solved the problem or introduced a new one.
The outcome should be a layout you can explain and a short list of resolved and unresolved details. Keep the drawings, mockup observations and product documents together. That makes the bathroom one planned part of the conversion, connected to your storage, water and living-space decisions, instead of an isolated feature added because it looked good in another van.
Write A Bathroom Decision Record
After the mockup, summarize the selected arrangement on one page. Begin with the routine it supports, then list the dimensions actually checked. Identify the exact equipment where selected, the privacy arrangement and the locations of supplies, clothing and wet items. Keep the related drawing revision beside the summary so a later reader can connect the decision to the correct layout.
Include the main alternative and the reason you did not select it. Perhaps a dedicated enclosure displaced a required storage function, or a shared-use arrangement created more setup than you wanted. Record the specific tradeoff observed in your comparison. That explanation is more useful than writing that one option felt “better,” especially if your travel routine changes later.
Give every remaining question a next action and identify which work it blocks. A missing component dimension may block the furniture opening, while an unresolved finish may affect the final usable width. Keeping those dependencies separate lets unaffected projects continue without treating the whole bathroom as either finished or impossible to start.
Finally, list the observations you want to make during actual use once the chosen arrangement is completed. These might concern access to supplies, the return-to-normal sequence or the storage of used items. Keep future observations separate from what the mockup already established. You then have a clear basis for improving the bathroom later: compare the real routine with the requirement, identify the smallest useful change and update the affected drawing, budget and service notes together.
Frequently Asked Questions
Does A Camper Van Need A Permanent Bathroom?
Start with the routines you want the van to support. Compare a dedicated enclosure, shared-use washing area and portable-toilet arrangement using the same access, privacy, storage and service requirements. The useful choice is the one that meets your brief within the complete interior.
Can A Shower Use Space That Has Another Function?
Plan the entire transition, including displaced items, privacy, wet equipment and drying. Draw the area in its normal, active and returning-to-normal states. A shared footprint only works when those temporary needs also have defined positions.
What Should I Check Before Putting A Toilet In A Cabinet?
Check the use position, stored position, retrieval route and service access with the exact unit's dimensions. Include nighttime access with the bed in its sleeping state. Give supplies and any removed panels their own storage locations.
Should The Shower And Toilet Share An Enclosure?
Compare the combined arrangement with separate positions against your actual routine. Check use, cleaning, drying, privacy and access in both cases. Keep the exact chosen equipment requirements alongside the drawing rather than assuming any two fixtures can occupy the same generic space.
What Is The Next Step After Choosing A Layout?
Create a full-size mockup, rehearse the important routines and record conflicts. Resolve the actual component dimensions and service requirements, then connect them to the water and furniture projects. Keep the final drawing revision with the evidence that supported the choice.