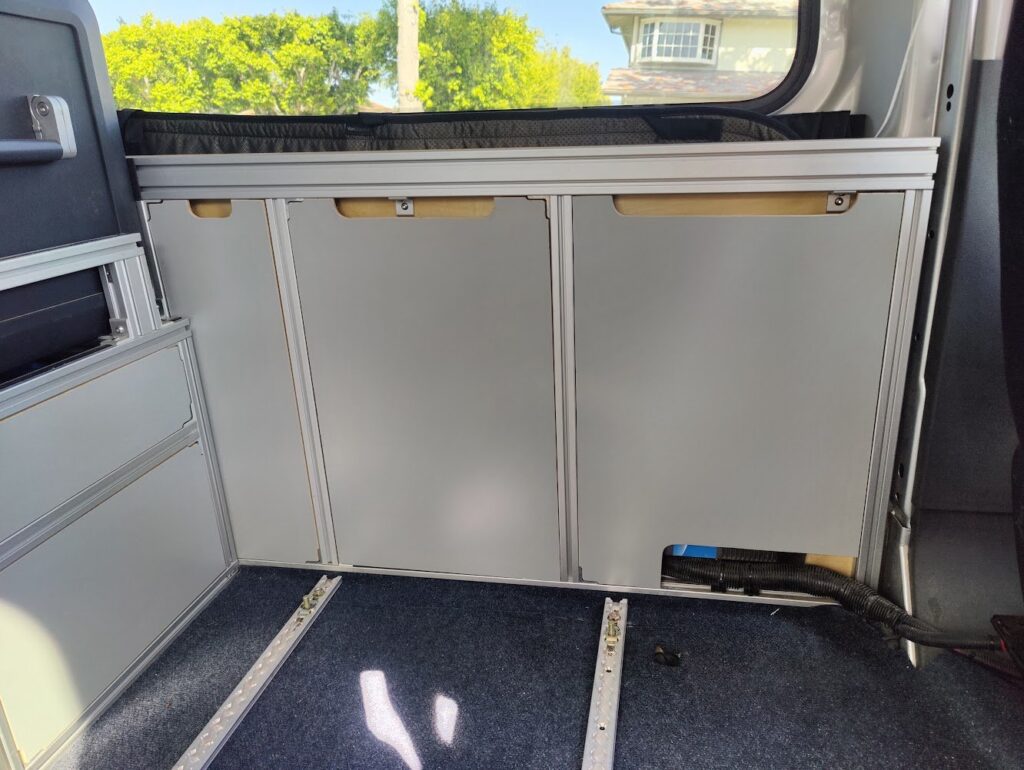
Mounting 2020 aluminum extrusions to the floor of your van for a build-out or conversion involves ensuring stability, safety, and avoiding damage to the van's structure. The best method can depend on the specifics of your project and the van, but here are general steps and considerations that apply to most scenarios:
1. Plan Your Layout:
- Design Consideration: Before drilling or mounting anything, plan your layout carefully. Consider the weight distribution, access, and how you will use the space. This planning stage is crucial for determining where and how to secure the extrusions.
2. Prepare the Mounting Points:
- Surface Preparation: Ensure the floor is clean, dry, and free of any debris. Identify where the vehicle's structural supports are located, as attaching the extrusions to these supports can provide a more secure mount.
3. Use Appropriate Fasteners:
- Self-Tapping Screws: For metal van floors, self-tapping metal screws can directly anchor the extrusion to the floor. Ensure they are long enough to secure into the floor but not so long as to damage anything beneath or beyond it.
- Rivnuts/Bolt Rivets: Installing Rivnuts into the floor provides a threaded insert that you can then bolt the extrusions onto. This method allows for a secure attachment and the ability to remove the extrusions later if needed.
- Underfloor Support: If possible, adding a wooden or metal plate underneath the van floor, where the extrusions will be mounted, can provide additional support and distribute the load more evenly.
4. Use Insulating Material:
- Thermal and Vibration Insulation: Place a rubber or foam pad between the aluminum extrusion and the van floor to reduce thermal bridging and vibrations. This can help with insulation and prevent wear over time.
5. Secure the Extrusions:
- Drilling and Fastening: Once you've marked your drilling points according to your layout, carefully drill through the floor (taking care to avoid any vehicle wiring or components beneath) and secure the extrusions using the chosen fasteners.
6. Sealant for Protection:
- Sealing Holes: Use a sealant around the holes you've drilled to prevent rust and protect against water ingress. A high-quality automotive or marine sealant is recommended.
7. Check Stability:
- Test for Movement: After installation, check the stability of the mounted extrusions by applying force. They should not move or flex significantly. If there's movement, you may need to add additional fasteners or support.
Additional Considerations:
- Vehicle Reference: Keep the vehicle’s floor and body drawings with the mounting plan.
- Avoid Critical Components: Be mindful of the van's underbody components such as the fuel tank, brake lines, or electrical wiring. Always verify what's beneath the drilling area.
- Professional Assistance: If you're unsure about any steps or the implications for your vehicle's integrity, seeking professional assistance is advisable, especially for complex or heavy-duty installations.
This method of installation provides a secure and removable solution that can accommodate various build-outs, from simple storage solutions to full camper van conversions.
Watch My Floor-Attachment Planning Film
My narrated film connects the furniture layout, floor layers, proposed connection detail and later access with the mounting references below.
Press Play To Start The Video.
Read The Video Transcript
Hey, I'm Steve Smith with Camper Van Freedom. When planning aluminum extrusion or L-track on the van floor, I start with the whole assembly. The frame, the floor layers and the proposed attachment belong in one drawing. My reference page collects ideas for that planning process. This video walks through the record I would build before turning the layout into a parts list.
Start in plan view. Draw the furniture footprint, the aisle and the places that need access later. Move an illustrated person through the space and show the doors or drawers opening. Then mark the proposed attachment locations on that same view. This connects the mounting plan to the way the interior will actually be used.
Now make a section through one proposed connection. Draw the extrusion or track, the floor finish, the underlying layers and the vehicle structure separately. Give every layer a label. Keep the vehicle drawings alongside that section so a convenient point on the surface isn't confused with an identified attachment location underneath.
Record the proposed fastener arrangement as a specific detail. My page mentions threaded inserts and through-fastened arrangements among its references. Those are different connection concepts. Show the parts and the access needed for the selected detail, rather than copying a generic fastener symbol into every location. Keep hardware choices tied to their actual drawings.
Include the interface between the metal member and the surrounding floor. Show any proposed separating layer, the exposed edge and the intended treatment around an opening. Animate the assembly coming apart to explain which parts remain accessible. That view also helps organize a future inspection or a change to the furniture layout.
Finish with one mounting record: layout revision, vehicle reference, connection detail, hardware identity and access notes. Bring the section back into the full van model and check it against the furniture movement. I'm Steve Smith with Camper Van Freedom. Find the floor-mounting reference on the website, and start with one clearly labeled connection before repeating it across the layout. See you next time.