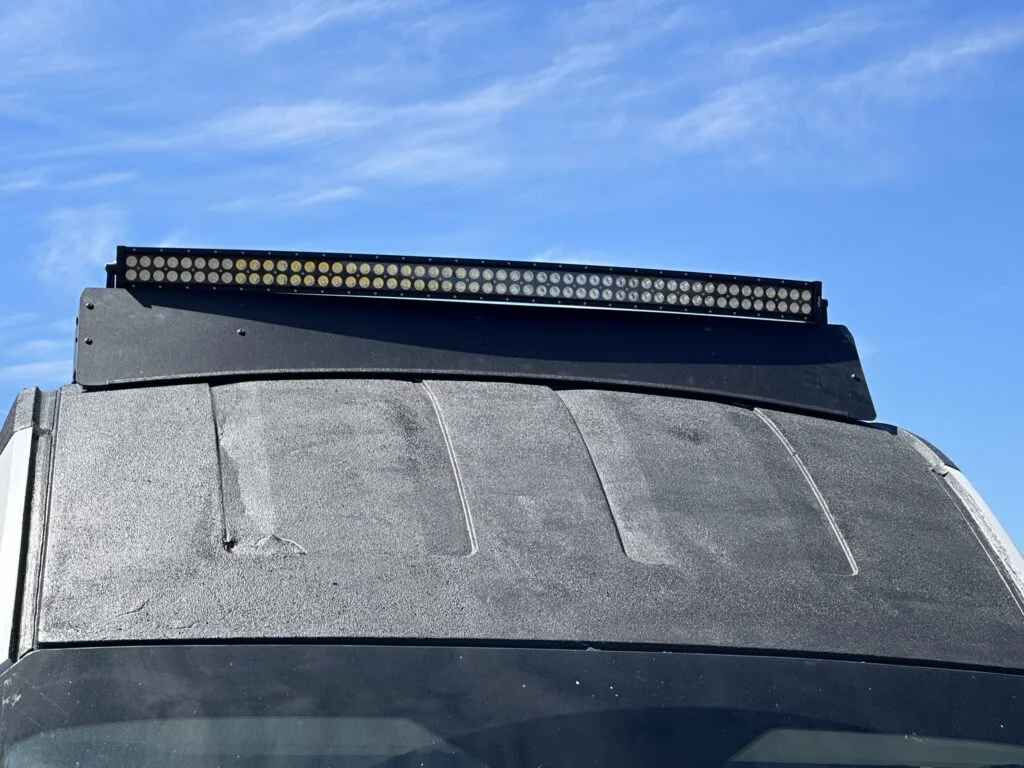
I mounted the curved light bar above my existing roof rack on an added extrusion beam. Raising it gave me room to angle the bar down toward the ground.
The curved light bar fitted above the front of my roof rack.
Why I bought it
The light bar needed a mounting position above the rack rather than directly against its existing extrusion. I added a separate 2020 extrusion piece to create that position.
The Nilight 54-inch curved bar was listed in my materials for this job. My photographs show the bar across the front of the van after fitting it to the added beam.
How I used it in my camper van
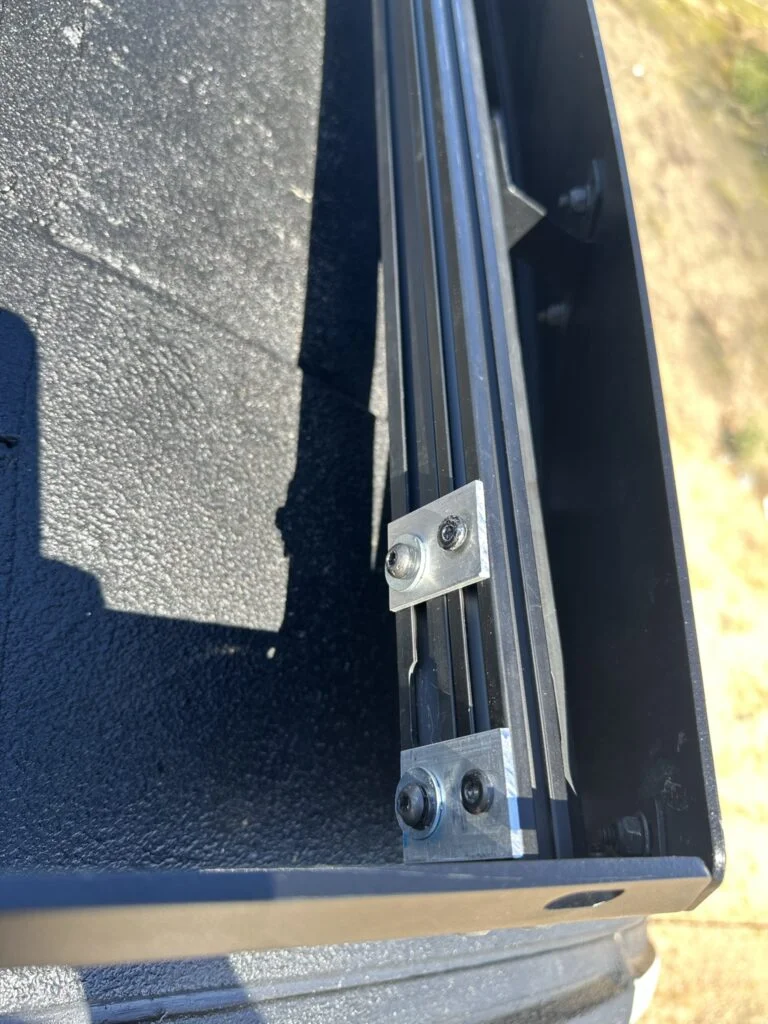
I cut the added extrusion to 58 inches and made three short aluminum connectors. Each connector received two holes for joining the new beam to the existing rack.
I used quarter-inch hardware at the rack and M5 bolts at the added extrusion, then attached the light bar with bolts and flat washers. In the following wiring work I prepared and connected the bar’s power lead using solder-seal connectors and a heat gun.
The added extrusion and small connecting brackets beneath the light-bar mounting position.
My review
The main decision was the mounting height: I placed the added extrusion above the rack so I could point the bar down. That decision shaped the bracket fabrication and hardware work.
The fiddly part was the T-nuts. The larger rack nuts had to slide in from an opening, while the small nuts in the added extrusion moved and spun as I tried to start the bolts. The mount took more assembly work than the final front view suggests.
Choosing the light-bar position led directly to the added beam, custom connectors and hardware sequence.
Alternative products
Two alternatives to compare
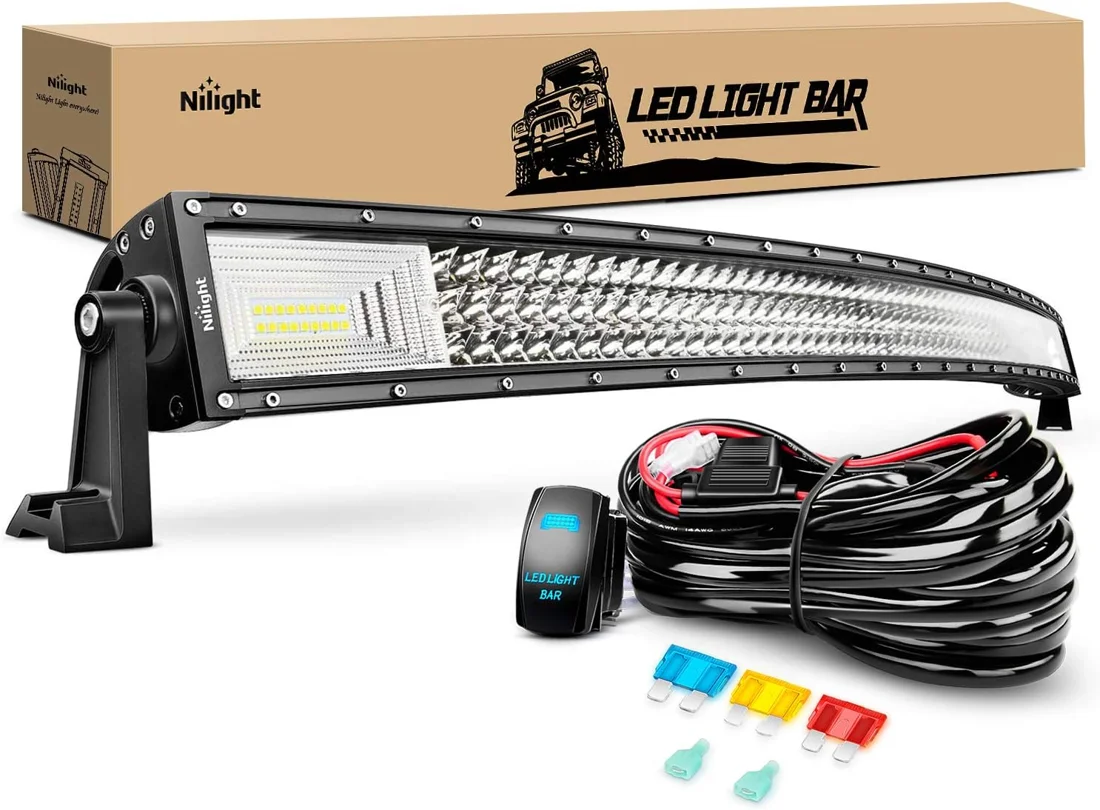
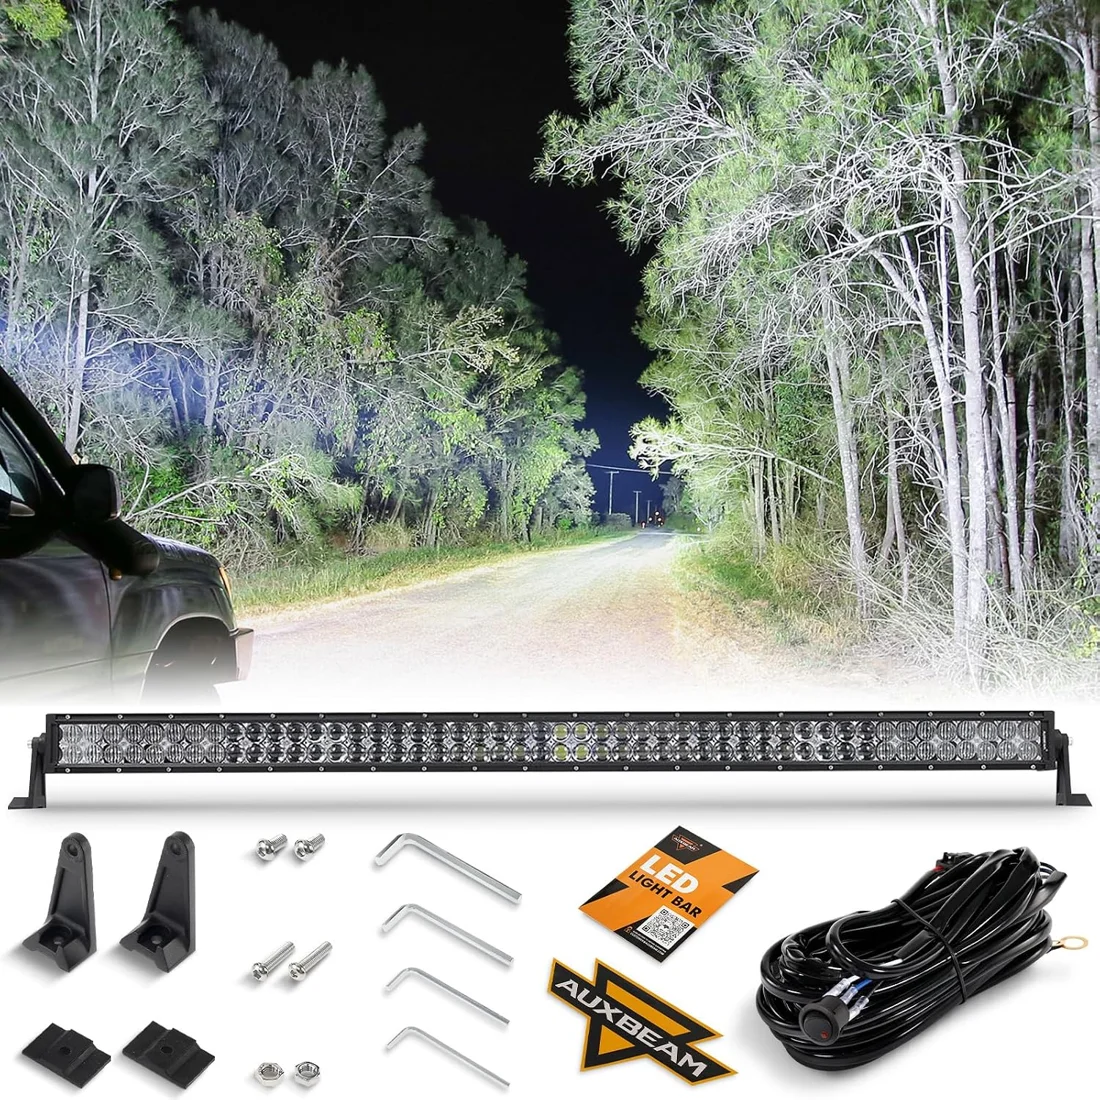
The Nilight ZH408 uses a 52-inch curved triple-row layout, while the Auxbeam option uses a 50-inch double-row layout. Their different lengths and housings change the physical mounting layout. Both include harnesses, another distinction from selecting the lamp and wiring supplies separately.
Nilight ZH408 Curved Light Bar
This curved LED light bar uses a triple-row spot-and-flood layout. Its kit includes a wiring harness and a rocker switch for the light assembly.