Otdorpatio Junction Box: Bringing My Roof Cables Inside
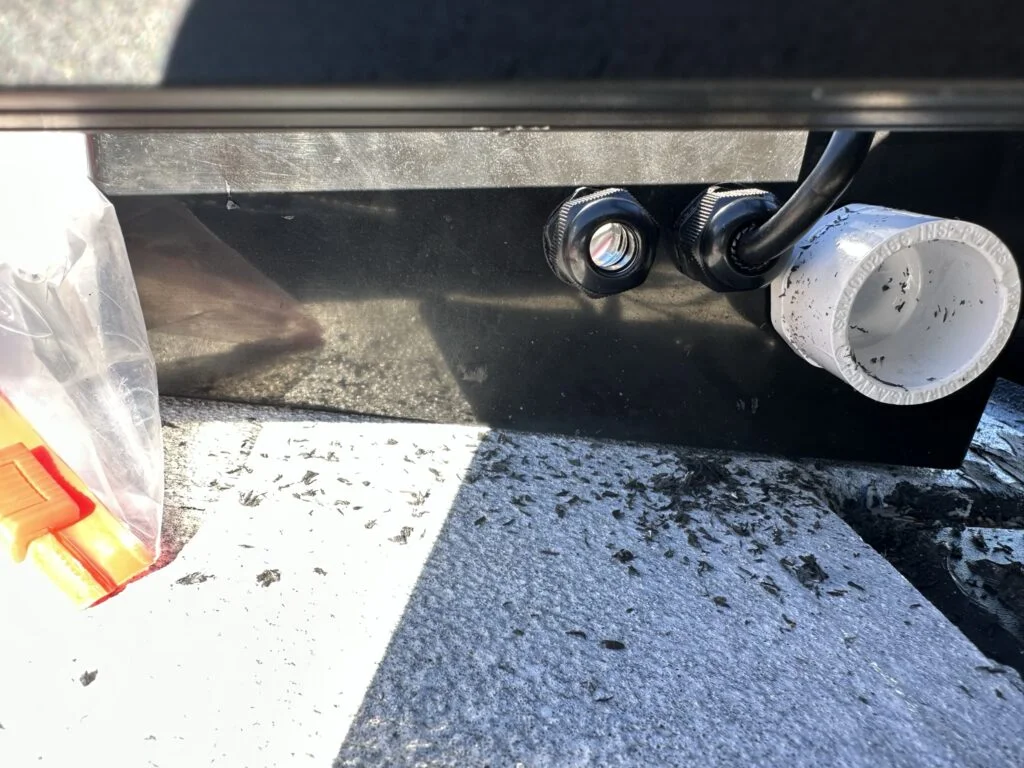
The large enclosure gathered several roof-wire paths at the entry into the van. I drilled its openings and added cable entries and PVC adapters as the separate runs came together.
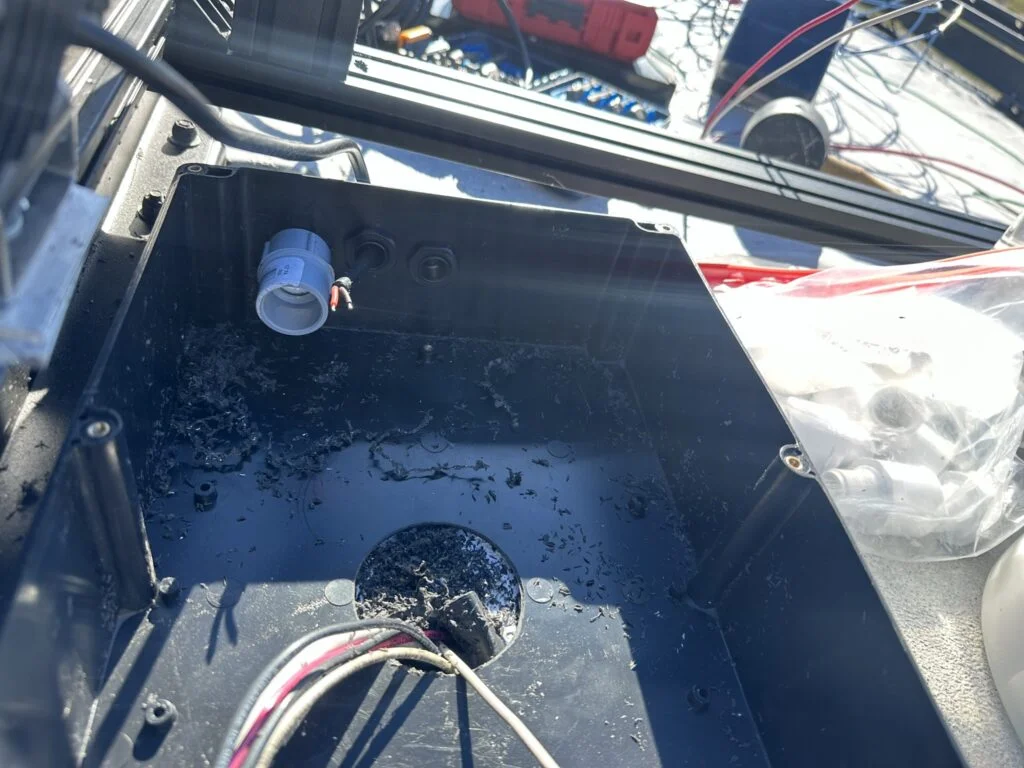
The opening through the roof and the opening in the enclosure formed part of the same layout. I brought wiring from the driver side toward the passenger side and into the van at this gathering point.
The side photograph shows the adapters and entries, while the other view shows the enclosure and van opening. Those are different parts of the layout: the route into the box and the route onward through the roof.
Cable and PVC entry fittings at the side of the large roof enclosure.
Bringing the Separate Roof-Wire Runs Together
I made the wire-entry openings in the roof and large enclosure.
I added cable entries, threaded PVC adapters and nuts as the route developed.
I brought the driver-side wiring across toward the passenger side and into the van at the large box.
The large enclosure and the opening used to bring the roof wiring into my van.
My Takeaway for Choosing the Kit
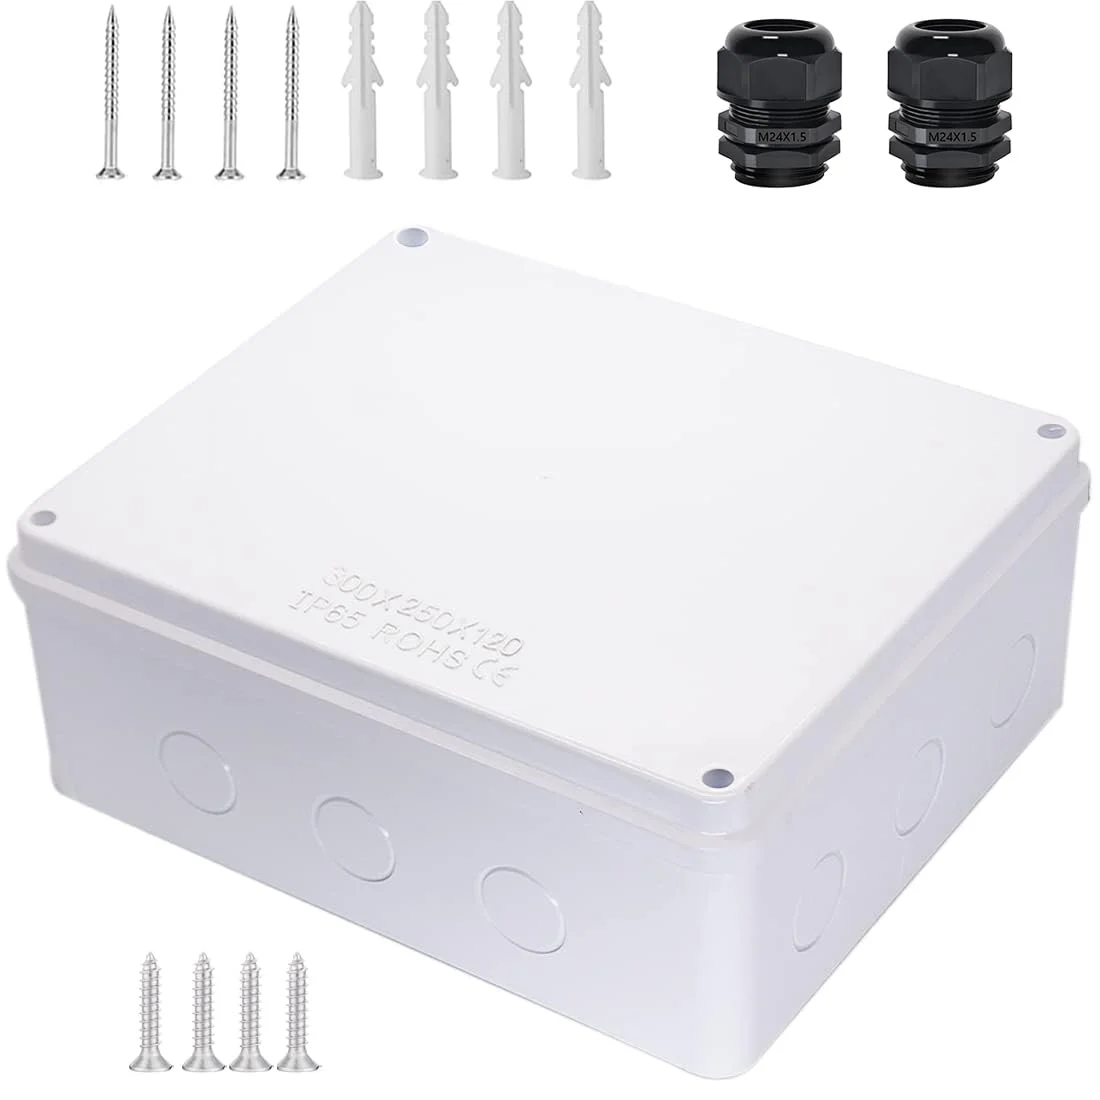
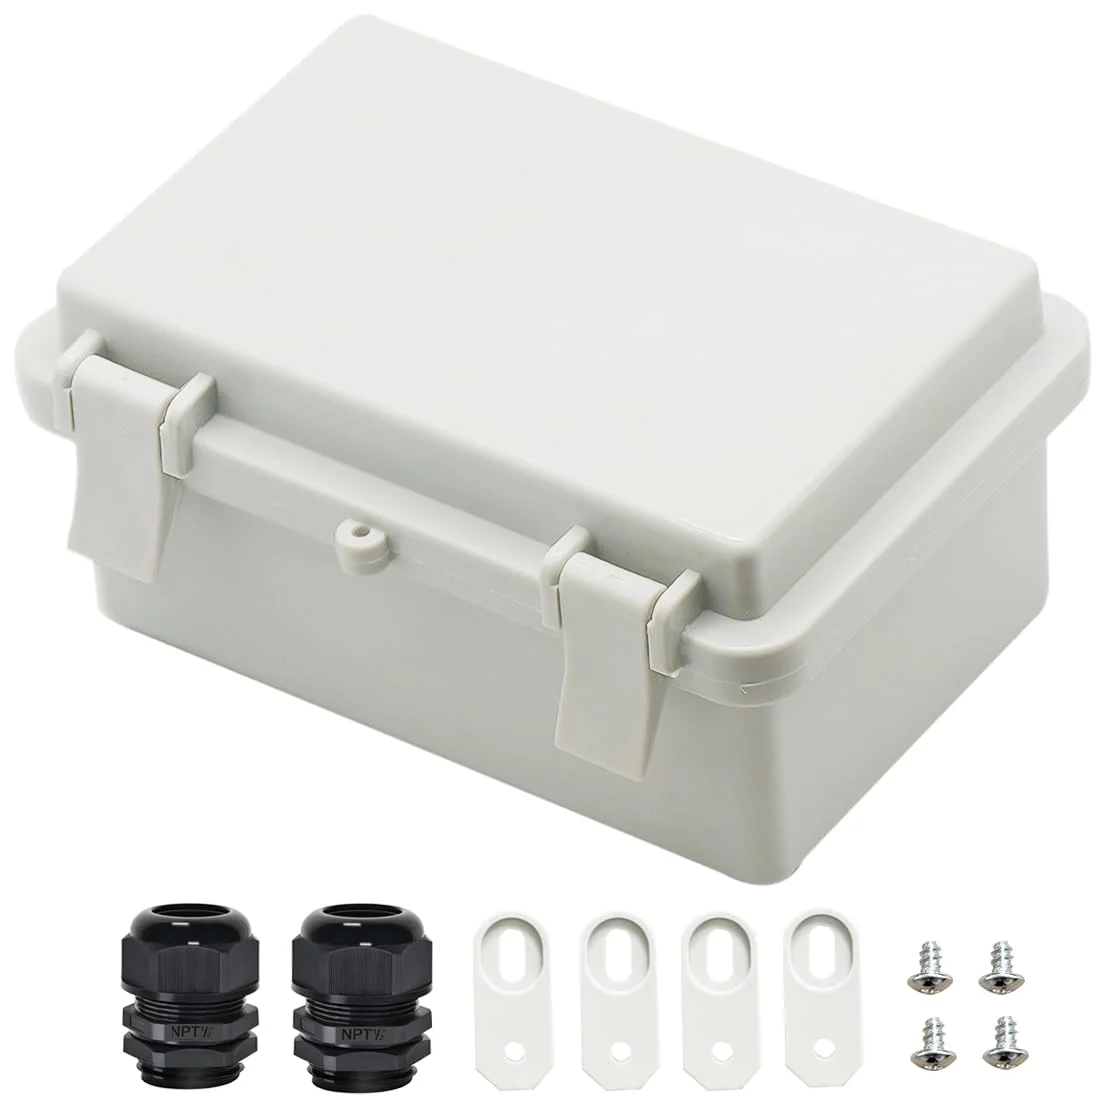
I would lay out the cable and conduit entries before comparing enclosure formats. The Otdorpatio purchase uses a removable lid; one Zulkit alternative offers reserved entry locations, while the smaller hinged option changes access and includes glands. Box size, lid movement and the fittings around it are the useful distinctions from my build.
Product Details And Van-Build Uses
Specification
Product Detail
Body
ABS enclosure
Access
Removable lid
Build Role
Gathering roof cable routes
The large junction box gathered several roof-wire paths before they entered my van. A useful enclosure drawing shows each opening with its fitting, the space between adjacent fittings and the direction the wire takes inside. Leave the lid outline visible on that drawing: fittings around the walls and access from above are separate space requirements. My photographs show how the entries developed as the individual roof routes came together over several work sessions.
Show the lid, fitting locations and wire routes inside the box as separate parts of the same layout.
Alternative products
Two Alternatives to Compare
The larger Zulkit enclosure provides another project-box layout with reserved entry locations. The smaller hinged Zulkit box offers a different access arrangement and includes cable glands. Size, lid access and entry placement distinguish these options for an enclosure layout.
Product
Why compare this option
Purchase link
Otdorpatio Large Project Junction Box
Large removable-lid enclosure at my van cable entry.
This ABS project enclosure provides space for housing components and cable connections. Its reserved entry locations offer another layout for fitting conduit adapters and cable glands.
This ABS project box has a hinged lid and included cable glands. It offers a smaller enclosure format with a different access arrangement from a removable-lid box.