The Build Behind This Item
I wanted to raise the light bar above the existing rack so I could angle it toward the ground. That meant preparing an added 2020 beam and the short pieces that would connect it to the rack.
I cut the beam to 58 inches and the three mounting pieces to 1.75 inches each. Cutting was followed by drilling two holes in each connector, one inch apart, then working through the different fasteners on the rack and smaller extrusion.
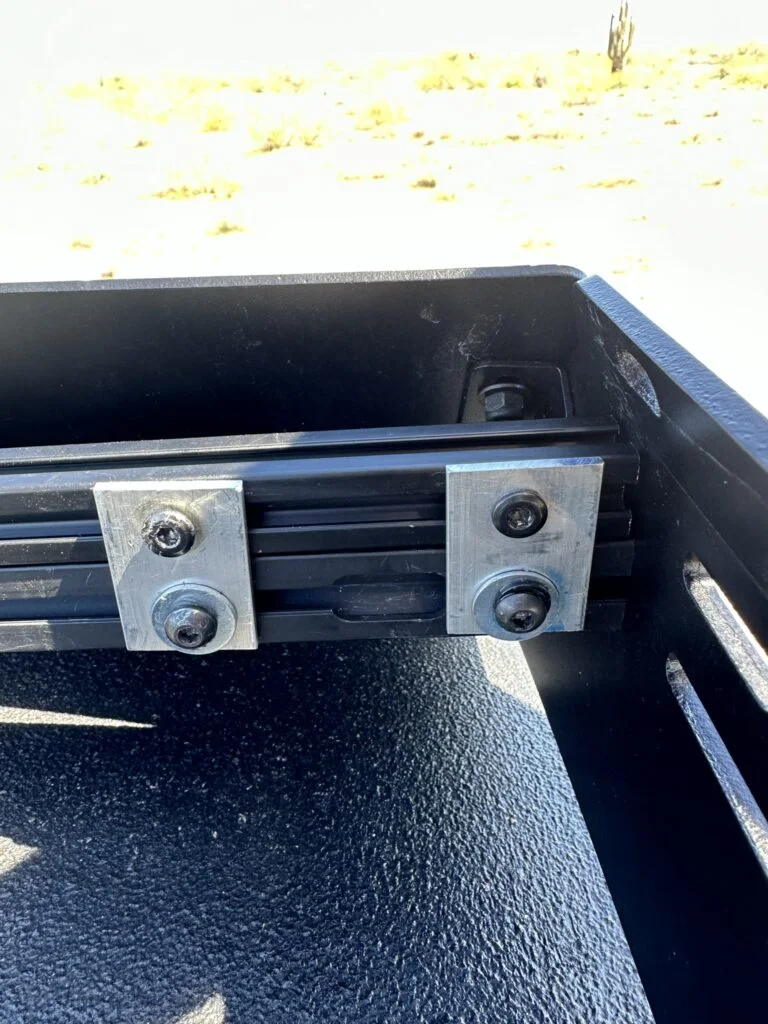
Cutting One Long Rail and Three Short Mounting Blanks
- I cut the added 2020 extrusion to 58 inches.
- I cut three aluminum mounting pieces to 1.75 inches each.
- I drilled two holes in each mount, one inch apart, before joining the extrusion to the rack.
Camper Van Project Applications
A miter saw gives repeated framing cuts a fixed reference surface and an adjustable angle. It can support cabinet framing, trim and small fabrication jobs, while long stock still needs support beyond the saw. The saw model, blade diameter and blade material rating all belong in the setup decision.
For a wider view of the build kit, see my van conversion tool checklist and budget versus professional tool comparisons.
Manufacturer Specifications And Instructions
| Specification | Manufacturer Detail |
|---|---|
| Blade Diameter | 12 inches |
| Motor Current | 15 amps |
| Motor Speed | 4,000 RPM |
| Bevel Range | 0–48° left; 0–3° right |
DEWALT lists a 14-stop miter detent plate and nominal lumber crosscuts of 2 × 8 at 90° and 2 × 6 at 45°. These are manufacturer capacities, separate from the particular stock and blades used in Steven's build.
My Experience with This Tool
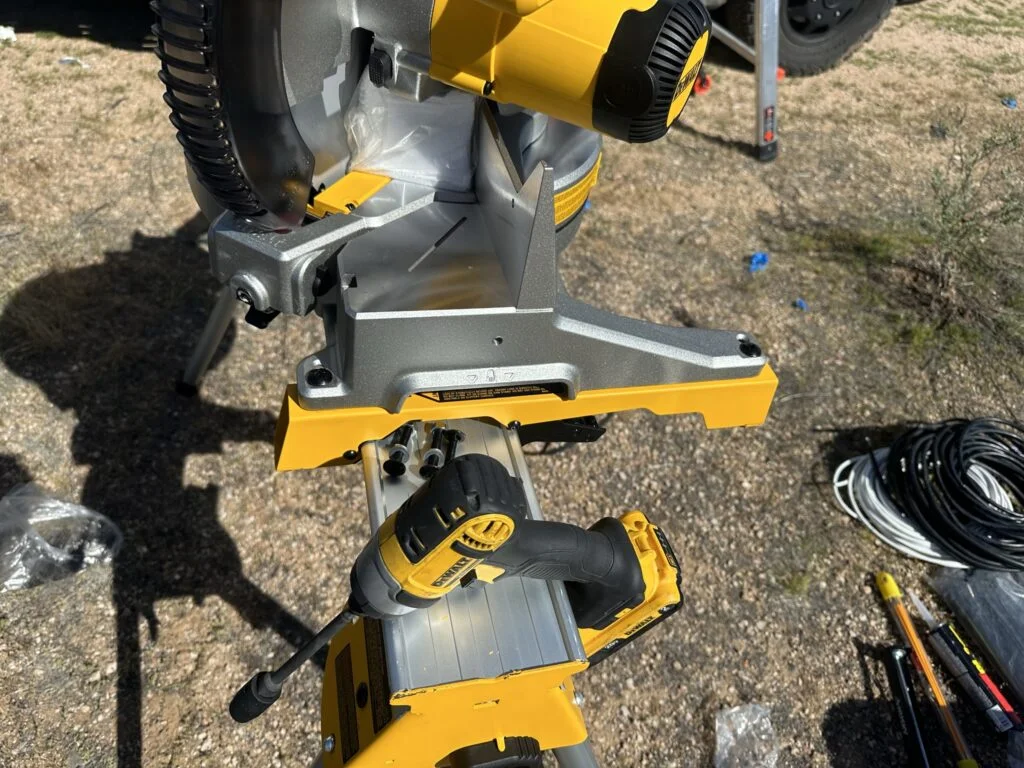
The DEWALT DWS715 miter saw is one of my favorite tools from the conversion. I used a large amount of 2020 aluminum extrusion in the van, and the saw paired with my COMOWARE 12-inch 100-tooth aluminum-cutting blade was the best combination I tried for those cuts. It cut the extrusion more smoothly and quickly than the other tools I used.
It also made easy work of the 2×4, 2×6 and 2×8 lumber I used. Having a tool that made consistent, precise cuts was valuable when I had a lot of pieces to prepare.
I used the matching DEWALT heavy-duty work stand with miter-saw mounting brackets. Once I bolted the saw to the stand, I left it attached and folded the stand’s legs for transport. I found that setup sturdy and dependable, even though moving it around was a substantial part of working on the road.
The saw and stand have tipped over in dirt and mud. The saw has fallen inside the trailer and been caught in the rain while I was working outside. It kept working through all of that.
Workholding was the part I never found a completely satisfying solution for. The supplied screw-down clamp was tedious when making repeated cuts. Depending on the piece, its reach could be awkward, and I was not always happy with how well it held the material. I also used my DEWALT DWHT83196 medium and large trigger clamps.
The saw also made a considerable mess, especially when cutting wood. The attached dust bag did not collect everything.
While cutting metal outdoors in the desert toward dusk, I was not wearing eye protection. A piece of metal entered my right eye. I had pain, light sensitivity and blurred vision, but initially expected it to improve on its own.
It did not. After weeks of worsening symptoms, I went to urgent care. They found and removed a piece of metal beside my eyeball. My eye healed and my vision returned to normal afterward. That incident is part of my experience with the build, alongside the saw’s usefulness and durability.
Alternative To Compare
My Takeaway for Choosing the Kit
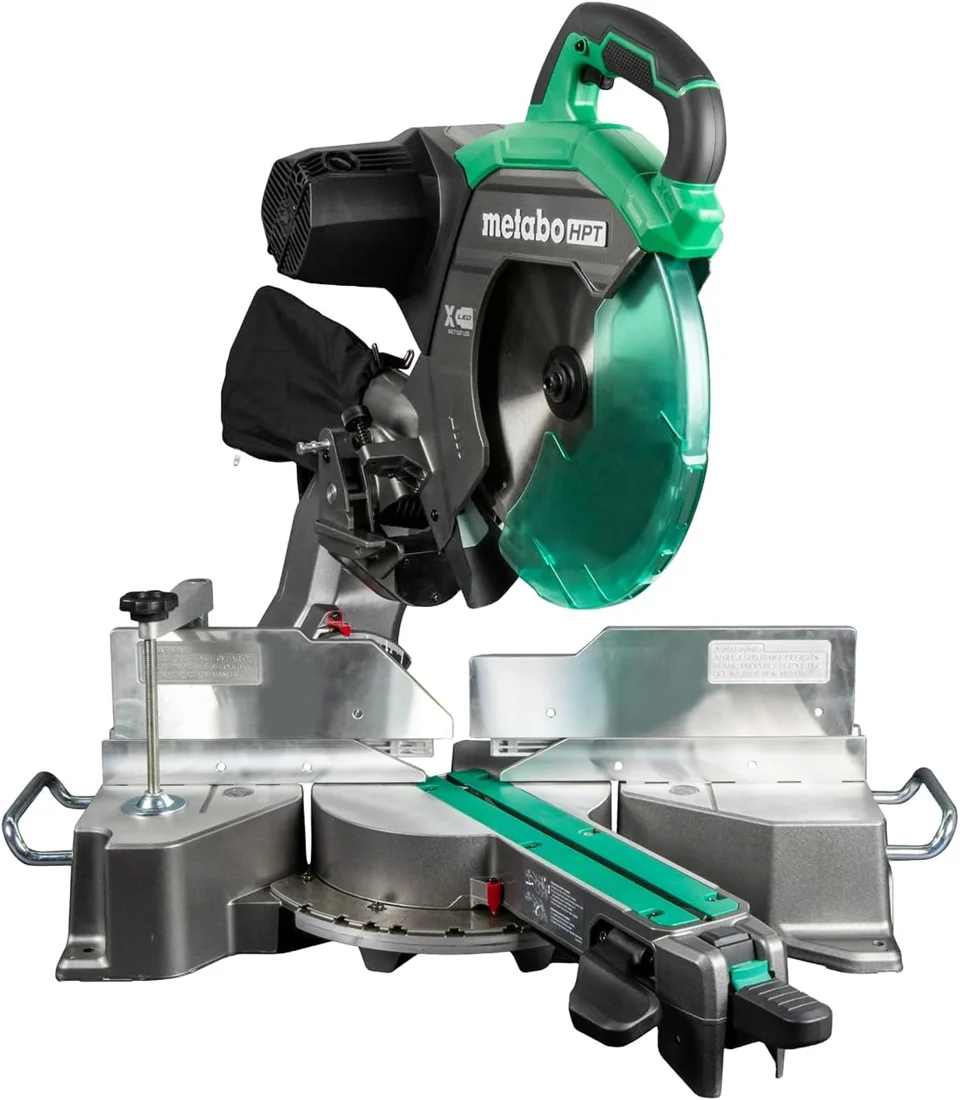
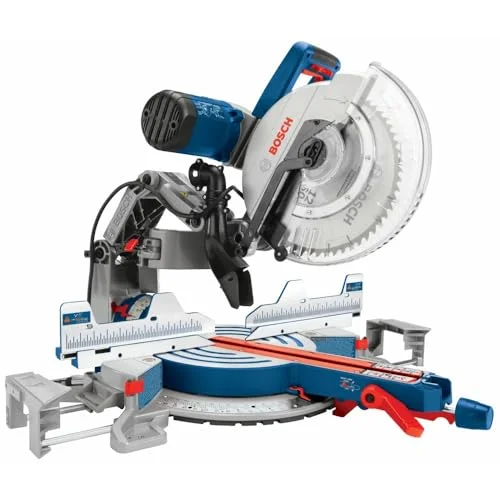
The saw-and-stand photograph belongs beside the close view of the mounting parts: it shows where those parts started. For another saw purchase, I would compare the cutting travel and the space taken by the work station. The Metabo HPT adds sliding travel; the Bosch uses an articulated glide mechanism, and both add dual-bevel adjustment.