Vanguard Rear Bumper Guard Assembly Attempt
I bought a chrome Vanguard rear bumper guard for my 2023 Ford Transit 250 high-roof extended van, with a plan to give it a black bedliner finish. Before getting to that finish, I needed to put the brackets and guard together. That was where this session stalled: the holes did not line up, and I ended the recording considering a return to Amazon.
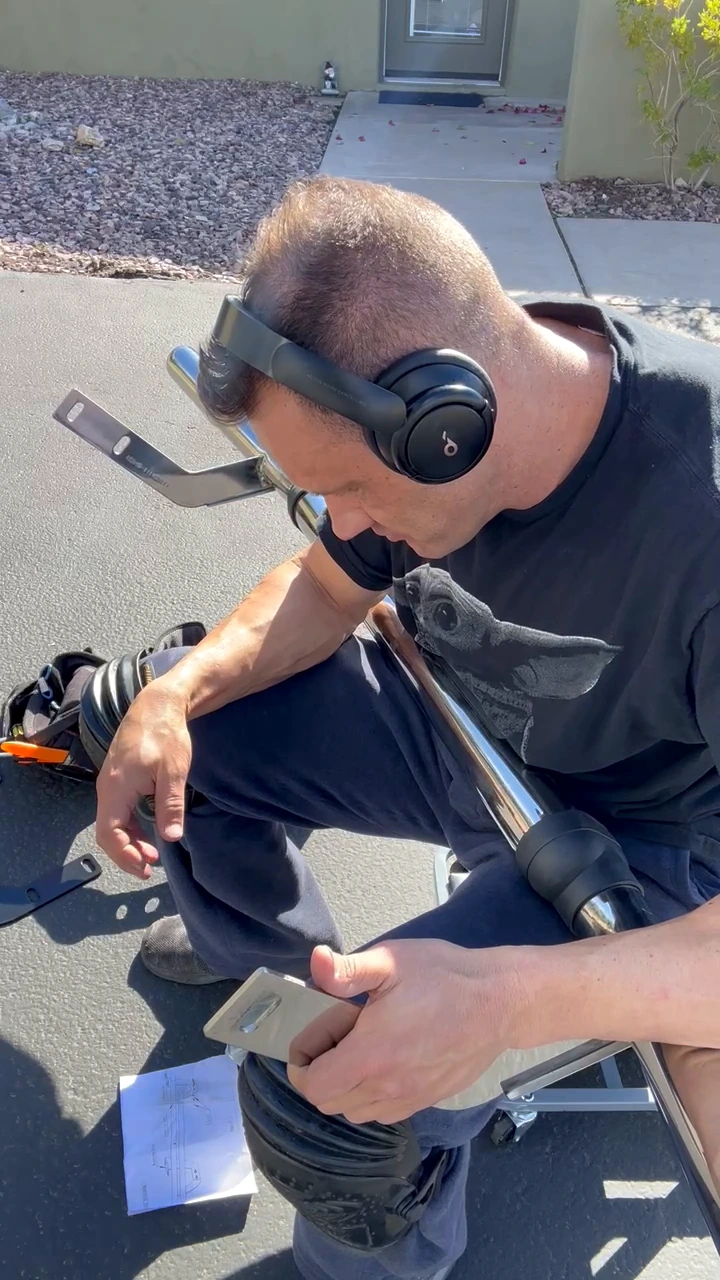
This entry follows the job as it happened, from the partly wrapped guard and supplied hardware to the bracket comparison and my assessment. The close-up work is the useful part of the story: I could handle the pieces, try the connection and compare it with the diagram, but the assembly was still unresolved when I stopped recording.
Watch My Rear Guard Assembly Attempt
The full landscape film runs for about three minutes and seven seconds. It keeps the introduction, a stretch of hands-on assembly and the alignment problem together, so the issue appears in the context of what I was doing. The shorter clips below make it easier to return to the introduction, the bracket comparison or the point where I considered what to do next.
| Point in the full film | What I was doing |
|---|---|
| 0:00 | Introducing the chrome Vanguard rear guard and my black bedliner plan. |
| 0:30 | Looking at the brackets, hardware and how the pieces were meant to connect. |
| 0:57 | Continuing the actual bracket-fitting attempt. |
| 1:55 | Working with the connection before showing the alignment problem. |
| 2:14 | Pointing out the holes that did not line up. |
| 2:42 | Assessing the connection and comparing it with the instruction diagram. |
What I Bought and the Finish I Planned
In my introduction I identified the part as a Vanguard rear bumper guard bought from Amazon. It was still chrome, with protective wrapping and cardboard around it. I showed the mounting brackets and bolts that came with it while taking the packaging off.
My plan was to spray or apply black bedliner to match the rest of the van. That was the finish I described before starting the assembly. At this stage, though, the chrome was still visible and the immediate job was getting the supplied pieces together.
See the rear-guard purchase record and rear-access options.
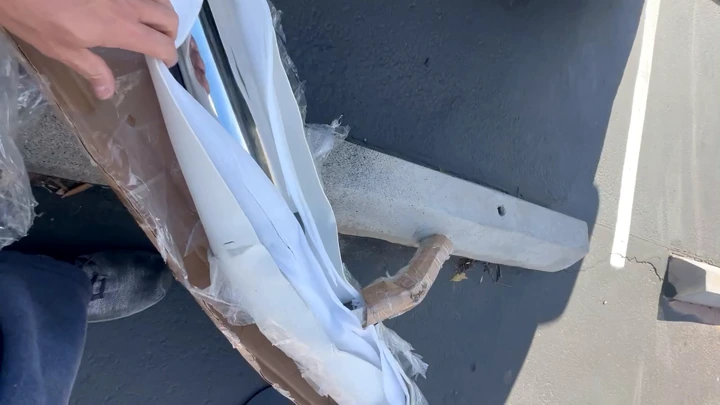
The packaging view is worth keeping beside the later bracket close-up. It establishes the part at the beginning of this session, while the assembly footage shows what happened when I started trying to connect it. The black finish remained a plan throughout this recorded attempt.
For the separate coating work already on the Transit, my black RAPTOR trim-and-hood story follows the sprayed finish and roller correction. This rear-guard session stopped at the bracket stage.
Trying to Attach the Brackets
I sat with the chrome guard across my lap and the instruction sheet nearby. At the start of this part of the recording, I explained that the brackets were to connect on the inside, following the arrangement shown in the instructions. I then worked with the supplied hardware and tried to bring the pieces together.
There is a stretch of ordinary assembly work here: holding a bracket against the guard, handling the fasteners and working at the connection. Keeping that sequence helps show how I reached the problem. The guard was still in my hands, away from the van’s rear mounting position, as I tried to assemble these parts.
The brackets and guard connection are much easier to follow in the upright view than in a wide photograph of the whole work area. The portrait clip below keeps the hands, bracket plate and chrome tubing close together in the frame. It continues into my demonstration of the holes.
The Holes Did Not Line Up
The problem became clear when I held the bracket up and pointed to the connection. I was trying to use the arrangement shown in the instructions, but the holes were not coming together. I turned the pieces toward the camera to show what I was looking at.
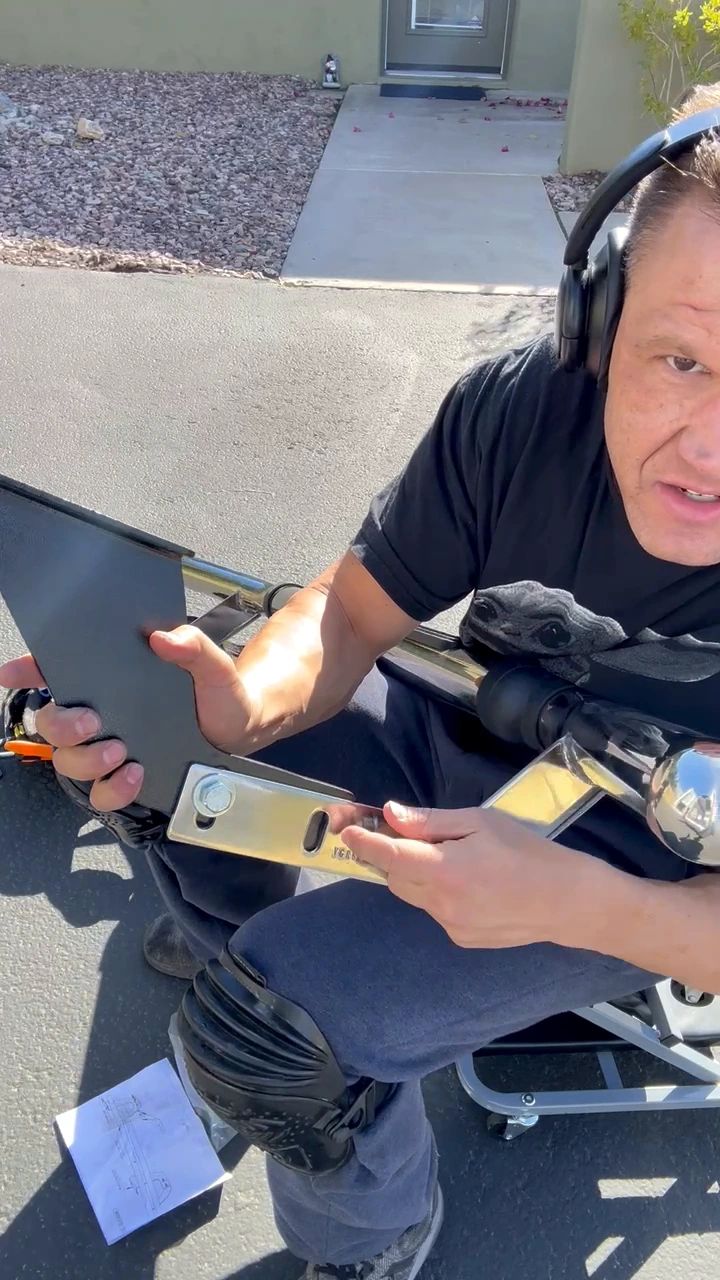
I could see that the connection was not lining up during this attempt. I also said I could not squeeze it through. My next step in the recording was to compare the parts with the instruction image again.
The short clip includes a labelled freeze-frame close-up of the hole regions I was comparing. That pause gives the connection a little more time on screen while my original explanation continues. The full clean film above carries the same recorded sequence without the arrows.
Comparing the Parts With the Instruction Diagram
I had the printed sheet beside me during assembly and returned to it when the connection became a problem. In my assessment, I described a difference between the bars shown in the image and the assembly I had in front of me.
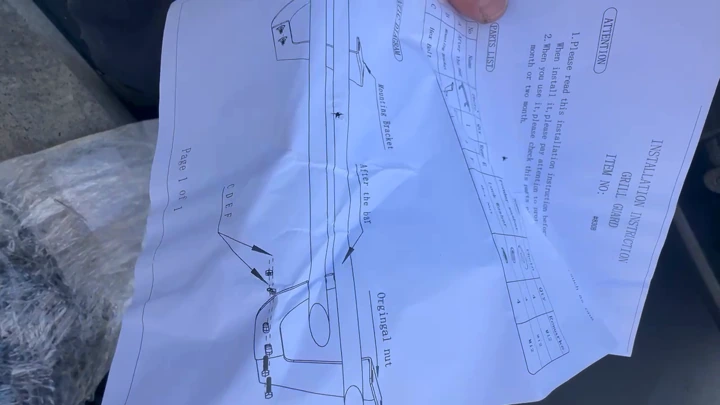
That comparison explains my reaction at the end of the session. I had been following the depicted arrangement, yet I was still holding parts that would not line up in the attempted connection. My recorded observation was about that mismatch; the session ended before I established its cause or found a solution.
Considering a Return
After trying the brackets and comparing the diagram, I discussed returning the guard to Amazon. That was where the recorded project stood: chrome guard, attempted bracket assembly, unresolved alignment and a possible return.
I have kept the unpacking view, assembly sequence, close-up and final assessment together because each explains a different part of that outcome. A picture of the loose guard alone would miss the bracket problem. The final assessment alone would miss the work that led me to it.
Questions About This Rear Guard Session
Did I Install the Vanguard Rear Guard?
The work in this entry is the bracket assembly attempt. The guard was across my lap while I worked with the brackets, and the recorded outcome was unresolved alignment rather than a completed installation on the van.
Did I Apply the Black Bedliner Finish?
I described black bedliner as my plan for the chrome guard. The guard remained chrome in this session, and the bracket problem came before that planned finishing work.
Why Were the Bracket Holes Out of Alignment?
I showed the holes and compared the arrangement with the instruction diagram, but did not establish a cause. The useful detail here is the actual connection I was trying and the mismatch I pointed out on camera.
Did I Return It to Amazon?
I discussed a possible return at the end of the recording. This project record ends with that assessment; there is no completed return or later fix in this session.
Follow My Other Build Projects
My build diary follows individual jobs through the work, photographs and decisions recorded at each stage. The passenger-side running-board project is another example of the bracket and fitting work around the van, with its own separate outcome.
For a different exterior change, the Method wheels and BFGoodrich tires story follows the shop visit and installed result. Those projects sit alongside this assembly attempt in the record of turning my Transit into a camper.