My Transit electrical system came together from individual components. When I look at a camper van electrical system kit, I start with a practical question: which parts of that work would the package actually complete? A battery, an inverter and a collection of cables can look like a finished solution in a photograph. The useful comparison is what those items connect to, what they do together and what remains outside the box.
I use my own electrical system as a reference for the jobs involved: storing energy, charging from different sources, supplying appliances and connecting equipment around the van. The packages below are current research comparisons. My build history remains the individual equipment and work recorded on this site. Here is how I would compare a bundle before committing money and interior space to it.
Start With The Electrical Jobs You Need
I would write the intended jobs before reading the equipment list. Charging a laptop, running lights, keeping a refrigerator supplied and using an AC appliance are separate demands. They may share a battery bank, but that does not make their connections or operating patterns identical. A useful package comparison starts with a description of the camping routine those jobs support.
The same applies to charging. In my build, roof solar, vehicle charging and external AC are different paths through the system. A package that covers one path has not automatically covered the others. I would draw up a written list of the sources I intend to use and match each one to an explicitly included function. That is a shopping exercise before it becomes a mounting or wiring exercise.
I would also separate initial needs from possible later additions. If an appliance is only a future idea, it belongs in a future column. Otherwise the kit grows around a collection of hypothetical loads while the equipment I actually want to use gets less attention. A clear first-stage list makes it easier to see whether the offered system solves the present build or a different imagined van.
My first comparison sheet would therefore have four headings: loads, storage, charging sources and physical locations. I want an answer in every column. A large battery number answers only one part of that sheet. The rest of the package needs to connect that stored energy to the actual routine and layout.
Record The Exact Package And Its Boundaries
I would save the full package name, selected version and item list together. A family page can offer several battery sizes or different accessory levels under one heading. Comparing the photograph from one selection with the specifications from another creates a combination the seller may never have offered. The selected package is the unit of comparison, rather than the name at the top of the family page.
Next I would divide the contents into functional groups. Battery storage goes in one group, power conversion in another, and charging equipment in another. Distribution, monitoring, wire, terminations and mounting hardware each get their own space. This keeps a long list of small accessories from hiding the absence of a major function. It also makes a short integrated system easier to compare with several separate boxes.
I would keep included, optional and excluded items visibly separate in my notes. An optional item shown beside a kit is still an additional decision. A photographed solar panel does not settle how many panels are included in the selected package. An accessory menu does not establish that every accessory is in the order. I want a record I can use when the boxes arrive, not just an attractive product-page screenshot.
The final boundary is the vehicle itself. Equipment still needs a place in the van and connections to the loads and sources around it. I would mark those interfaces on the same sheet so the package does not appear complete simply because its own internal equipment list is complete.
Compare Stored Energy And Output Separately
Battery storage and inverter output answer different questions. Stored energy describes a quantity available to use; output describes the rate at which equipment can supply a load. I would keep both on the comparison sheet with their units rather than choosing whichever headline number looks larger. A bigger storage figure does not by itself establish the ability to run a particular combination of appliances.
For an energy comparison, I would look for the stated battery voltage and capacity or the manufacturer's energy figure. When comparing amp-hours, the voltage matters. I would not put amp-hour values from different system voltages in one column and treat the larger number as the larger energy store. Keeping watt-hours beside the original battery information makes the basis of the comparison clearer.
On the output side, I would record the inverter's actual stated output information, including the difference between continuous output and a temporary surge figure. I would also preserve VA and W as different labels when the manufacturer uses them. Turning every number into the same unit by assumption makes the comparison less useful. The specific appliance requirements belong beside the applicable output figures.
Then I would return to the routine. Which loads operate together, and which run at different times? A short cooking task and an overnight load affect the plan differently. My solar-use planning guide covers the energy-budget side. For kit shopping, I want that budget connected to the exact storage and output functions being purchased.
Check Every Charging Path Individually
The charging-source list is one of the quickest ways I would separate similar-looking packages. I would ask what is included for roof solar, what is included for vehicle charging and what is included for external AC charging. A package may be organized around one source and offer the others as additions. That can be a sensible approach, but it changes the scope of the purchase.
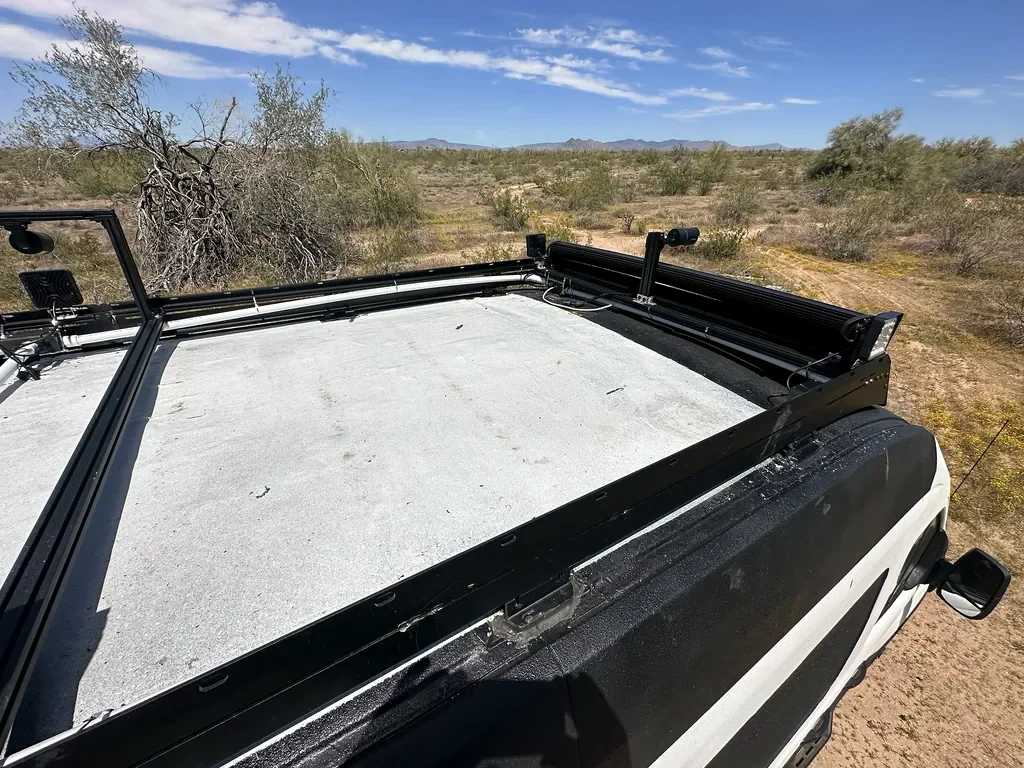
For solar, I would distinguish panels, the charging function and the connecting hardware. A controller being included does not make roof panels part of the package. Panels being included does not answer every question about their arrangement on the roof. The available footprint and cable route are still part of the vehicle plan. My solar-panel comparison focuses on the module and mounting side of that choice.
For vehicle charging, I would look at the exact equipment and the vehicle-side connection described for the selected package. I would keep that separate from a general statement that a system supports alternator charging. In my own system, the vehicle-charging equipment changed during the build. That is a useful reason to compare an actual charging path rather than relying on a category label.
I would also write down which source I expect to use most often. A kit can include several charging methods without making them equally important to my trips. Matching the package to the intended routine is more useful than collecting every possible input simply because it appears on a feature list.
Separate AC Transfer From Battery Charging
One distinction I would check carefully is the difference between passing external AC power through a system and using external AC to charge the battery. Those are different functions. An inverter with a transfer feature should not be described as an inverter-charger merely because both names contain the word inverter. I would follow the exact product description and documentation for the included unit.
My comparison would have separate rows for battery-to-AC conversion, external AC transfer and external AC battery charging. If one device supplies several functions, I would record them in those rows while keeping the device identified once. If a function needs another device, that becomes an additional item in the package or remaining-parts list. This avoids counting a single useful feature as a complete AC system.
I would also separate the equipment inside the van from the external connection and the circuits it supplies. An included inverter does not answer what shore inlet, connecting cord, distribution equipment or branch circuits are part of the offer. These are scope questions that should have specific answers before I compare the total amount of work each package removes.
This is where my distribution and protection overview fits into the reading sequence. The kit decision concerns the equipment being bought. The system record concerns how the different parts relate to my build. Keeping those purposes connected helps me compare packages without confusing a product list with the whole installation.
Look At Three Different Package Approaches
The Vanlife Outfitters Base Camp Lite is an example of a bundle built around separate components. Its published contents bring battery storage, inverter-charger, vehicle charging, monitoring and distribution together with connecting supplies. The supplier lists solar, tools and branch-circuit protection outside that included scope. I would compare it as a defined collection of components rather than assume the word complete covers every circuit in the van.
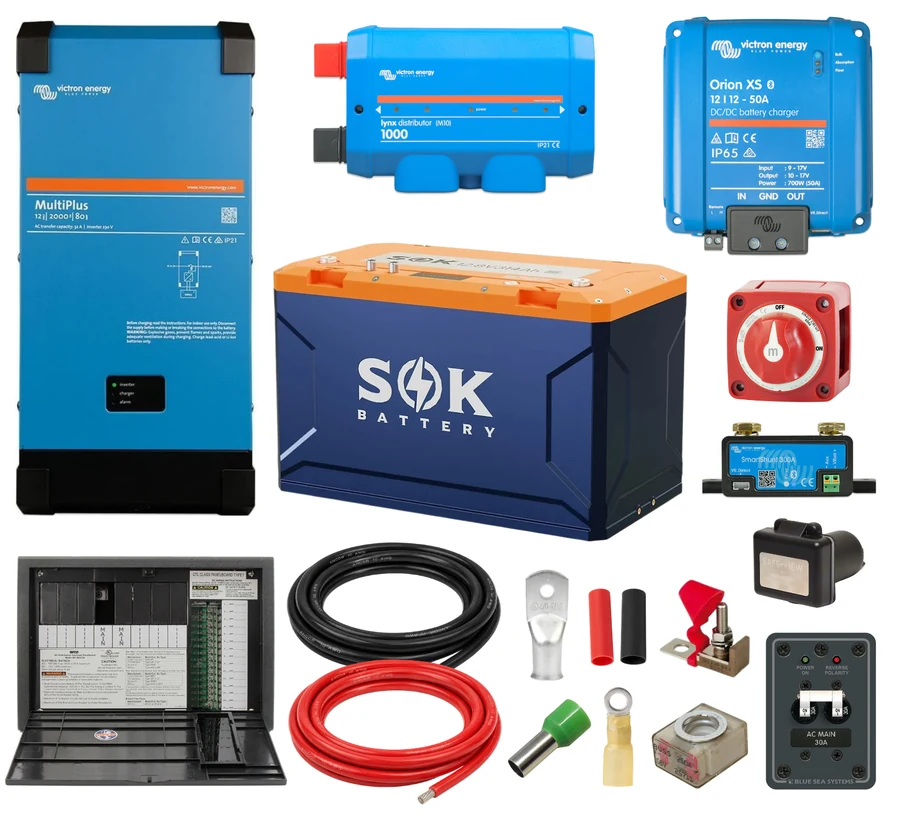
Vanlife Outfitters Base Camp Lite 12V Electrical Bundle
This 12V bundle combines separate battery, inverter-charger, vehicle-charging, monitoring and distribution components. Its supplier includes connecting wire and terminals while listing solar, tools and branch-circuit protection separately.
View Package Details
Renogy Go Far 3.8kWh RV Solution
The Go Far package pairs a solar panel and battery with an inverter, combined DC-DC/MPPT charger and accessory kit. Its separate components are arranged and connected around the vehicle layout.
View Package Details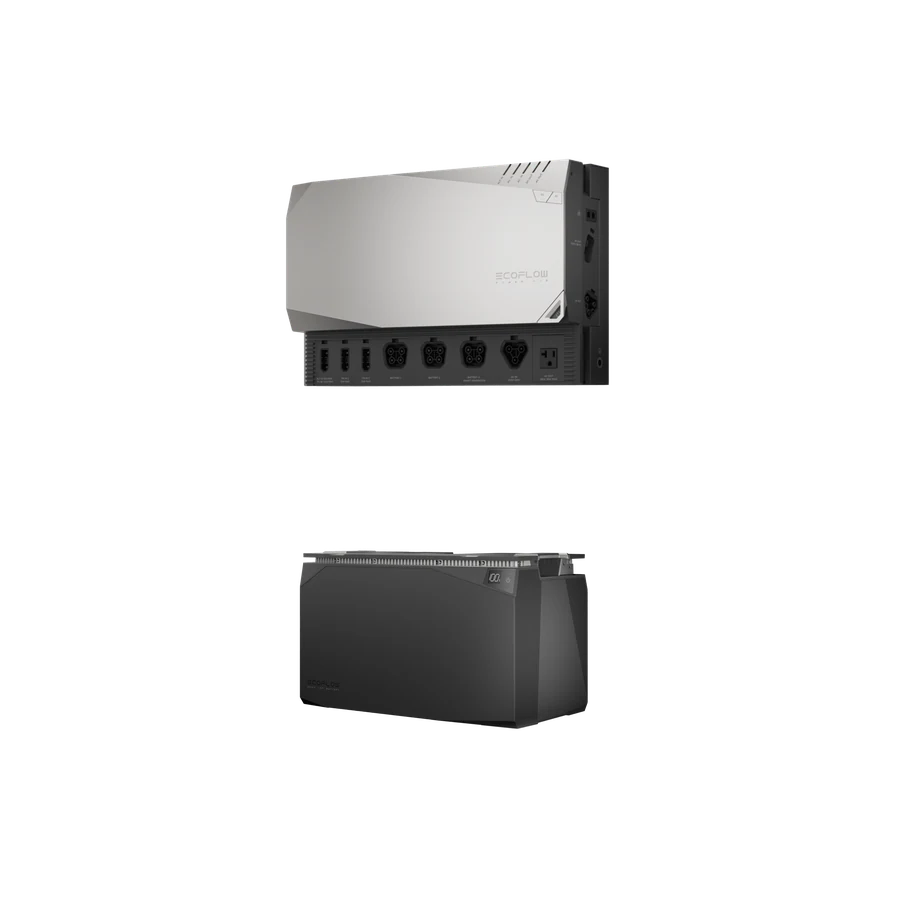
EcoFlow Get Set Power Kit 5kWh
The Get Set package combines an integrated Power Hub with a 5kWh battery. The hub groups charging and power-conversion functions in one unit rather than a row of separate chargers and an inverter.
View Package DetailsRenogy's Go Far 3.8kWh package presents another separate-component approach, with a solar panel included alongside its battery, inverter, combined DC-DC/MPPT charger and accessory kit. I would compare that exact Go Far selection rather than borrow the larger Go Further package's photograph or quantities. The solar inclusion changes the contents comparison; it does not settle the panel's fit on my roof.
EcoFlow's Get Set 5kWh package illustrates the integrated-hub approach. The Power Hub combines conversion and charging functions, paired with the package's battery. I would compare the physical and connection boundaries of that arrangement with a system spread across separate devices. A shorter device list can represent integration, but I still want the vehicle connections and distribution needs written out.
These are three different buying approaches, not three records of equipment installed in my Transit. My comparison would turn on the exact contents and the work remaining for my layout. I would use the selected manufacturer's details to finish that comparison, then make the purchase decision against the same load and charging-source list for all three.
Account For The Work Outside The Bundle
I would make a remaining-work list beside every package. It would include mounting, connections to the vehicle and roof, branches to the actual loads, and any equipment outside the selected scope. This is where a package with a longer contents list may still leave an awkward task, or a smaller package may fit a deliberately simple first stage.
The important thing is to describe remaining work specifically. More wiring is too vague to compare. A route from the equipment area to a roof entry is a defined job. So is the connection to an appliance at the other end of the interior. A list written in terms of locations and functions is easier to compare than a general promise that a kit saves installation time.
I would then separate parts from labor. An included length of cable is a part. Routing it through the interior is work. A mounting bracket is a part; establishing where it fits and retaining access around it is another task. Keeping those categories separate prevents me from assigning the same saving twice, once because an accessory is included and again because I assume the associated work has disappeared.
My cost comparison would include the remaining purchases without inserting made-up prices. I would use actual quotations when ready to buy and keep the scope attached to each quotation. That gives me a practical total rather than a headline number detached from the rest of the build.
Fit The Equipment Before Closing The Cabinet
I would lay out the equipment area before finalizing the surrounding furniture. A system needs space for the physical devices and their connections, as well as the access described in the equipment documentation. Measuring just the rectangular case leaves out the part of the installation where cables, plugs and hands need to go.
With separate components, I would compare possible arrangements around the available area. With an integrated hub, I would look at the whole unit and where its connections face. Neither approach eliminates the need for a physical layout. It changes which shapes and interfaces must fit together. A package that looks compact on a white background can create a different space requirement when placed beside the rest of the interior.
I would make the proposed access sequence concrete. Can I see the information I need? Can I reach the intended controls? What must move before I can inspect a connection or remove a component? Those questions belong in the furniture plan while there is still freedom to adjust it. They are more useful than assuming a removable panel automatically makes everything behind it accessible.
My own build uses aluminum extrusion and black or gray interior finishes rather than a conventional all-wood cabinet system. That makes the mounting approach part of the package comparison for me. I want equipment placement to work with the structure I am actually building, rather than redesign the interior around a stock product photograph.
Match Cable Routes To Actual Locations
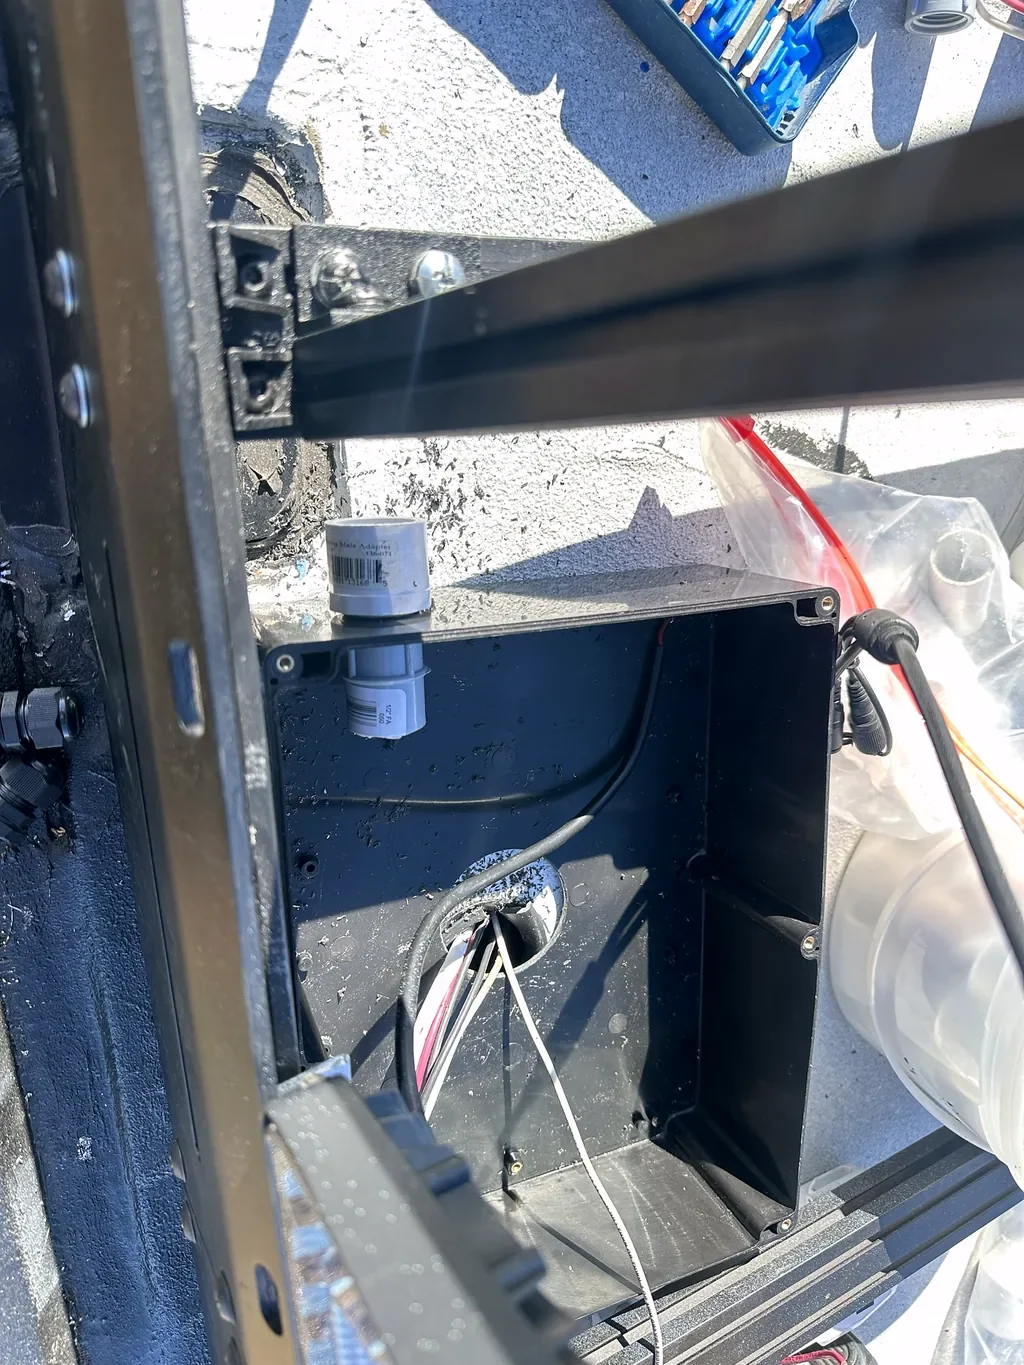
My roof-wiring photographs show why the spaces between equipment matter. The roof devices, junction areas and route into the van did not all occupy one convenient rectangle. When I compare a kit, I would trace those physical journeys as well as list the components. The route is part of the build even when the major electrical equipment arrives together.
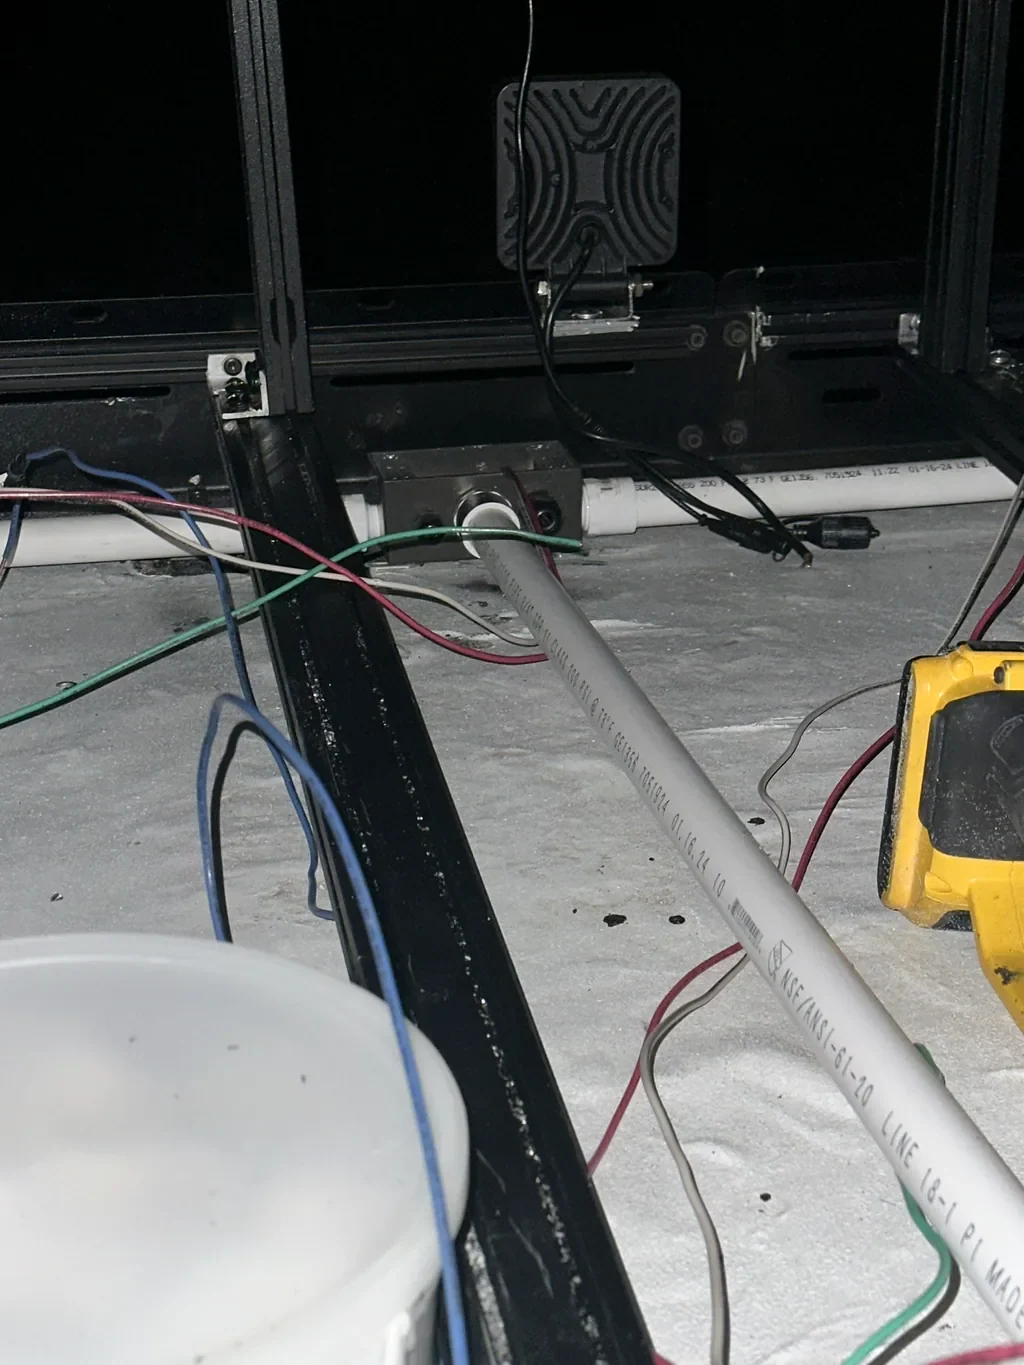
I would record the start and end of each intended connection in plain language. Equipment area to roof entry is one route; equipment area to an interior load is another. The next step is to establish the route's actual path through the vehicle. That path can differ substantially from a straight line on a product photograph or a simple plan view.
Precut or supplied cables make that physical check particularly important. I would compare the stated lengths and connection format with the proposed equipment locations, then identify which routes still need separate supplies. I would not move equipment to an inconvenient location solely to make an included cable reach. The value of the kit depends partly on how well its contents fit the chosen arrangement.
The roof cable-entry plan is a useful companion here. It concentrates on the crossing between roof equipment and the interior. The package comparison concentrates on what the purchase supplies for that crossing and what remains a separate vehicle-specific task.
Keep Individual Load Circuits Visible
After listing the main equipment, I would list the actual loads again. This catches a common gap in a shopping comparison: the large devices are accounted for, but the smaller connections around the van have disappeared into an accessories label. Each intended load needs a place in the system record even when several share a distribution area.
I would compare the distribution equipment included with the kit against that list. The relevant questions are what it provides, which parts are optional, and what remains to be selected for the actual branches. I would avoid treating the number of empty positions in a product photograph as a complete answer. The specific equipment documentation and intended circuits belong together in the planning record.
My roof project includes lights and camera-related wiring as well as the other equipment associated with the electrical build. That is a useful reminder that a van's electrical system extends beyond a battery and an AC socket. The route to each device, its connection and the way I will identify it later all affect the work around the main package.
I would give the branches the same names across my load list, layout and purchase notes. Consistent naming makes the next question easier to answer: which part of this kit serves that actual device? If I cannot make that connection in the notes, adding more items to the shopping cart will not resolve the missing decision.
Decide What Monitoring You Will Actually Use
Monitoring is another place where I would separate a feature list from a daily routine. I want to know what information is available, where it appears and what additional hardware or connection is involved. A phone application, a mounted display and a remote portal are different ways to interact with a system. They should not be combined into one vague smart-monitoring box on the comparison sheet.
I would start with the information I expect to check while camping. Then I would identify the supplied device or interface responsible for showing it. If a display is optional, I would record it as optional. If an online feature depends on a separate connection, that belongs in the remaining requirements rather than being assumed to exist wherever the van is parked.
The physical location matters here too. Information that is convenient to view beside the equipment may be less convenient from the living area. A display that shares space with another part of the interior needs to fit that arrangement. I would compare those details before deciding that one package's longer list of monitoring features is automatically more useful.
My preferred result would be a short description of the routine: what I check, where I check it and which included equipment makes it possible. That turns monitoring into a practical part of the package choice instead of another headline specification to collect.
Compare Future Changes And Replacement Paths
My own electrical build did not stay frozen at its first equipment choice. The vehicle-charging part changed as the project developed. That experience makes future changes a real comparison point for me, even though I would not buy every possible upgrade at the start. I want to understand which decision belongs to one component and which connects me to a wider equipment family.
For separate-component packages, I would look at how a proposed replacement affects the surrounding connections and mounting. For an integrated package, I would look at the manufacturer's supported additions and interfaces. I would keep actual supported choices separate from assumptions based on similar-looking connectors or a general expansion headline.
I would also record which parts are ordinary connecting supplies and which are specific to the system. That distinction helps explain the purchase without making unsupported claims about how long equipment will last or whether a future product will work with it. The useful question is what can be established from the current documentation and the physical layout being planned.
A future-change note should stay proportionate. I would describe one plausible next stage and the checks it would require. A long list of imagined expansions can make any kit appear insufficient. A concrete next stage gives me something useful to compare while allowing the present build to remain focused.
Make A Decision From The Finished Comparison
I would finish with the same short record for every option: selected package, included functions, separate purchases, physical arrangement and remaining work. Then I would return to the camping routine at the start. Which offer covers that routine with a clear path through the vehicle, and which leaves decisions I would rather handle component by component?
The best fit would not necessarily be the package containing the most items. I would value the work it removes from my particular build and the clarity of the work it leaves. A bundle can be worthwhile because the supplied equipment and connecting parts form a well-defined purchase. An individual-component approach can be worthwhile because it follows an already developed layout. The comparison should make that tradeoff visible.
Before ordering, I would save the final selected contents and the matching documentation with my build records. That gives me a reference for receiving the equipment, organizing the next stage and understanding later changes. It also keeps my decision attached to a particular package rather than a product family whose options may change.
For the wider project, my conversion-kit planning guide covers how a purchased package fits into the rest of an interior build. For the equipment I actually bought and used, continue through the Tools & Materials hub and the linked electrical-system pages. Those records connect the buying decision back to the real project.