Camper van conversion kits can move some of the design and fabrication into a defined package. The important question is what that package actually completes. A set of wall panels, a furniture module and a coordinated interior system can all be described as a kit, while leaving very different amounts of work for the person building the van.
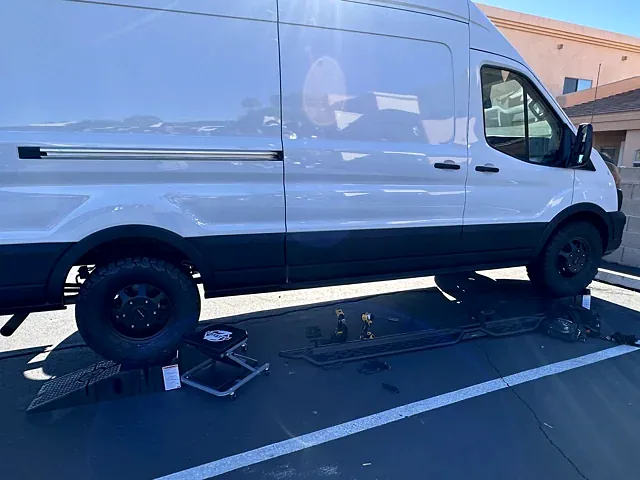
I would start with the finished job, then work backward through the contents and instructions. My own 2023 Ford Transit 250 high-roof extended project combines purchased components with parts I made or adapted. That gives me a practical reason to care about the boundaries between jobs. A component can look right on its own and still create a difficult connection to the surrounding interior.
The goal is a comparison you can complete from the actual offer: what arrives, what it fits, what work remains and what the full result will cost. Use the DIY-or-buy comparison for the broader approach, then use the checks below to evaluate a particular kit.
Download The Blank Conversion Kits Worksheet
Decide Which Job The Kit Must Complete
Write a short requirement before opening product pages. If you need a bed with accessible storage beneath it, specify both functions. If you need interior lining, identify the surfaces, openings and finish you expect. A requirement expressed as a finished result is easier to compare than a preferred product name or a photograph you want to imitate.
Include what must remain available around the kit. Door access, a route through the interior, an existing storage container and a service opening can all limit its position. Those requirements belong beside the product dimensions. Otherwise, you may confirm that a cabinet fits within the van while missing the fact that its door cannot open in the planned layout.
Separate essential functions from preferences. A required sleeping length or a particular item that must be stored is different from a preferred finish. Keeping those lists separate helps you compare options without losing the reason you began shopping. It also shows where a smaller customization could make an otherwise suitable package work.
Finish the brief with the handover point. Do you expect cut parts to assemble, furniture ready to attach or a complete installed result? If you are happy doing assembly but want to avoid making panels, say so. If attachment to the vehicle remains outside the package, make that a named task rather than an assumption hidden beneath the word “kit.”
Identify The Kind Of Kit You Are Comparing
A lining package usually addresses particular interior surfaces. A furniture kit supplies a defined arrangement or a set of units. A modular interior system may combine several pieces through a common structure. A component-specific package addresses one job. These categories are useful starting points, but the seller's actual contents and documents determine what is included.
Avoid comparing unlike packages as though their prices described the same result. A panel set does not become a complete interior because it appears in a finished van photograph. A furniture package may not include the equipment pictured inside it. A coordinated system may still have configuration choices that affect the final amount and the work you must carry out.
Make a simple inventory for each candidate. Use three columns: supplied parts, required items supplied elsewhere and unresolved items. Put each documented part in one column. If a photograph shows a feature but the contents do not establish its inclusion, keep it unresolved until the seller confirms it. That is more useful than guessing and correcting the budget later.
Keep configuration choices visible. Finish, body version, door arrangement and selected modules can change a package. Save the exact configuration you priced along with the dated quote. A generic product page may change, and a screenshot of the headline price may not explain which version you intended to order.
Match The Exact Vehicle Configuration
My own vehicle is a full-size Transit with a specific year, roof and body configuration. “Fits Transit” would not be enough information for me to treat every kit as interchangeable. Record the exact vehicle details requested by the supplier and compare them with the applicable installation documents. Keep full-size models distinct from other vehicles sharing part of a name.
Check the features that affect the kit's location. Doors, windows, existing trim and the planned floor and wall buildup can change the available space. The usable-space guide helps organize those measurements. A nominal cargo dimension is a starting reference; the finished space around the actual interior is the one your furniture must use.
Ask how the product dimensions are defined. Are they external dimensions, the usable space inside a compartment or an assembly envelope including brackets? If the drawing shows several views, keep the relevant one with your layout. Do not substitute an inside storage measurement for an outside furniture measurement because the smaller number makes a drawing fit.
Record any unanswered fit question in writing before ordering. State the vehicle configuration, the planned finish buildup and the exact kit version. A specific question is easier to resolve than “will this work in my van?” Keep the response with the quote so a later configuration change does not leave you relying on an answer about a different arrangement.
Read The Installation Sequence Before The Sales Summary
The instructions reveal the work behind the finished photograph. Read them from beginning to end while marking the tasks you would perform. Identify preparation, assembly, trimming, attachment, finishing and adjustment. The purpose is to understand the project, including tasks that may happen before the kit arrives and tasks that remain afterward.
For each stage, note the information it requires. An attachment step may depend on a vehicle drawing or a supplied template. A furniture assembly may depend on keeping parts in an identified order. A finish may need to be completed before two pieces are joined. Record those dependencies in your project plan so the kit does not arrive before its prerequisites are ready.
Distinguish supplied instructions from your own proposed modification. If you want to move a panel opening, shorten a unit or combine modules differently, that is a separate design decision. Save the original installation arrangement and identify the questions introduced by the change. An attractive mockup does not answer the details that the original instructions addressed for the unmodified kit.
Also check the end of the process. What adjustment, inspection or handover record does the supplier describe? What do you need to retain for later removal or maintenance? A kit can be convenient because it supplies a repeatable process, but that benefit depends on knowing which version of the process applies and keeping it available during the work.
Map The Interfaces With The Rest Of The Van
I use the word interface for a simple idea: the place where one job meets another. A furniture unit meets the floor and wall. A countertop meets the equipment beneath it. A service panel meets the opening needed to reach a component. Those boundaries deserve as much attention as the shape of the unit itself.
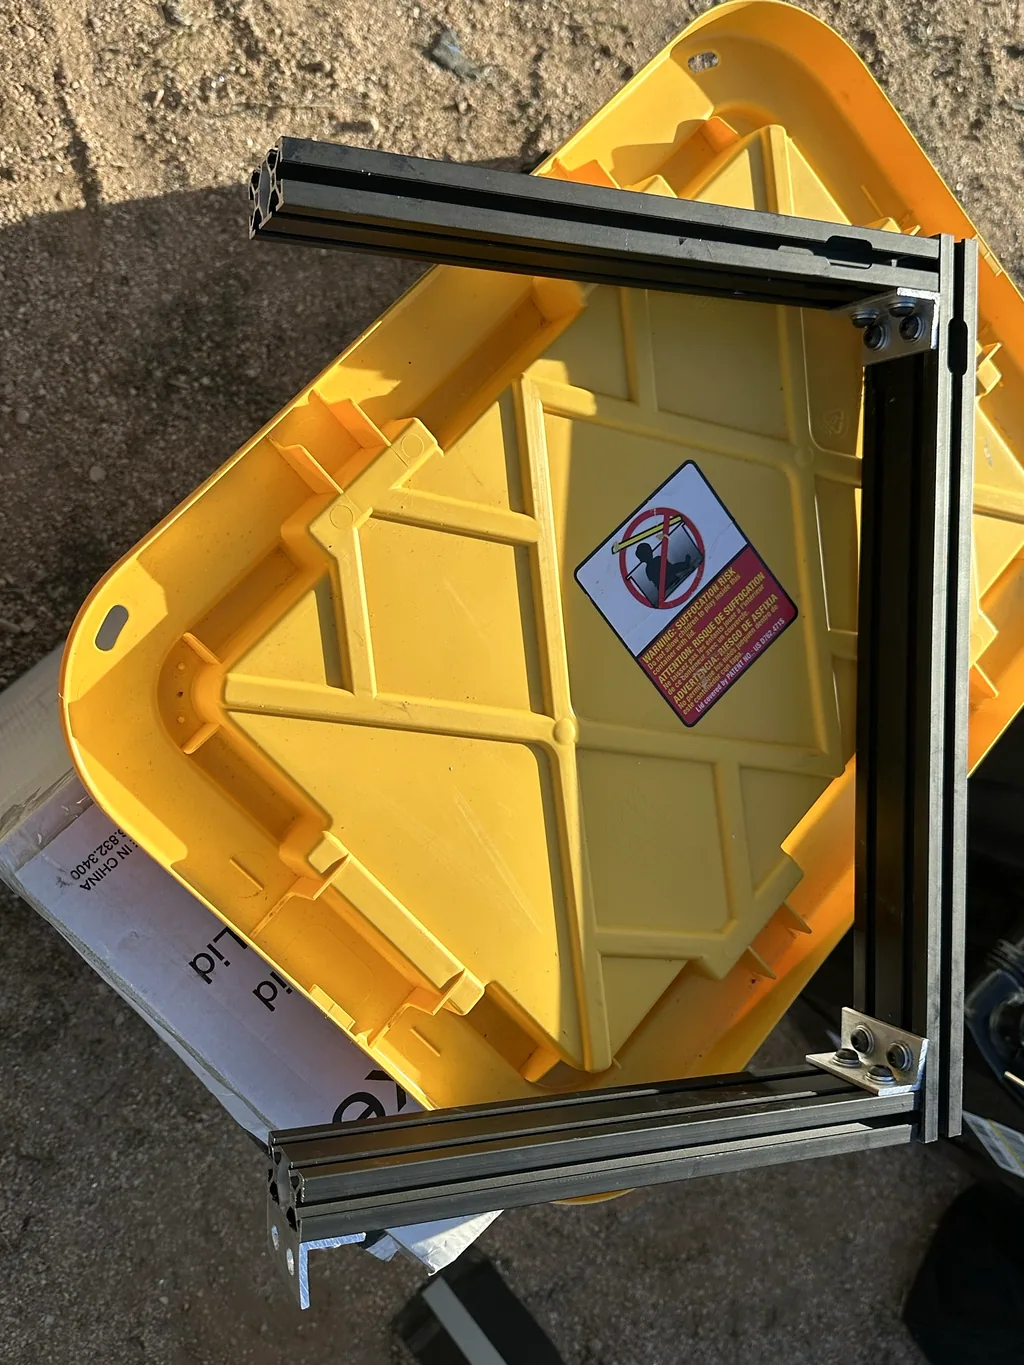
Start with physical space. Put the complete kit envelope into the same measured layout as the surrounding furniture. Show open doors, pulled-out storage and the space occupied by somebody using it. The full-size mockup checklist is helpful here because a plan view can hide collisions that become obvious when you move through the actual arrangement.
Next, map access. Which panels can be removed, which fasteners remain reachable and which neighboring pieces would need to come out first? Use the maintenance-access guide to distinguish seeing a component from having room to work on it or remove it. A small opening can answer one of those questions without answering all three.
Finally, identify routes and connections that the kit surrounds. Keep exact system design with the relevant component documentation; at the layout stage, reserve the space and access it requires. Do not let an attractive furniture position silently become the decision about every cable, hose or service connection behind it. Record those decisions as their own tasks.
Compare The Kit With Your Planned Interior Materials
My interior uses 20/20 aluminum extrusion and black or gray carpet, with butcher-block countertops in the build. That is useful context for the appearance and construction I am working around. A kit made with a different material palette might still be an option, but I would compare the actual interfaces and finish rather than assuming it should look like my existing parts.
Consider the complete outside size after your intended finish is added. A decorative panel, edge treatment or carpet layer occupies space. If a kit is designed around a specific lining arrangement, identify the difference before placing it in your model. Keep bare-body dimensions and finished dimensions separate so you can see where the available room changed.
Think about how a replacement part would be identified. A standard sheet, a custom-shaped panel and a proprietary fitting have different sourcing questions. Record the supplied part numbers and whether the seller provides a parts list. This is a practical ownership question, not a reason to favor one material automatically. The right choice depends on the arrangement and what you want to maintain.
If you plan to combine a purchased unit with your own framing, draw that connection as a separate detail. The kit dimensions alone do not specify it. Keep the required access and supporting documents beside the drawing, and resolve the join before buying the surrounding material. That prevents a hybrid build from becoming two individually planned systems with an unexplained gap between them.
Price The Complete Package And Remaining Work
Begin with the exact configured quote, then add the items needed to reach your defined result. Delivery, separately supplied hardware, finish materials, tools and paid work may belong in the comparison. Use the actual offer and instructions to identify them. An assumed all-inclusive price is difficult to correct after the purchase has already shaped the rest of the design.
Keep cash cost and work time separate. One package may reduce cutting while leaving assembly and fitting. Another may arrive assembled but need different preparation or transport. Estimate the sessions required for your situation, and keep those estimates distinct from quoted labor. The point is to understand the tradeoff, rather than pretending every builder values an hour in exactly the same way.
Compare a complete alternative for the same job. A materials-built cabinet should include its panels and hardware, not just its frame. A different kit should be configured to the same required functions. The conversion-cost guide explains how to keep scope, planned amounts and actual purchases readable when several routes are being considered.
Check how the payment and delivery sequence relates to the build. Use the seller's current written terms for deposits, dispatch, changes and returns. Save those terms with the quote rather than relying on memory. If a delivery date affects workspace or another job, put that dependency in the plan before committing to a date-sensitive sequence.
Use A Comparison Sheet That Produces A Decision
Create one row for every requirement and one column for each candidate. Include exact configuration, documented dimensions, included parts, remaining work, access, finish, delivery and complete cost. Give unresolved questions their own cells. Avoid filling a gap with a favorable score simply because the product photograph looks close to what you imagined.
A hypothetical bed-and-storage comparison makes the method clear. Candidate A might provide a complete bed structure but leave storage fronts to you. Candidate B might supply storage modules but use a different sleeping arrangement. Before choosing, decide whether each can meet the same sleeping and access requirements. Otherwise, the comparison is between different jobs rather than different ways to complete yours.
Use evidence-based statuses instead of an unexplained overall rating. “Documented,” “measured,” “awaiting supplier answer” and “does not meet requirement” tell you what to do next. You can still record preferences such as finish or appearance, but keep those separate from requirements that determine whether the package can serve the intended purpose.
End the sheet with one of three outcomes: ready to order, ready after named questions are resolved, or not selected. Include the configuration and date. A completed comparison is useful because it creates a next action. A page of attractive candidates with no explanation of the remaining questions merely turns shopping into another unfinished project.
Plan Delivery, Assembly And Storage Together
Before ordering, identify where the boxes will go and where the parts will be assembled. A package can fit in a vehicle for transport without leaving enough room to build it there. Check the actual packaging information available from the supplier and reserve a place to keep parts identifiable, dry and separated from unrelated work.
Decide how you will inventory the delivery. Compare received items with the packing list and the configured order. Keep photographs and the order record together. If something is missing or different, record it while the contents are still organized. An incomplete delivery should remain a named task instead of becoming an unexplained delay later in the installation.
Protect the work sequence from assumptions about storage. If you cannot leave an assembly out between sessions, include setup and packing time in your plan. If a large part needs to enter through a particular door, check the route before other furniture closes it off. These are ordinary project details, but they can decide whether a kit is convenient in your actual workspace.
Preserve labels, drawings and instructions after assembly. They are useful when you want to adjust a unit, replace a panel or understand what is behind it. Keep modifications in a separate note beside the original documents. Your future self should be able to distinguish the supplied arrangement from a change made during the build.
Decide What You Want A Kit To Save
A kit can reduce one kind of work while leaving another unchanged. You might value avoiding repeated panel cutting, having a coordinated appearance or starting with a defined arrangement. Be specific about the benefit you want. That makes it easier to judge whether the actual contents provide it, instead of treating the word kit as a promise that the whole conversion becomes simple.
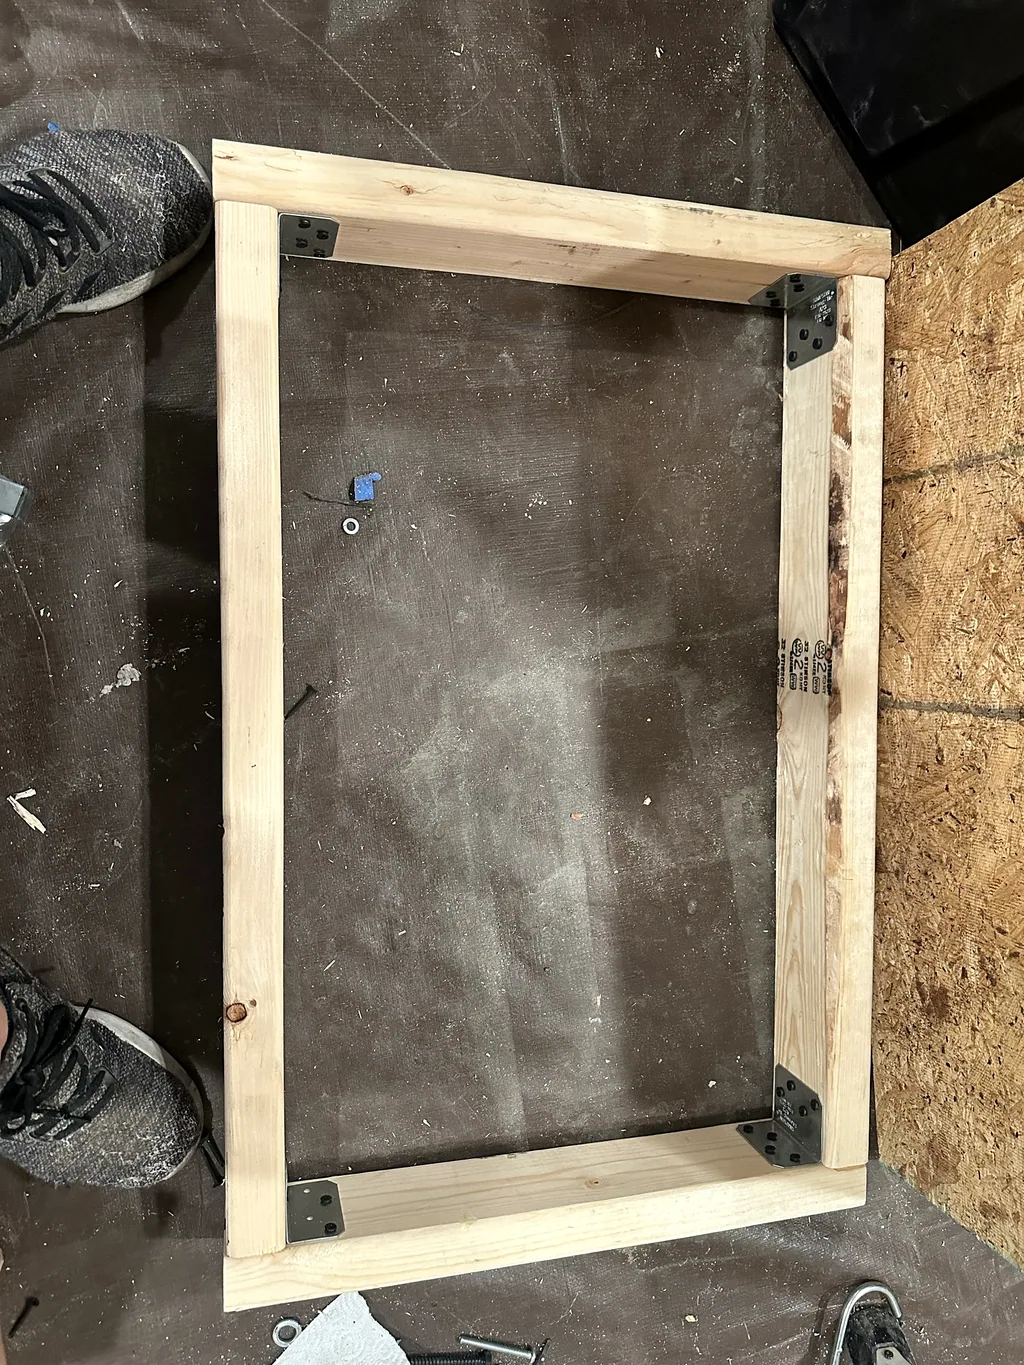
For my own decisions, I would keep control over the parts that matter most to the layout and use a purchased solution where its defined scope makes sense. That is a planning approach, not a claim that I have installed every type of kit. The build diary shows the separate projects and purchased components that actually belong to my Transit history.
Before placing an order, read your original requirement again. Does the selected configuration complete the job you defined? Are the remaining tasks priced and assigned? Can you explain how the unit meets the surrounding interior and how it will be accessed later? If those answers are clear, the package has moved from an appealing idea to a usable project decision.
Keep the rejected options in a short note rather than deleting the reasoning. A later layout change may make one relevant again, and the old comparison can save research. Preserve the dates and exact versions so you do not mistake an earlier quote or specification for the current offer when you return to it.
Prepare Specific Questions For The Supplier
A short, precise question list can resolve more than a long description of your entire conversion. Begin with the exact vehicle and kit configuration. Attach or reference the applicable drawing, then ask about the dimension, included part or installation stage that remains unclear. Keep one subject per question so the answer can be placed directly into the comparison sheet.
For example, you might ask which outside dimension includes the supplied bracket, whether a photographed panel belongs to the selected package or which document describes the attachment arrangement. These questions identify a missing fact. Asking whether the kit is “easy” or “good for van life” invites a general answer that may not resolve the work you need to plan.
Keep written answers with their date and the configuration they concern. If you later change the roof, door arrangement or selected modules, revisit the relevant response instead of assuming it transfers unchanged. A useful supplier conversation becomes part of the project record, alongside the instructions and quote, rather than remaining in a message thread you cannot find during assembly.
Before ordering, close the loop on each answer. Update the drawing, parts list, budget or remaining-work column it affects. If the response creates another question, keep the purchase waiting on that specific dependency. When all required questions are resolved, save the final configuration as a single order brief. That gives you something definite to compare with the delivery and reduces the chance that a convenient change at checkout silently produces a different kit from the one you evaluated.
Keep An Order Brief You Can Check Against Delivery
Before submitting the order, save the selected version, finish, module list, agreed inclusions and remaining work together. Include the quote reference and the installation-document version used for the comparison. When the package arrives, compare it with this specific brief. If you change an option during checkout, update the brief before treating the earlier evaluation as complete. A small configuration change can affect a neighboring dimension or an extra part, so carry it back into the layout and budget rather than leaving the order confirmation as the only record of the change.
Comparing an installed custom option with a kit? The builder-proposal guide explains how to request equivalent scope and handover records.
Frequently Asked Questions
What Is Included In A Camper Van Conversion Kit?
The exact contents depend on the package and chosen configuration. Use the current included-parts list and installation instructions to separate supplied parts, required extras and unresolved items. A finished-van photograph is not an inventory of what arrives.
Can A Kit Be Combined With DIY Furniture?
Yes, a mixed approach can be planned one job at a time. Resolve the outside dimensions, joins, access and installation sequence between the purchased unit and the furniture you make. Treat those connections as design tasks rather than assuming the separate parts will fit together.
Is A Kit Cheaper Than Building From Materials?
Compare the same completed job. Include delivery, hardware, finishes, tools and remaining work for both options. Keep time estimates separate from purchase amounts, then decide which route suits your priorities and resources.
How Do I Check Whether A Kit Fits My Transit?
Use the exact model year, body, roof and door configuration requested by the supplier. Compare documented kit dimensions with your measured finished interior, including lining and floor buildup. Resolve unanswered fit questions against the specific kit version before ordering.
What Should I Do Before The Delivery Arrives?
Finish the prerequisites identified in the instructions, reserve assembly and storage space and prepare an inventory process. Keep the order, parts list and drawings together. Plan how the kit enters the van before other furniture restricts that route.