A modular camper van conversion is most useful when it makes a real change easier. That could mean taking out a storage unit, changing the space used for work or rearranging a weekend load. Making every part removable adds its own work, so I would begin with the changes I actually want the interior to support.
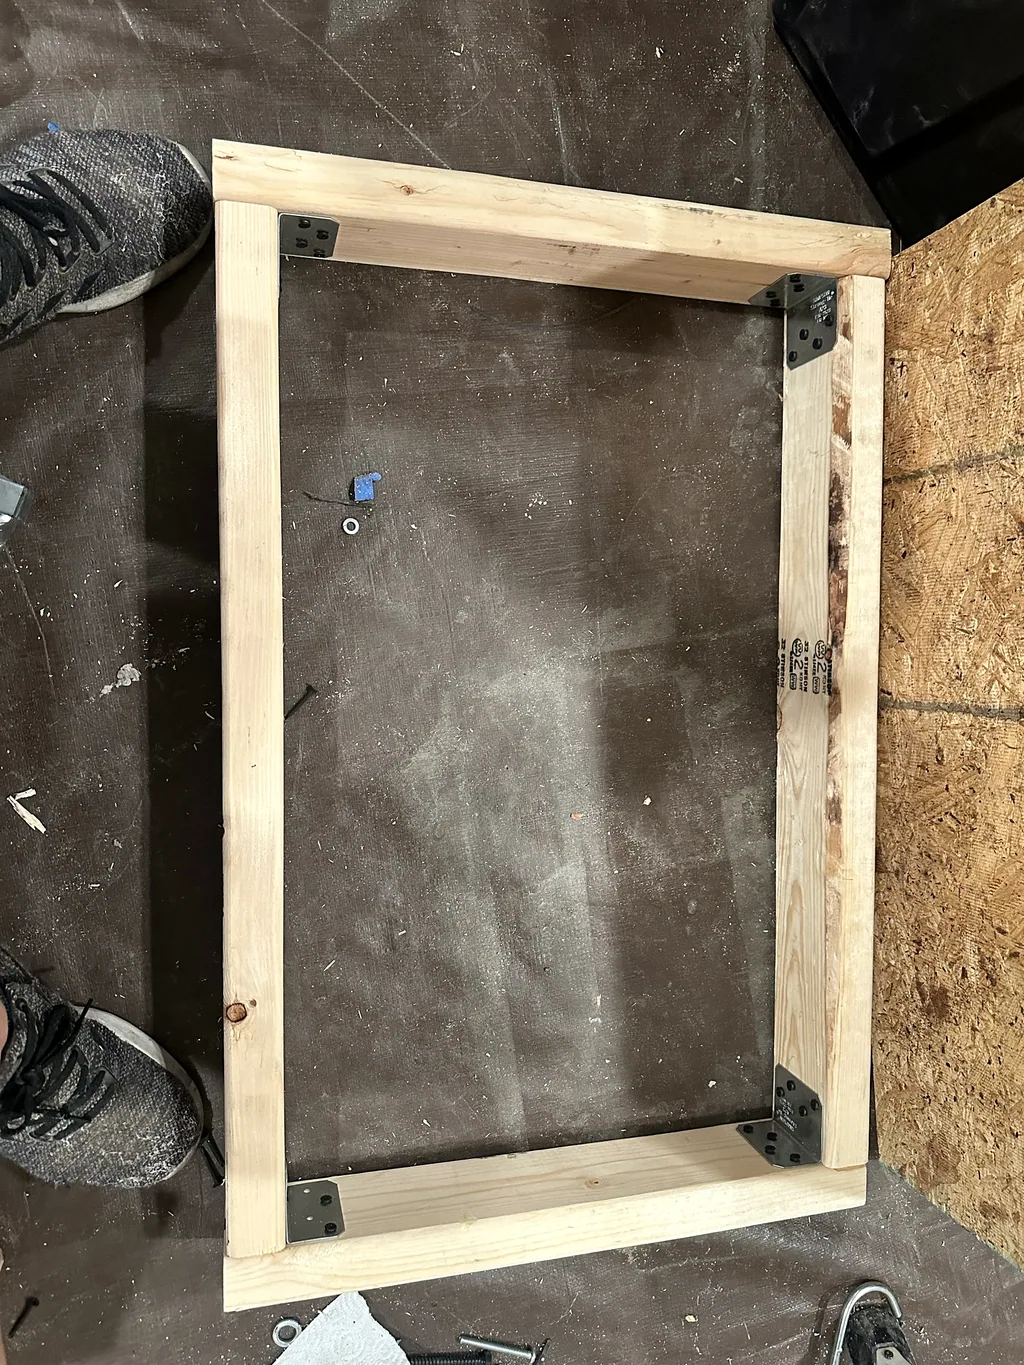
My Transit build uses 20/20 aluminum extrusion, black and gray carpet and butcher-block countertops. That material combination gives the interior a different character from a predominantly wood-lined van. It also gives me a useful starting point for thinking about separate frames, panels and storage. The important planning question is how those pieces work together in the complete layout.
This guide focuses on the modular arrangement as a whole: which functions stay put, which can change, where removed items go and what each change requires. The existing aluminum-framing references cover the construction topic. Here, the output is a practical map of the interior's different states and the decisions needed to move between them.
Download The Blank Modular Interiors Worksheet
Define The Change You Want To Make
“Modular” can describe many different arrangements. One person may want furniture that can be removed once a year; another may want a daily change between sleeping and working. Those are different design problems. Write down the specific transition, how often you expect it and what must remain usable while it happens.
Use an ordinary sentence: “I want to remove this storage unit when carrying a bulky item,” or “I want this surface available for meals after work.” That describes a result you can test. “I want flexibility” does not explain which part changes, how much effort is acceptable or whether the change creates a new storage problem.
Include the starting state and the ending state. If the bed is made before the transition, show where the bedding goes afterward. If a work surface is cleared, show where the computer and cables go. If a cabinet leaves the van, show what happens to its contents. A transition that relocates the problem is not yet a complete plan.
Decide what counts as an acceptable changeover for you. It might be one person moving a small unit, a planned workshop session or a conversion performed only between trips. Keep that expectation alongside the layout. It will help you avoid designing a frequently used transition around a process you would be willing to do only occasionally.
Separate The Fixed Core From The Flexible Areas
Not every function benefits equally from movement. Start by identifying the parts you want to remain in a dependable location, then look for areas where change has a clear purpose. A fixed core can make the rest of the interior easier to plan because the flexible pieces have a consistent reference around them.
Make two lists: functions that stay available in every state and functions that can be exchanged. The first might include access to the entrance, essential storage and the route through the van. The second might include a particular furniture module or a temporary work area. Use your own requirements instead of copying a fixed-core arrangement from somebody else's conversion.
Keep the fixed core's service needs visible. A removable storage unit should not become the only way to reach something that needs routine attention unless that removal is deliberately part of the access plan. The maintenance-access guide separates inspection, working room and removal routes, which is especially useful when furniture can change position.
The flexible area then becomes a bounded problem. You know its usable space, the functions around it and the access it must preserve. That is easier to evaluate than a completely blank interior where every piece could move. Flexibility becomes a choice about a few useful transitions rather than a promise that any arrangement will work.
Draw Every Intended Interior State
Create a separate drawing for each arrangement you expect to use. Keep the same vehicle measurements and fixed parts in all of them. Change only the relevant modules and possessions. This makes the consequences visible: a storage unit that fits in one state may block the passage or a door in another.
Show more than the furniture outline. Include doors and drawers in their open positions, the space occupied by somebody using the area and the contents that move during the transition. The usable-space guide provides the measurement framework. A clear floor rectangle alone does not describe how the surrounding interior is used.
Label each drawing with its purpose. “Travel,” “work,” “sleep” or “equipment-carrying” is more useful than “option two.” Add the specific items that must be accessible in that state. If the arrangement only works while a frequently needed container is buried, record that observation rather than treating the available volume as sufficient.
Use the SketchUp planning guide if a model helps you compare the positions. Keep a change in the model separate from a physical fit check. Once the arrangements are understandable on screen or paper, take the important movements into a full-size mockup where you can check the transitions in the actual space.
Give Each Module A Complete Envelope
A module is more than its usable storage compartment. Record its outside frame, panels, handles, feet, attachment pieces and the space needed to open it. If something projects beyond the main body, show that projection. The complete envelope is the shape that must pass through the van and fit beside the other furniture.
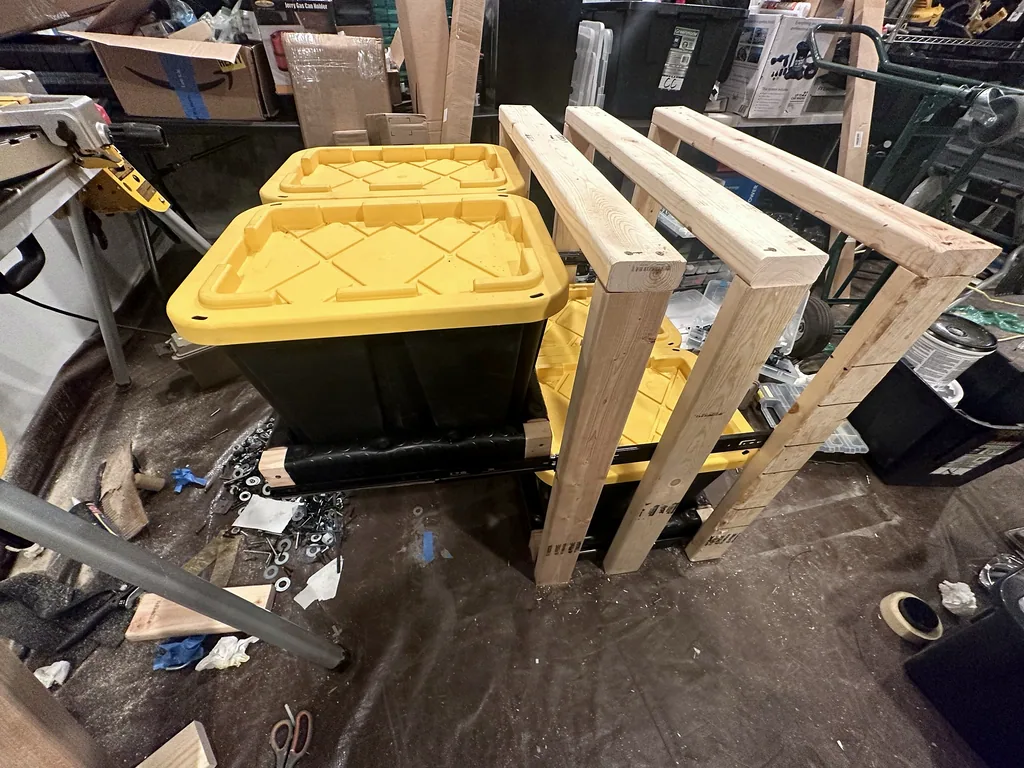
Keep the inside and outside dimensions separate. A container may fit within a cabinet opening while the cabinet itself needs more room than expected. A drawer can have a suitable closed position and an inconvenient extended position. My storage-bin drawer planning article shows why the container, frame and movement need to be considered together.
Record the entry and removal route too. A module that can be assembled inside the van may not leave through the intended door as one piece. Decide whether removal means moving the complete unit or taking it apart. Both can be valid, but they imply different time, storage and reassembly requirements.
Include a place to hold the module while changing the arrangement. If the only available floor area is occupied by another unit, describe the sequence needed to create room. A simple numbered sketch can reveal that two individually removable pieces cannot trade places without a temporary staging position outside the van.
Treat Connections As Their Own Design Work
The joins between a module and the rest of the interior deserve a separate record. Identify the attachment points, accessible fasteners, locating features and any service connections involved. Keep the exact hardware and installation details with the relevant verified design and component documentation. The layout plan should identify the connection without pretending that a generic sketch resolves it.
Distinguish alignment from attachment. A guide or locating edge may help a unit return to the same position, while another feature performs the actual attachment. Draw those functions separately if they are different. This makes the process easier to understand and avoids using a convenient alignment feature as an unexplained substitute for the intended connection.
Think about how you will recognize the correct position after removal. Labels, a drawing reference or a recorded orientation can make a repeated change easier to follow. Keep those identifiers consistent between the module and your notes. A photograph of the finished layout is helpful, but it may not show the connection hidden beneath a panel.
When considering quick-release arrangements, start with the actual product and its documented use. The quick-release reference is a route into that topic. Decide whether a repeated release is truly required before adding complexity. A module removed rarely may justify a different process from one changed every evening.
Account For Panels, Carpet And Finishing
The finished appearance affects more than the visual design. Carpet, panels, edging and countertop material occupy space and can affect where a module meets the neighboring interior. In my build, the black and gray carpet and extrusion are part of that visual and physical context. I would include the finished surfaces when comparing close-fitting positions.
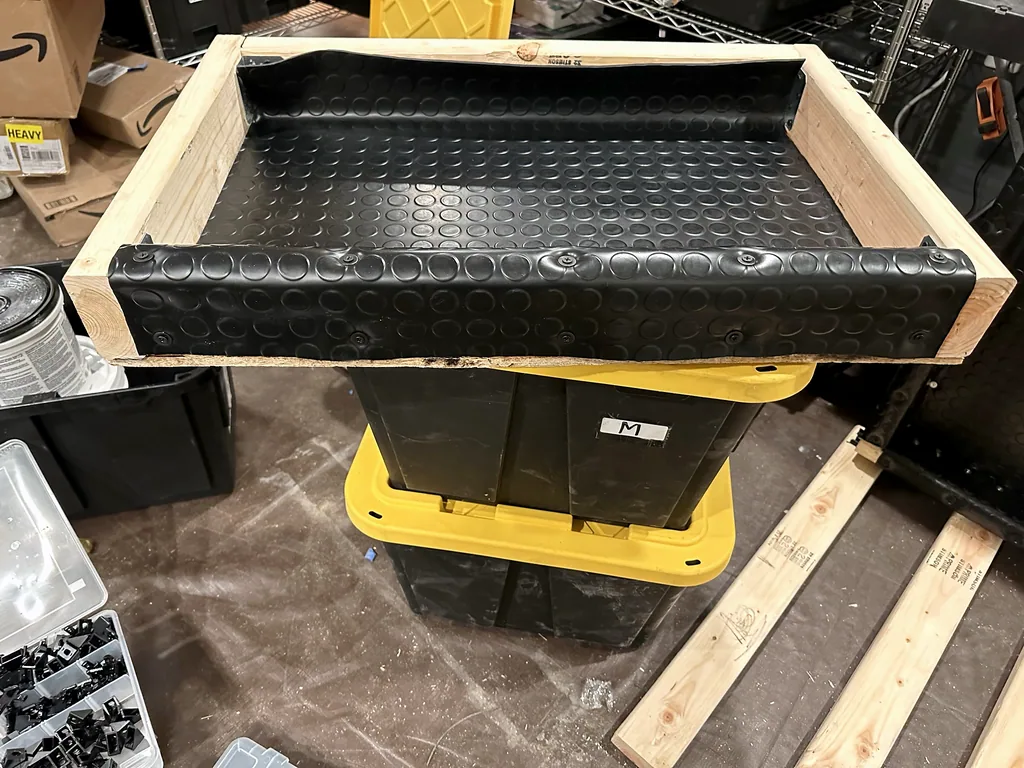
Keep a reference edge or surface for the dimensions. If one drawing measures from bare vehicle metal and another measures from a finished wall panel, the numbers may describe different spaces. Name the reference in your notes. This small habit makes it easier to identify why a module that fitted the early model needs adjustment later.
Look at exposed areas in every state. Removing a cabinet may reveal a wall panel, floor edge or an unfinished side of another unit. Decide what those areas should look like and how they remain accessible. A layout that looks complete only in its default configuration may need additional finishing to make the alternate state useful.
Avoid making finish changes silently alter the connection. If a new surface sits between two parts, revisit the relevant dimensions and attachment detail. Record the drawing revision and the parts affected in the decision log. A modular interior is easier to manage when appearance changes and structural details remain traceable rather than being blended into one vague update.
Plan Where Removed Parts And Contents Live
Removability creates a storage question outside the module. When you take a unit out, where does it go? Does it remain loaded, or do its contents need separate containers? Is the storage location available between trips? Answering these questions can change whether removal is actually convenient in the way you expect to use the van.
Make a contents list for each movable unit. Separate things that travel with it from things that must remain in the van. If a frequently used item stays behind, give it a new accessible location in the alternate drawing. Otherwise, the plan may remove the furniture successfully while leaving its contents scattered across the remaining living space.
Include loose fittings and panels in the changeover record. A removed panel needs a place where it will not become mixed with another project. Keep associated parts identified together. The practical goal is a complete return process: the next time you want the original arrangement, you can find the pieces and understand the sequence without starting the design again.
For a daily transition, keep the storage solution inside the same routine. Bedding, work items or a temporary tabletop should have a defined destination. The fixed-versus-convertible-bed guide explores that particular tradeoff. The same principle applies across a modular interior: the alternate use needs a home for everything displaced by the change.
Compare Flexibility With The Space It Consumes
Interchangeability can require clearances, repeated interfaces or additional parts. Those features may be worthwhile, but include their space in the layout. A unit designed to slide through a narrow route may offer less storage than one assembled permanently in place. Compare the actual resulting functions instead of assuming removable always means more efficient.
Use a table with one row for each intended change. Record the benefit, the space reserved for it, the parts moved and the work required. If a change uses a large area but is rarely needed, consider whether a simpler arrangement could meet the same need. This is a personal tradeoff, so keep your priorities explicit.
Also compare access in the default state. A flexible interior should still be pleasant to use when nothing is being rearranged. If the most common routine requires moving several modules, ask whether the default configuration is the right one. The main arrangement should serve the activities you repeat, with alternate states supporting the less frequent needs.
Give each flexible feature a reason to remain in the design. “It might be useful someday” is a starting idea, not a completed requirement. If you can name the trip, activity or carried item it supports, the comparison becomes clearer. Features without a defined use can remain on an optional list while you complete the arrangement you actually need.
Rehearse A Changeover Before Building Everything
Choose the most important transition and walk through it at full size. Use temporary representations of the furniture and actual possessions where practical. Follow the order you expect to use: clear the surface, move the contents, release the relevant connection, reposition the unit and restore the usable area. Record where the sequence becomes awkward.
Check the beginning and end separately. The starting arrangement may be comfortable, and the alternate arrangement may fit, while the route between them remains impractical. A rehearsal exposes that middle stage. Write down whether the problem is a lack of temporary space, an inaccessible connection, an oversized unit or simply an unnecessarily complicated order of operations.
Repeat the process in reverse. Returning to the original arrangement is part of the design. Confirm where the loose pieces go, how the original position is identified and what must be checked before the area is ready for its next use. Do not judge a modular concept only by the impressive moment when the furniture is first removed.
Keep the rehearsal results with the drawing revision. The full-size mockup checklist can organize observations, while your module-specific notes hold the changeover sequence. Revise one problem at a time so you can tell which adjustment improved the result. That is more informative than changing the whole interior after one awkward attempt.
Buy And Build In A Sequence That Preserves Options
Once the main states and connections are resolved, choose a first module whose requirements are clear. Building one complete piece can establish the dimensions and finish you will repeat. Keep the broader layout visible so the first unit does not consume the access or shared space needed by the others.
Separate repeatable details from details unique to one location. A panel treatment might repeat across several units, while the attachment to the vehicle may differ. Record those distinctions in the parts and drawing notes. Standardizing a convenient feature can save effort, but repeating it without checking the different location can create an avoidable mismatch.
If buying a modular package, compare the exact configuration and remaining work using the kit-planning guide. If making the units, price complete modules, including finish and connections, using the cost-planning guide. Keep alternative arrangements outside the committed purchase list until they are selected.
At each stage, update what is physically complete, what has only been drawn and what remains unresolved. My build diary follows individual projects rather than treating a purchase as a finished interior. That same distinction keeps a modular plan understandable as the design moves from a set of possible arrangements to actual furniture.
Build Flexibility Around Your Real Routine
The strongest modular plan has a simple explanation: this part changes for this reason, using this sequence, while these functions remain available. You should be able to describe it without relying on a photograph of an empty van. The contents, connections and temporary storage are part of the arrangement just as much as the furniture frames.
My material choices provide one reference, not the only possible appearance for a flexible interior. You can use a different finish or construction approach while applying the same planning method. Begin with the changes that matter to your trips, define the fixed core and draw the complete states before deciding which parts need to move.
For the next work session, choose one transition and write its starting state, ending state and displaced items. Take that sequence into the van and identify the first unresolved question. Resolve it before adding more modules. A useful small change is a stronger starting point than an elaborate promise that the entire interior can become anything.
Keep the design open to later improvements through good records. Save measurements, drawings, connection details and photographs of hidden work. Those records make a future alteration easier to understand even when the furniture itself remains fixed. Modularity is most valuable when it supports a real task and leaves you with a van that works well between changes.
Keep A Module Record Beside The Layout
Give each completed or planned module a simple identifier and a one-page record. Include its purpose, outside dimensions, normal position, alternate position and the drawing that describes its connections. Add photographs of relevant hidden details before they are covered. This makes the unit understandable as part of the system rather than just another object in the van.
Record what travels inside it and what must be removed before the module changes position. Keep the contents list connected to the packing map. If you later add a bulky item, update both records: the furniture may remain unchanged while the actual changeover becomes harder because its contents no longer fit the temporary storage position.
Use a short change history. Note the panel replaced, dimension altered or connection revised, along with the reason. Preserve the previous drawing when the change affects neighboring parts. This is particularly useful when several similar frames exist, because a small difference can matter during reassembly even if the finished units look alike.
End the record with the current state: planned, built, fitted or checked for the intended transition. Keep those states distinct. A completed frame may still need panels; an installed unit may still need its removal route rehearsed. The module record turns flexibility into something you can maintain over time. It also gives you a practical starting point when a later project needs the same space: you can see what the existing unit does, how it connects and what would be displaced before changing the wider layout.
When adapting furniture already in the van, start with the remodel-planning sequence to record the existing state and identify the parts to keep or reuse.
Frequently Asked Questions
Does A Modular Conversion Need Every Piece To Be Removable?
No. Begin with a fixed core and make the parts flexible where a defined change benefits your use. Record how often the change happens, which functions remain available and where removed parts and contents go.
Is Aluminum Extrusion The Same As A Modular Interior?
Extrusion is a framing approach; modularity describes how the completed arrangement can change. The panels, connections, service access and storage must also support the intended transition. A frame material alone does not define the full changeover process.
What Should I Draw For A Modular Van?
Draw each intended state using the same vehicle and fixed-core measurements. Include open furniture, occupants' working space, displaced contents and removal routes. Add a separate sequence showing how you move between the states.
What Is The Most Useful First Test?
Rehearse one important transition at full size. Check the start, the temporary middle stage and the final arrangement, then reverse it. Record the obstruction or awkward step before changing the drawing.
How Do I Keep A Modular Build Within Budget?
Price complete selected modules, including finishes, connections and any required storage outside the van. Keep unselected alternatives separate. Build the first well-defined unit before ordering every part for arrangements that are still being considered.