Starlink Mini 2 For Van Life: My Transit Power And Mount Plan
Starlink Mini 2 gives me three jobs to plan for a Transit setup: a charging position, a clear sky working position and a place to pack the equipment before driving. Its removable battery changes how those positions can work together.
I would start with the same whole-roof approach that helped during my roof-rack fitting work: identify the equipment already there, draw the new cable route and keep the inside layout connected to the outside position. This guide develops that plan around Starlink’s current Mini 2 specifications.
Watch My Starlink Mini 2 Planning Video
Follow the power, mounting and storage decisions through the full Transit planning walkthrough.
Read The Video Transcript
Hey, I’m Steve Smith with Camper Van Freedom. Starlink Mini Two is open for invitation preorders, and it has me thinking about three jobs I would plan before putting one in my Transit: power, a clear-sky position, and a practical place for everything when I drive. Here is how I would work through that layout using the roof-rack experience from my own van build.
The useful change is the battery. Starlink lists a removable seventy-one watt-hour battery and up to four and a half hours of operation. The dish also has Wi-Fi built in. That gives me a different starting point from a system with a separate outdoor dish, indoor router and a power cable that has to stay connected throughout a session.
Starlink also lists sixty-watt USB-C charging, a kickstand and a standard quarter-twenty camera thread. Those details connect directly to van planning. I can think about charging inside the van, carrying the unit to a better campsite position, and storing it again before moving. I would start with that everyday sequence, then choose the permanent cable route around it.
There is one specification I want right on the drawing. The current Starlink product page lists a one-hundred-and-ten-degree field of view. A clear view of the sky still matters. I would check the position with the Starlink app instead of choosing a spot only because it looks convenient from the driver's seat. The location that is easiest to reach is not automatically the location with the best sky view.
First, I would decide what the Starlink connection is supposed to do during a normal day. Am I working at the table inside the van, sitting outside at camp, or stopping briefly before driving again? Those are different arrangements. A removable setup can put the dish where the sky is open, while keeping the charging and storage jobs inside the van.
My first drawing would have three named places: the working position, the charging position and the travel position. I would mark them before choosing a mount. That stops the whole plan from being built around one attractive roof location. It also makes me account for the time when the dish is not outside, because the battery, cable and hardware still need a home.
For power, I would begin with the supplied sixty-watt USB-C charger and cable as the reference. The connection on the device is USB-C, but that describes the connector, not every possible power source behind it. I would write the required charging details beside the proposed outlet and compare the actual charger and source specifications before choosing another adapter for the van.
There are two routes I would draw through my house-power layout. One uses the van's existing AC supply path and the supplied Starlink charger. The other uses a suitable DC-powered USB-C charging source. I would compare their actual output requirements, cable route and daily use. I would keep the drawing at that level until the specific adapter and its ratings are selected.
I would keep charging power separate from operating energy in my notes. Sixty watts is the listed charging figure. Operating consumption is a separate entry in the power budget. As a planning example, a load drawing sixty watts for two hours uses one hundred and twenty watt-hours before conversion losses. That gives me a useful way to compare a proposed charging session with the rest of the house-power budget.
The battery gives another option. I could charge inside, then take the unit outside for a session without running a power lead across the campsite. Starlink says the battery can be swapped and that the unit can stay online while charging. I would make room to reach the battery release and charging connector, rather than designing a cradle that blocks the parts I need to use.
Next comes the cable route. I would trace it from the chosen power source to the charging position and then to the outside working position, if that arrangement needs a lead. I would check the actual distance with a piece of cord, including bends and the space around doors. The result belongs on the drawing before I buy a longer cable or make a permanent opening.
I would also think about the first and last five minutes at camp. Where do I put the unit while I connect it? Where does the loose cable go when I move the chair or open the side door? Where does it dry and get packed away? A tidy route is useful because I have to live around it, not simply because it looks good in a photograph.
Now I would compare the roof with a portable campsite position. My Flatline roof-rack installation is a useful reference because I know how much other equipment shares that roof. I later moved crossbeams to suit the solar-panel length and added extrusion above the rack. That experience is why I would look at the whole roof layout before reserving a new patch of it for Starlink.
On the roof drawing, I would mark the existing rack, solar-panel area, roof vent and cable-entry locations. Then I would look at the proposed Starlink position from above and from the side. I want to understand what is nearby, what needs access, and how the device would be reached. The planning task is to fit another piece into the arrangement I already have.
At a campsite, I would also try a position away from the van. The kickstand gives me a simple starting point for comparing open sky in different parts of the site. A spot beside the van may work differently from a spot under a tree. I would use the app's obstruction check at the proposed location and keep notes about which position suits that particular campsite.
A quarter-twenty thread gives me another mounting interface to consider, but I would choose the actual support around the Mini Two hardware and how I intend to use it. For my first plan, I prefer separating a stationary camp position from the travel position. I can work out a more permanent roof arrangement when the exact mount, access and cable details are together on one drawing.
Inside the Transit, I would check the connection from the place where I actually work. Starlink lists Wi-Fi Six and coverage up to eighteen hundred square feet. For this layout, my useful question is whether the connection reaches my table and the other places I use, with the doors in their normal positions. I would make that part of the setup check rather than choosing equipment from the coverage number alone.
This is where I would use my van-layout workflow. On one layer, I would put the existing roof equipment. On a second, I would draw the proposed dish positions and cable path. On a third, I would mark the charging and storage spaces inside. Being able to look at one layer at a time makes it easier to see which decision affects another.
I would make two versions of that plan. Layout A keeps the unit portable, with a charging place inside and a camp position chosen for open sky. Layout B reserves a possible roof position and traces the cable route to it. I would compare setup time, access, cable handling and the space each version uses. That comparison is more useful to me than buying mounting pieces before the layout is decided.
I would also keep the Mini Two choice separate from the Starlink kits already in my purchase records. My existing guide brings together Standard and Mini options. A Standard arrangement has separate dish and router positions, while the compact Mini format groups more hardware together. The new Mini Two adds a battery to that compact planning idea. Each layout gets its own product name in the comparison.
For the Mini Two page, I have kept the original Mini and a Standard kit alongside it as alternatives. The question is what arrangement fits the way I would use the van. I would compare the current hardware, the service available to my account and the whole power-and-storage plan. I would keep the exact kit name attached to its own specifications and product picture throughout that comparison.
So what would I prepare first? Number one is a charging position with a documented power path. I would know where the supply lives, how the cable reaches the unit and how I can get to the connector. If I am leaving space for an adapter, I would record its required output and mounting space before closing that part of the interior.
Number two is a cable-route and access plan. I would mark the inside and outside endpoints, measure the actual path and leave access to the connections. That gives me something concrete to compare with the supplied three-meter USB-C cable. The route should work with the doors, furniture and storage, because those are parts of the van I use every day.
Number three is a clear-sky camp position plus a protected travel position. I would know how the unit gets from one to the other and where the battery, stand and cable are kept. If I later choose a fixed roof installation, the same plan gives me the roof-space, access and power information needed to select the mounting arrangement deliberately.
Thanks for watching. I’m Steve Smith with Camper Van Freedom. My starting point for Starlink Mini Two would be those three jobs: power, placement and packing it away. The full guide has the current specifications, my layout checklist, the product comparison and links to the roof work behind this planning approach. Read it at Camper Van Freedom, and follow along for the next part of the Transit build.
What Starlink Mini 2 Adds
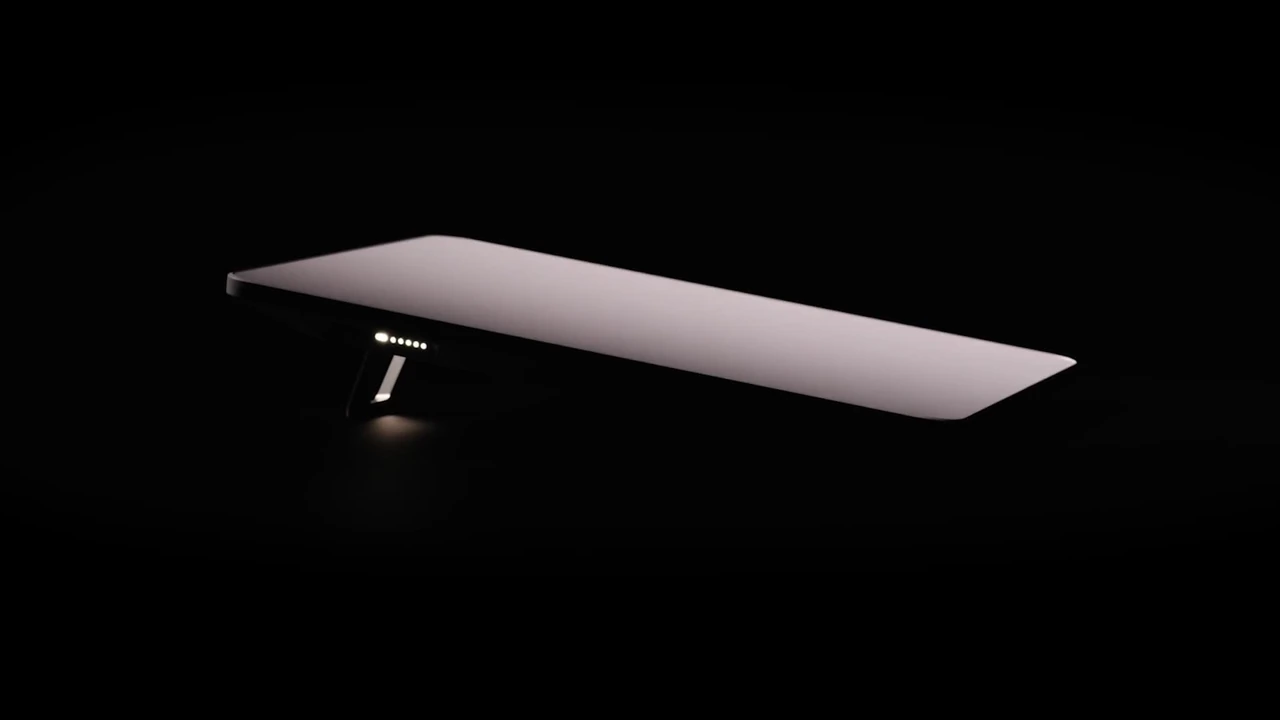
Starlink Mini 2
Starlink Mini 2 combines a compact satellite terminal, built-in Wi-Fi and a removable 71 Wh battery. Its USB-C charging connection and kickstand support a portable camp layout.
View Mini 2 At StarlinkProduct imagery: Starlink
Starlink’s Mini 2 product page, checked November 11, 2026, lists invitation preorders for selected US customers. The battery, charging connection and built-in Wi-Fi are the features that most directly affect how I would arrange it around the van.
| Detail | Starlink’s Current Specification | What I Would Plan Around It |
|---|---|---|
| Battery | Removable 71 Wh battery; up to 4.5 hours | Charging inside and a separate campsite position |
| Charging | USB-C, 60 W | The chosen supply, connector access and cable route |
| Field Of View | 110° | A clear sky position checked with the app |
| Wi-Fi | Wi-Fi 6; coverage up to 1,800 ft² | Connection checks at the table and normal work positions |
| Mounting Features | Kickstand and standard 1/4-20 camera thread | Access to the stand, battery and charging port |
| Size And Weight | 263 × 314 × 23.1 mm; 1.6 kg with battery and kickstand | Storage space and handling between camp and travel |
| Included Cable | 3 m USB-C to USB-C | Compare its length with the measured route |
Plan The Charging Position And Power Path
I would put the charging position on the layout before selecting a mount. The supplied charger and cable give me a reference setup. From there, I would compare a route through the house AC supply and supplied charger with a suitable DC-powered USB-C source, recording the actual output requirements for the selected equipment.
Charging power and operating energy get separate entries in the power budget. For a simple charging-budget example, 60 W for two hours is 120 Wh before conversion losses. The useful next step is to compare that proposed session with the other loads on the van’s house-power plan.
The removable battery also makes charging access part of the physical layout. I would leave room to reach the connector and battery release. Starlink describes both swapping the battery and staying online while it charges; the storage or cradle arrangement should preserve those everyday actions.
Measure The Cable Route Before Closing The Layout
I would mark the source, charging position and outside endpoint, then trace the proposed path with a piece of cord. That gives me the actual distance around furniture, bends and doors to compare with the supplied three-metre cable.
The arrival and packing sequence belongs on the same plan. I would decide where the unit sits while I connect it, how the lead passes the side door and where loose equipment goes when I move the chair or pack up. Connection access and cable storage matter throughout a day in the van.
Compare Roof Space With A Portable Camp Position
During my Transit build, I moved the Flatline rack crossbeams to suit the solar-panel length and added extrusion above the rack. That is why I would account for the whole roof arrangement before reserving a new position for Starlink. My Flatline installation and roof-vent planning guide provide the build context.
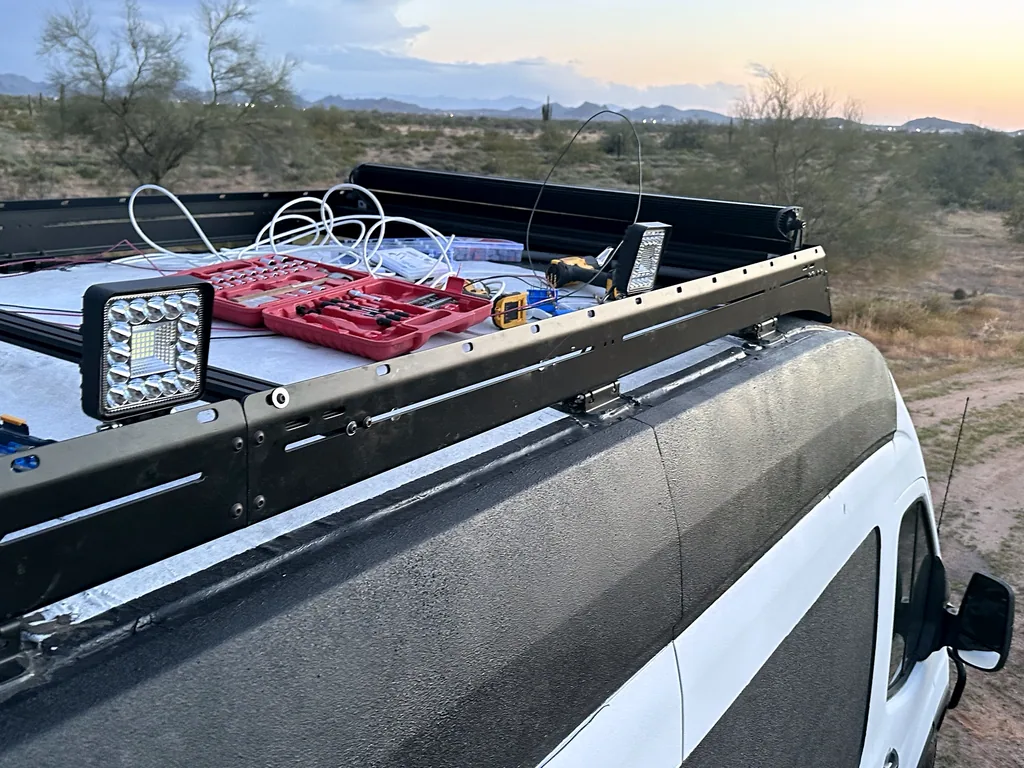
For a campsite setup, I would compare an open position beside the van with the locations available around trees and other obstructions. The kickstand provides a starting point for that comparison. I would use the Starlink app’s obstruction check at the proposed position, then check the Wi-Fi connection from the place where I work inside.
Draw Work, Charging And Travel Positions
I would use three layers in the van-layout workflow: existing roof equipment; proposed dish positions and cable route; and interior charging and storage. Looking at one layer at a time makes the relationships easier to follow.

- Layout A — Portable: charge inside, choose an open campsite position and return the equipment to its travel storage.
- Layout B — Possible Roof Position: reserve the roof space, trace the route inside and select the specific mounting arrangement around access and the exact hardware.
I would compare access, setup time, cable handling and the space each arrangement occupies before buying the mounting pieces.
Compare Mini 2 With Two Other Starlink Formats
My existing Starlink kit guide preserves the separate kits in my purchase records and the current options shown with them. For this new plan, the original Mini and Standard kit are alternative formats to compare with Mini 2.
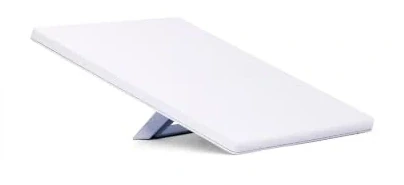
Starlink Mini Kit
Alternative To Compare
The Starlink Mini combines satellite connectivity hardware and Wi-Fi in a compact unit. Its smaller physical format offers a portable alternative to a Standard kit with a separate router.
View On Amazon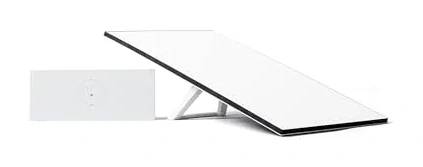
Starlink Standard Kit with Tri-Band Router
Alternative To Compare
This Starlink Standard kit pairs a satellite dish with a separate tri-band Wi-Fi router. It gives a van connectivity layout distinct positions for the outdoor dish and indoor network hardware.
View On AmazonThe compact Mini format combines the dish and Wi-Fi hardware. A Standard arrangement gives the outdoor dish and indoor router separate positions. Mini 2 adds a removable battery to the compact layout; I would keep each exact kit name beside its own specifications and picture.
My Three-Item Planning Checklist
- Power: name the charging position, document the selected supply requirements and preserve connector access.
- Cable Route: measure the inside-to-outside path, compare the supplied cable length and provide a place for the loose lead.
- Placement And Storage: identify the clear sky camp position, check the connection where I work and give the unit, stand and battery a protected travel home.
Starlink Mini 2 Questions For My Transit Plan
Does Mini 2 Have A Battery?
Starlink lists a removable 71 Wh battery with up to 4.5 hours of operation. Its product page also describes swapping batteries and using the connection while charging.
What USB-C Charging Figure Does Starlink List?
The current Mini 2 page specifies 60 W USB-C charging and a three-metre USB-C to USB-C cable. I would use those details when comparing the selected power source and measured cable route.
Would I Start With A Fixed Roof Mount?
I would first compare a portable camp arrangement with a possible roof position. My drawings would include the existing roof equipment, the cable route and the charging and travel positions inside.