A Rounded Profile, Rather Than a Complete Cabinet Design
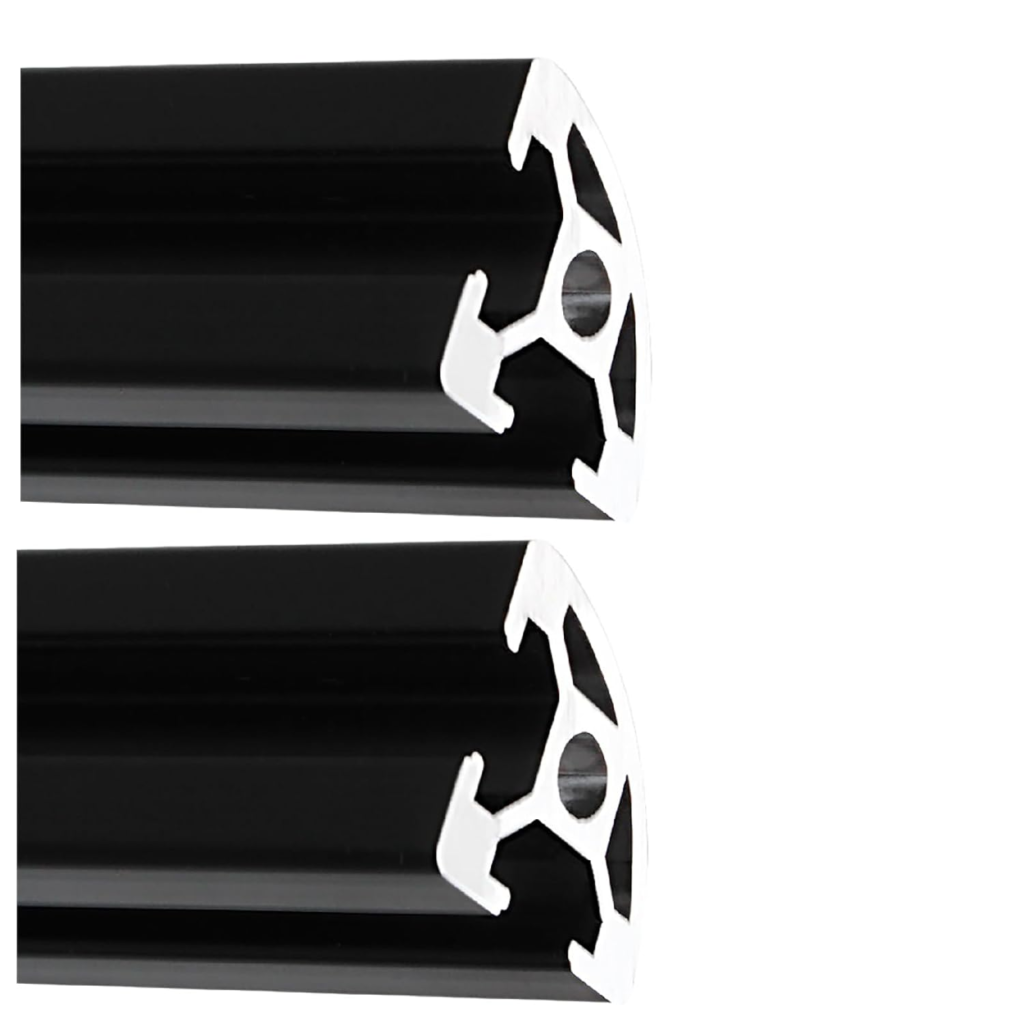
The archived product image below shows straight lengths with a rounded outer corner in the cross-section. It does not show an extrusion bent along its length. That distinction matters when using the image to plan an upper-cabinet edge: a rounded face changes the edge shape, while a curved cabinet run would require a separately defined geometry.
The original product link is retained as a historical reference. Treat the appearance as an idea to investigate, rather than as proof that a particular assembly fits your van.
Curved 2020 aluminum extrusion profile example
Draw the Complete Cabinet Edge
Start with a cross-section sketch that includes the frame, panel, door and intended edge finish. Mark which direction the rounded face points. A profile that looks appropriate from the aisle can still leave an unresolved panel edge or a difficult joint on its hidden side.
- Outside envelope: record the supplier’s width, height and corner detail.
- Panel interface: identify whether the panel sits inside a slot, against the frame or on separate retainers.
- Connections: document how the rounded member meets straight members and where the fasteners are accessed.
- Door clearance: draw the intended door and hardware movement before fixing the cabinet depth.
- End treatment: account for exposed cut ends and any specified end caps.
Keep Appearance and Compatibility Separate
Use a dimensioned drawing to record the item’s size, bending radius, slot geometry and joining hardware before committing to a cut list.
Compare the square-profile dimension diagrams to see why outside size and internal geometry are different questions. The wall-panel notes help organize the adjoining finished surfaces. Record the selected part, drawing revision and unresolved fit checks in a van-build decision log.
Reference guide expanded October 20, 2026. Original publication date and archived references retained.
Product Options
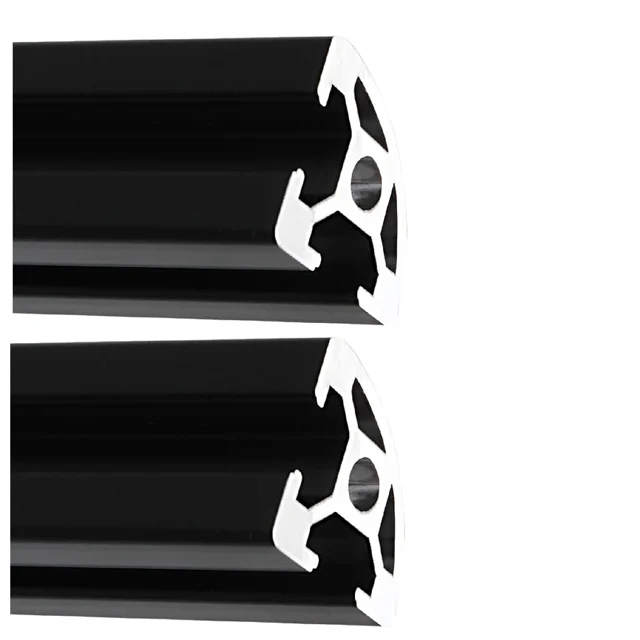
Alternative: Rounded-Corner 2020 Extrusion
These rounded aluminum profiles provide curved outer corners for an extrusion assembly. Their slotted sides accept profile hardware for joining frame components.
View On Amazon: Alternative: Rounded-Corner 2020 ExtrusionWatch: Upper Cabinet Edge Planning
My narrated guide compares rounded profile shapes, the panel interface, accessible joints and door movement.
Press Play To Start The Video.
Read The Video Transcript
Hey, I'm Steve Smith with Camper Van Freedom. My upper-cabinet notes include a picture of aluminum extrusion with a rounded outside corner. The useful distinction is in the shape: a rounded cross-section is different from a frame member bent along its length. I use that distinction to organize the cabinet-edge drawing before turning an appearance idea into a cut list.
A rounded outside corner changes the face of a straight member. A curved cabinet run changes the path of the whole assembly. Put those two views beside each other: an end view for the profile, and a plan view for the cabinet run. Keep the supplier's actual dimensions with the selected part instead of deriving a size from a photograph.
Start the edge drawing with the frame and panel together. Show whether the panel sits in a slot, against the frame or on a separate retainer. Add its finish and the intended exposed edge. Turn the drawing around to see the hidden side too. The aisle-facing surface is only one part of the finished detail.
Then draw the connection to the next member. Mark the bracket or other proposed connector, and show where its fasteners would be reached. Keep those parts tied to the exact profile drawing. An outside width alone does not describe the slot or the hardware interface. Record an unresolved connection as an open choice while the assembly is being developed.
Add the door and its intended movement to the same detail. Show the space taken by the panel, hinge arrangement and neighboring cabinet. Include the exposed ends of the frame and their intended treatment. Move through the planned positions rather than checking only the closed outline. That makes the cabinet depth and the nearby wall part of one layout question.
Keep one record for the chosen edge: profile identity, drawing revision, panel interface, connections and door movement. Bring that complete detail back into the van model before preparing the finished pieces. My original reference is an edge-shape idea; the drawing records the assembly being considered. Thanks for watching. I'm Steve Smith with Camper Van Freedom. Start with the cross-section, then draw the whole cabinet edge. See you next time.
Watch On YouTube
Watch On YouTube · English Captions (VTT) · Download The Transcript